How to Tarp a Roof
- When You Need to Tarp a Roof
- Safety First: Critical Precautions
- Materials and Tools
- Choosing the Right Tarp Size
- Step-by-Step: How to Tarp a Roof
- How to Tarp a Flat Roof
- How Long Can a Tarp Stay on a Roof?
- Tarps and Insurance Claims
- Common Mistakes to Avoid
- When to Call a Professional
- Cost Breakdown
- Frequently Asked Questions
When a storm rips shingles off your roof, a tree branch punches through the decking, or hail damage leaves your roof vulnerable to leaks, time is your enemy. Every hour of exposure means more water infiltrating your home, damaging drywall, insulation, wiring, and personal belongings. Knowing how to tarp a roof properly can prevent thousands of dollars in secondary water damage while you wait for a professional roofer to make permanent repairs.
This emergency roofing guide walks you through the complete process — from choosing the right tarp and gathering materials to securing it so it actually stays put through wind, rain, and subsequent storms. We'll also cover safety precautions that are absolutely non-negotiable when working on a roof, especially one that's already damaged and potentially structurally compromised.
When You Need to Tarp a Roof
You should tarp your roof immediately (or as soon as safely possible) when:
- Storm damage has exposed the roof deck or underlayment — missing shingles, torn-off sections, or holes from fallen tree limbs
- Active leaking is occurring inside the home — water stains on ceilings, dripping through light fixtures, or pooling on floors
- More rain is in the forecast — even minor roof damage becomes a major interior water damage event if it rains before repairs are made
- Your roofer can't come immediately — after major storms, roofing contractors are booked weeks or months out. A tarp buys you time.
- Your insurance adjuster hasn't inspected yet — but rain is coming. Insurance companies expect you to mitigate further damage, and tarping is considered reasonable mitigation (usually reimbursable).
Do NOT attempt to tarp the roof if: the storm is still active (lightning, high winds), the roof structure is visibly sagging or compromised, you don't have a safe way to access the roof, or the damage is so extensive that the roof deck can't support your weight.
Safety First: Critical Precautions
Roof work is inherently dangerous, and a damaged roof is even more so. Falls from residential roofs cause approximately 164,000 emergency room visits per year in the United States. Before you climb up:
- Wait for the storm to pass completely — no lightning, no active rain, wind under 20 mph
- Work with a helper — never tarp a roof alone. Someone should be on the ground to pass materials and call for help if you fall.
- Wear rubber-soled shoes — boots or sneakers with aggressive tread grip wet roofing surfaces far better than smooth soles
- Use a sturdy extension ladder — set at a 75-degree angle (1 foot out for every 4 feet up), extend 3 feet above the roof edge, and secure the base. Have your helper hold the base.
- Use a safety harness if possible — a fall arrest harness with a roof anchor costs $60–$100 at any hardware store. For a steep pitch (6/12 or higher), a harness is essential, not optional.
- Test the damaged area before stepping on it — if decking is wet-rotted or broken, it may not support your weight. Step only on solid structural members (rafters) if the decking is compromised.
- Stay away from power lines — downed or low-hanging power lines near the roof are immediately life-threatening. Call the power company before doing anything.
Materials and Tools You'll Need
| Item | Specification | Approximate Cost |
|---|---|---|
| Heavy-duty tarp | Minimum 10-mil thickness, UV-resistant (silver/white best) | $30–$80 |
| 2×4 lumber | 8-foot lengths; need 3–6 pieces depending on tarp size | $3–$5 each |
| Screws | 3" wood screws or 2.5" deck screws (box of 50) | $8–$12 |
| Cordless drill/driver | With Phillips/star bit | Already owned or $50+ |
| Utility knife | For trimming tarp if needed | $5 |
| Extension ladder | Tall enough to reach roofline + 3 feet | Already owned or $150+ |
| Safety harness (recommended) | Full-body harness + roof anchor + lanyard | $60–$100 |
About tarp quality: Do not use a lightweight "economy" blue tarp. These are typically 5-mil or thinner and will shred in the first moderate wind. Invest in a minimum 10-mil heavy-duty tarp — ideally a silver or white UV-treated tarp rated for outdoor exposure. A good heavy-duty tarp in a 20×25 size costs $40–$70 and is worth every penny compared to the $5,000–$20,000 in water damage that a failed tarp allows.
Choosing the Right Tarp Size
The tarp must extend at least 4 feet past the damage on all sides. This overlap is critical — it prevents wind-driven rain from entering underneath the tarp edges. Here's how to determine the right size:
- Measure the damaged area (length × width)
- Add 8 feet to each dimension (4 feet of overlap on each side)
- If the damage is near the ridge, add enough length for the tarp to wrap over the ridge and down the opposite side at least 3–4 feet (this prevents water from running behind the tarp at the ridge line)
- Round up to the nearest available tarp size
Example: A 6×10 foot damaged area needs a tarp at least 14×18 feet, which you'd round up to a standard 16×20 or 20×20 tarp.
Step-by-Step: How to Tarp a Roof
Step 1: Clear Debris from the Damaged Area
Remove any broken branches, torn shingles, nails, or debris from the area where the tarp will lay. The tarp needs to sit as flat as possible against the roof surface. Sharp objects underneath will puncture the tarp, and uneven surfaces create channels for wind to get under it.
Step 2: Cover Any Holes Temporarily
If there are holes in the roof deck, stuff them with rags or a section of plywood to prevent the tarp from sagging into the hole and collecting water (which makes the puncture worse). For large holes, screw a piece of plywood or OSB over the opening before tarping.
Step 3: Unroll the Tarp Over the Damage
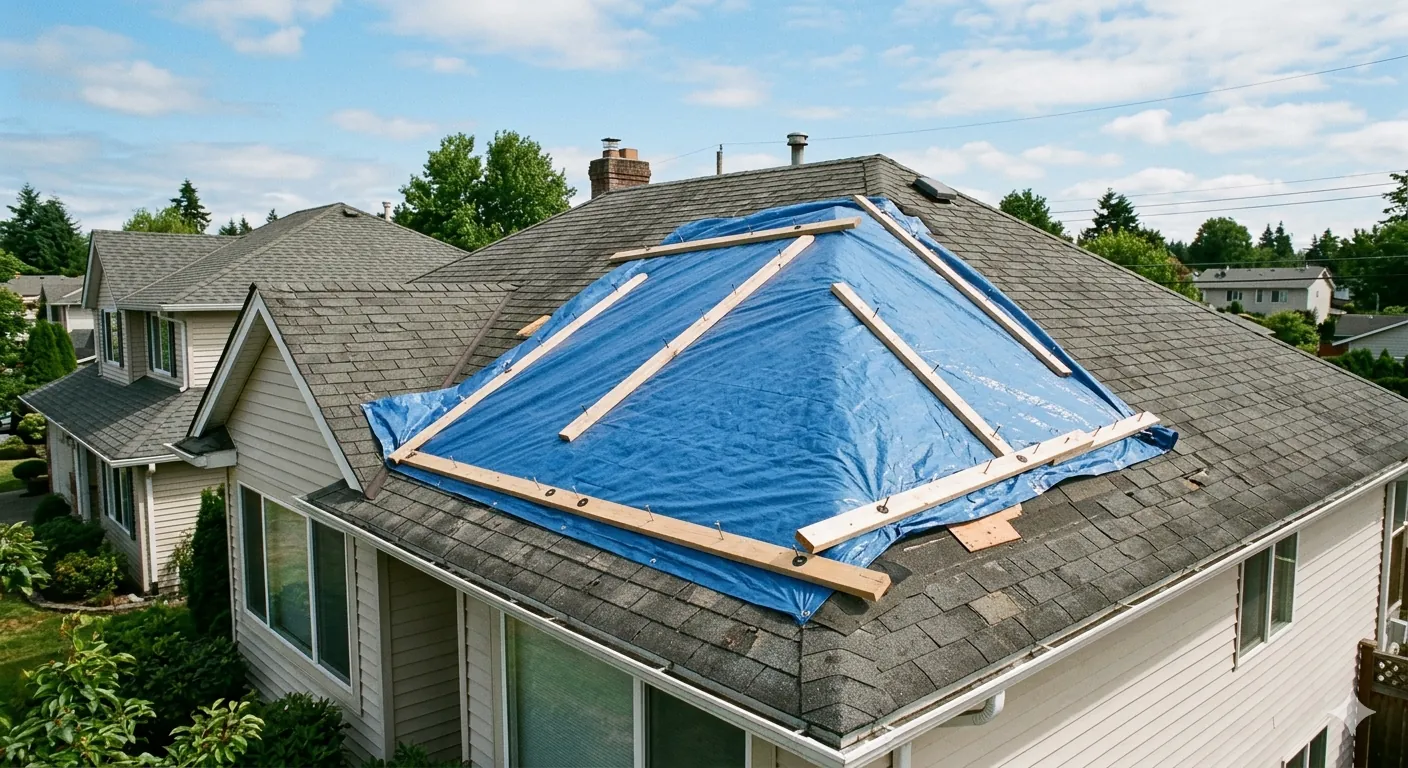
Working from the ground, roll the tarp up tightly. Carry it up the ladder (or have someone toss/pass one end up to you). Unroll the tarp starting from the ridge line and work downward. The tarp should:
- Extend over the ridge and at least 3–4 feet down the opposite slope (this is critical for waterproofing at the ridge)
- Cover the entire damaged area with at least 4 feet of overlap on the sides and bottom
- Lay flat with no significant bunching or air pockets
Step 4: Secure the Top Edge (Ridge Line)
This is where most DIY tarp jobs fail — the top edge isn't secured properly and wind gets underneath. The best method:
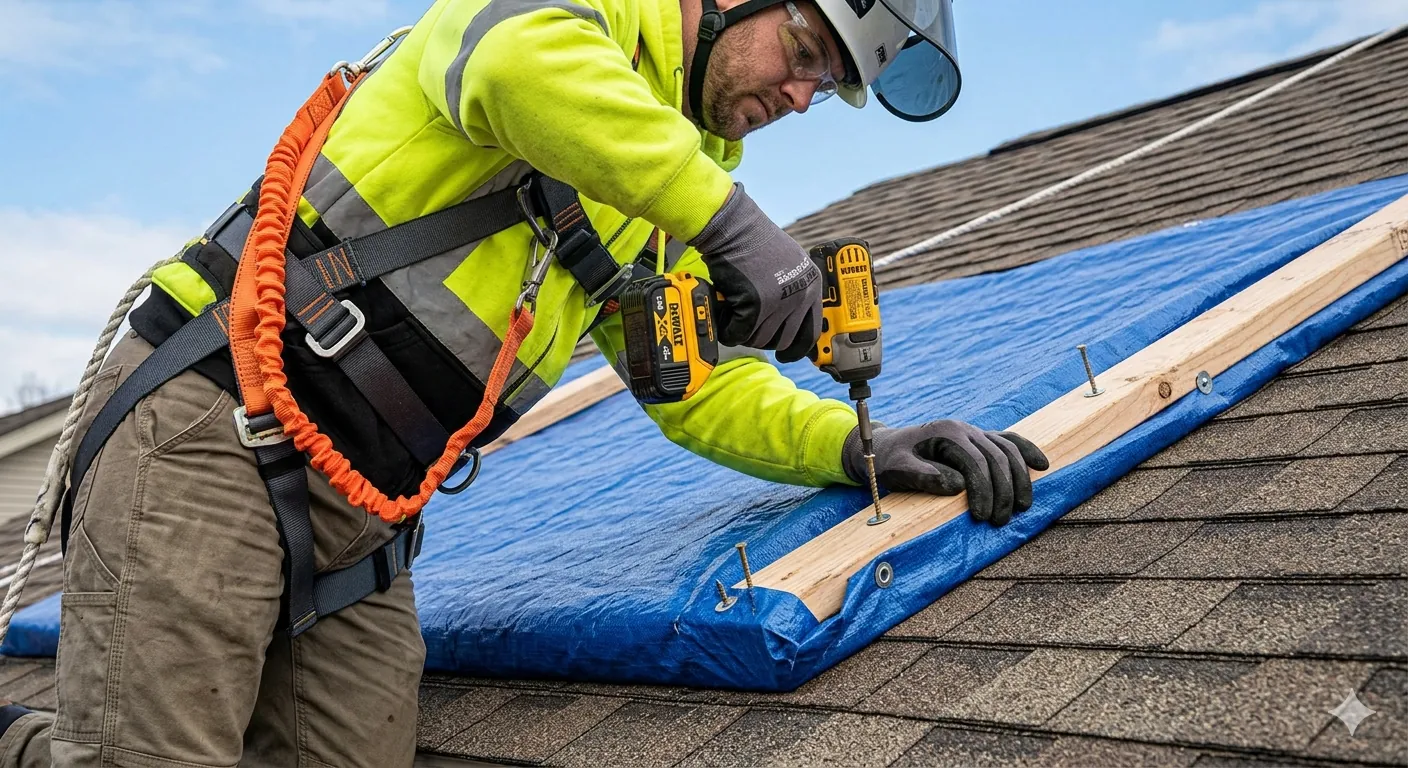
- Wrap the top edge of the tarp around a 2×4 board, rolling it at least one full wrap
- Place the 2×4 (with the tarp wrapped around it) along the ridge or just over the peak on the opposite side
- Screw through the 2×4, through the tarp, and into the roof deck using 3" screws every 12–16 inches
- The screws anchor the tarp firmly and the 2×4 distributes the force so the tarp doesn't tear at the screw holes
Step 5: Secure the Bottom Edge
At the bottom (eave) edge of the tarp, use the same 2×4 wrap-and-screw technique. The bottom edge should extend past the fascia board if possible, allowing water to drip off the tarp and into the gutter instead of running behind it.
Step 6: Secure the Side Edges
Run 2×4 boards along both side edges, screwing them through the tarp into the roof deck every 16–24 inches. Don't leave side edges unsecured — wind will get under them and balloon the tarp, eventually ripping it free.
Step 7: Check for Gaps and Tighten
Walk around (carefully) and look for any areas where the tarp is loose, bunched, or lifted. Pull it taut and add screws through the 2×4 battens as needed. Every edge and seam should be anchored. A properly secured tarp should feel tight like a drumhead with no flapping sections.
How to Tarp a Flat Roof
Flat roofs (low-slope roofs) have unique challenges. Since there's no ridge line, water pools on the tarp instead of sheeting off. Here's how to handle it:
- Create slope: if possible, build a slight ridge underneath the tarp using a long 2×4 to encourage water runoff
- Extend the tarp over the parapet wall: on flat roofs with parapet walls, drape the tarp over the wall edge and secure it to the outside face with screws or clamps
- Avoid pooling: check the tarp after each rain for water accumulation. Water weight on a flat tarped roof can exceed 50 lbs per square foot and collapse the damaged structure
- Use adhesive or roofing cement: since screwing into a flat roof membrane can create new leak points, use roofing cement or heavy-duty tape to secure the tarp edges to the existing membrane around the damage
How Long Can a Tarp Stay on a Roof?
A properly secured heavy-duty tarp can protect your roof for 30 to 90 days in most conditions. Here's what affects duration:
- Tarp quality: a heavy-duty UV-resistant (silver/white) tarp lasts 90+ days. A standard blue tarp degrades in 30–60 days of sun exposure.
- Securing method: 2×4 and screw anchoring lasts far longer than ropes, sandbags, or tape.
- Weather exposure: sustained high winds, heavy snow, and intense UV accelerate degradation.
- Re-inspection: check the tarp after every significant storm. Resecure any lifted edges and replace torn sections immediately.
Most insurance companies expect permanent repairs within 30–90 days of filing a claim. Don't leave a tarp on indefinitely — tarps are a temporary fix, and moisture can still develop underneath them, leading to mold growth and wood rot if left for months.
Tarps and Insurance Claims
Most homeowner's insurance policies cover emergency tarping as part of your duty to mitigate further damage. Key points:
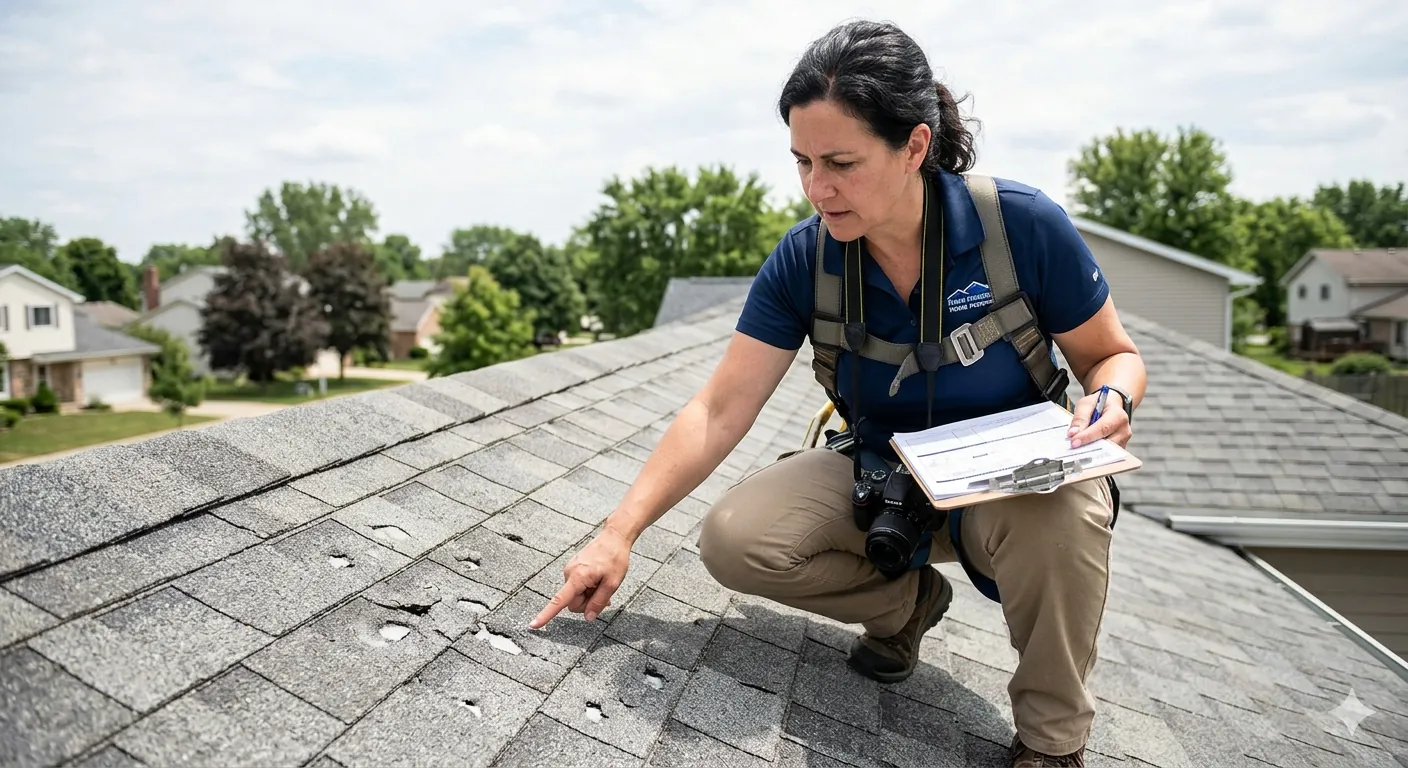
- Document everything before tarping: take photos and video of all damage from the ground and up close before you cover it. Your insurance adjuster needs to see the original damage.
- Save your receipts: keep receipts for the tarp, lumber, screws, and any tools purchased for the emergency repair. These costs are typically reimbursable under your policy.
- Professional tarping services: if you hire a contractor to tarp the roof, expect to pay $200–$700 depending on roof size and damage location. This cost is also typically covered by insurance.
- File the claim promptly: report the damage to your insurer as soon as possible. Most policies have reporting deadlines. Learn more about how much hail damage is needed to replace a roof through insurance.
Common Mistakes to Avoid
- Using rocks, bricks, or cinder blocks to hold the tarp — in any significant wind, these become airborne projectiles. Always use 2×4 boards screwed down.
- Tarp is too small — less than 4 feet of overlap means wind-driven rain gets under the edges. Always size up.
- Not extending over the ridge — water runs behind the tarp at the top edge if it doesn't wrap over the peak.
- Using rope alone to tie the tarp — rope stretches when wet and loosens over time. Ropes can also damage gutters and fascia boards.
- Tarping in the rain — a wet roof is extremely slippery. Wait for the rain to stop (even if it means accepting some additional water damage inside).
- Working alone — you need a helper to manage the tarp (wind catches it easily) and for safety in case of a fall.
- Ignoring the tarp after installation — check it after every storm. A tarp that shifts even slightly can funnel water directly into the damage instead of away from it.
When to Call a Professional
Consider calling a professional tarping service or roofing contractor when:
- The roof pitch is 8/12 or steeper (extremely steep — dangerous for non-professionals)
- The damage is structural (sagging rafters, large sections of missing decking)
- The roof is more than two stories high
- You don't have a safe ladder setup or don't feel comfortable working at height
- There are downed power lines near the roof
- You have physical limitations that make climbing and roof work unsafe
Professional emergency tarping typically costs $200–$700 and most contractors can respond within 24–48 hours after a storm (longer after major events). This cost is almost always reimbursable through your homeowner's insurance.
Cost Breakdown
| Method | Cost | Time | Durability |
|---|---|---|---|
| DIY tarp (heavy-duty, proper 2×4 securing) | $50–$200 | 1–3 hours | 60–90 days |
| Professional emergency tarping | $200–$700 | 1–2 hours | 60–90 days |
| Board-up service (roof + openings) | $500–$1,500 | 2–4 hours | 90+ days |
Want to learn more about roofing repair and maintenance?
Read Our Complete Roofing Guide →Frequently Asked Questions
More Roofing Guides
Related Calculators
- Planning a new driveway too? Use our driveway cost calculator
- Compare asphalt vs concrete costs for your driveway
You May Also Like
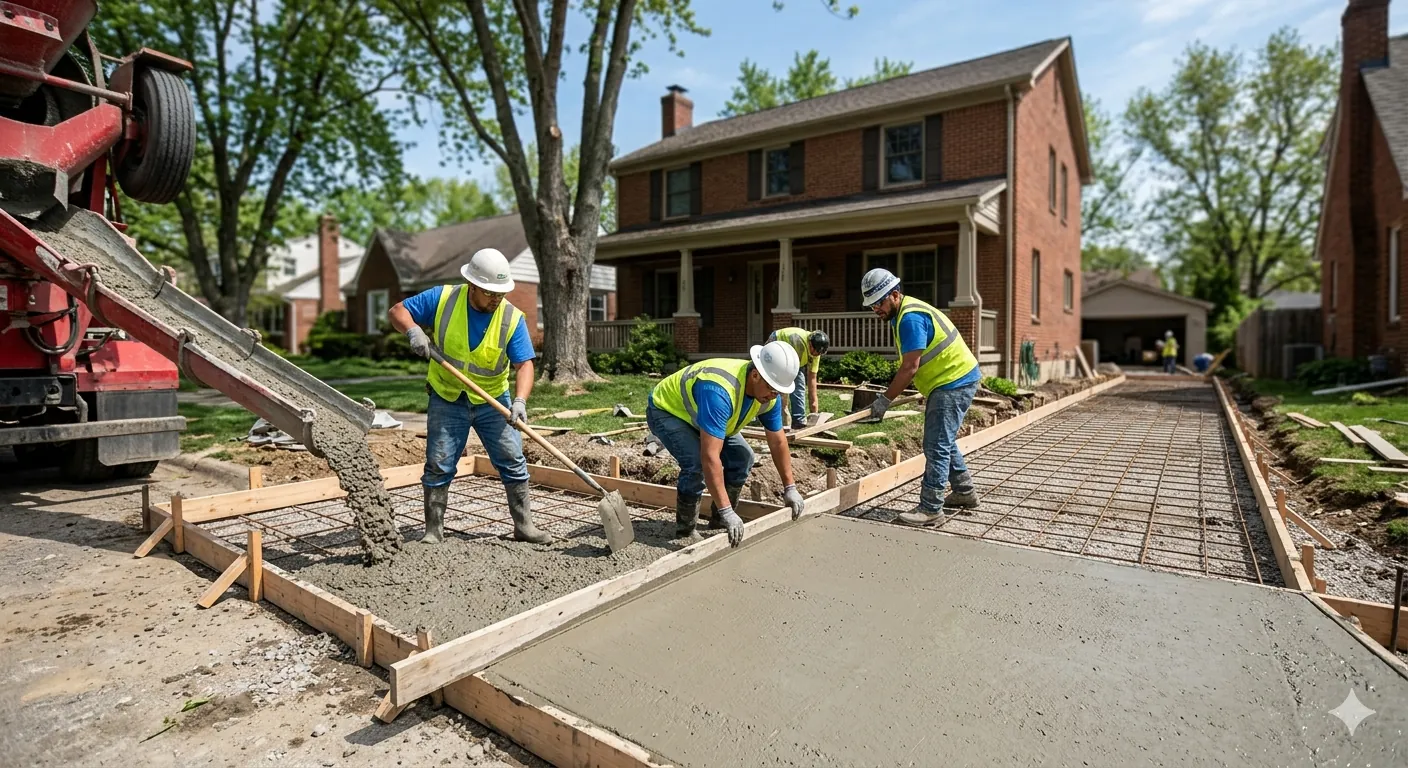
How Thick Should Concrete Be for a Driveway
Proper concrete thickness for driveways by use case. Standard cars, heavy vehicles, and code requirements explained.
How Much Does Concrete Lifting Cost
Mudjacking vs foam jacking costs compared. Average prices, when lifting works, and when replacement is better.
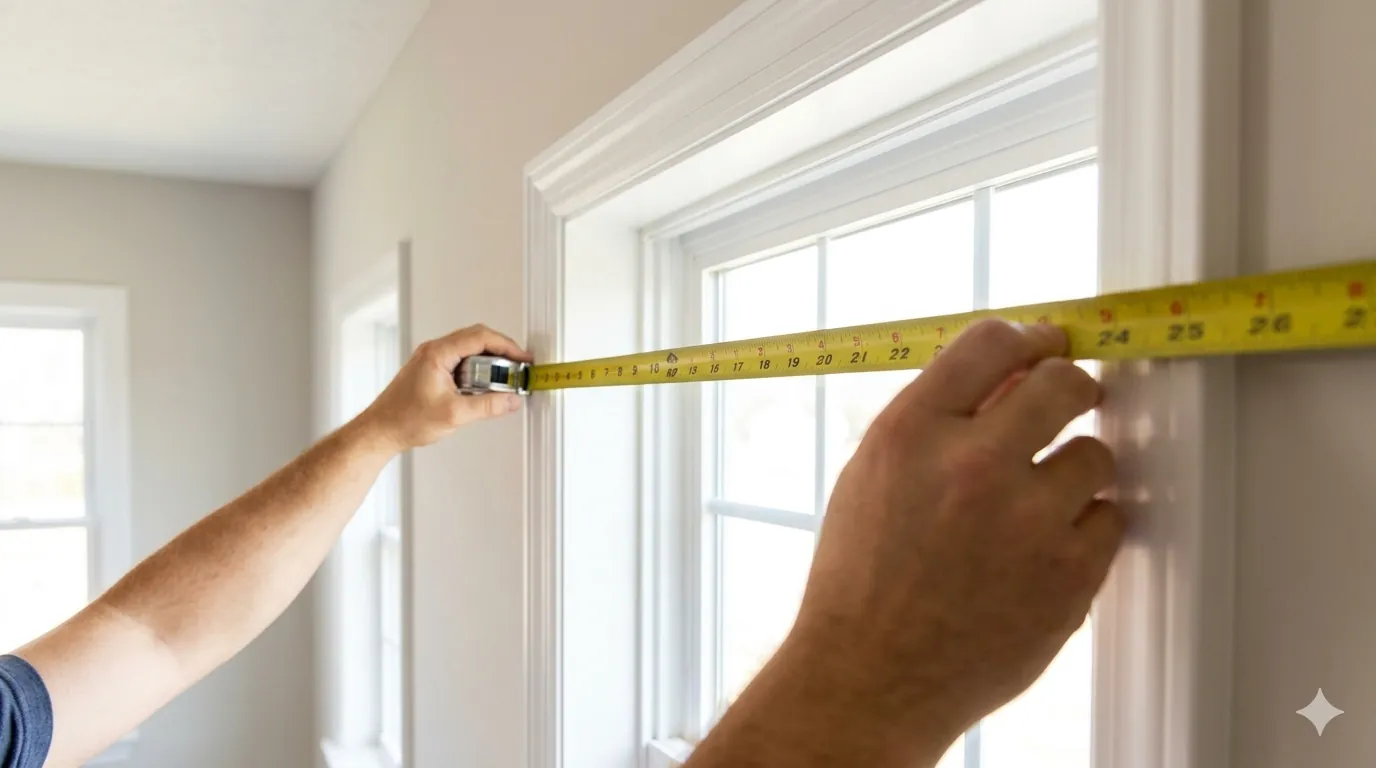
How to Measure Windows
Precise window measuring guide for replacements. Width, height, and depth measurements with diagrams.
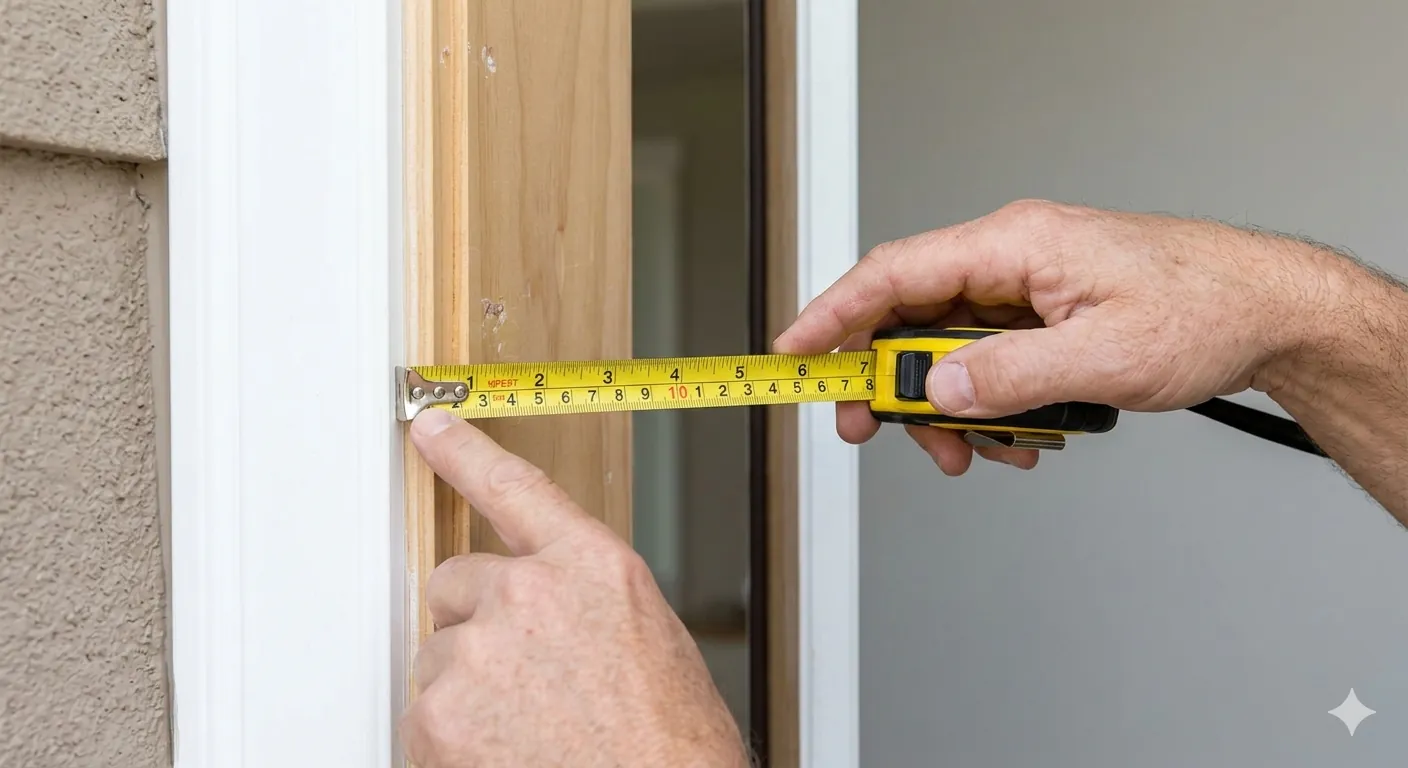
How to Measure a Door Jamb
Step-by-step door jamb measurement for replacement doors. Get the right fit every time.
Disclaimer: Roof work is inherently dangerous. This content is for informational purposes only. Always prioritize personal safety and consult a professional roofer for major damage. HouseFixGuide may earn a commission from links on this page.