How Do You Measure Windows?
- Why Measuring Correctly Matters
- Tools You'll Need
- Window Anatomy: Know the Parts
- How to Measure for Replacement Windows
- How to Measure for New Construction Windows
- Measuring Different Window Types
- How to Measure Window Depth
- Dealing with Out-of-Square Openings
- Common Measuring Mistakes
- How to Order the Right Size
- Window Replacement Costs in 2026
- Frequently Asked Questions
Ordering the wrong-size replacement window is one of the most expensive DIY mistakes a homeowner can make. A window that's too large won't fit the opening. A window that's too small leaves gaps that compromise energy efficiency, security, and aesthetics. And since most custom and special-order windows are non-returnable, a mismeasurement means paying for the same window twice.
The good news: learning how do you measure windows correctly is straightforward once you understand the process. This guide walks you through every measurement you need, with specific instructions for different window types and situations.
Why Measuring Correctly Matters
Window measurements need to be accurate to within 1/8 inch. Here's why precision matters:
- Too large by even 1/4" — the window physically won't fit into the opening without removing additional framing, which turns a simple insert replacement into a major carpentry project
- Too small by more than 1/2" — excessive shimming is needed, which can look sloppy, compromise the window's structural integrity, and create air leaks
- Out-of-square measurements — if you don't account for an opening that's not perfectly square (common in older homes), the window may fit on one side but not the other
- Insufficient depth — replacement windows need a minimum frame depth to sit properly in the opening. If the sill depth is too shallow, the window protrudes and doesn't seal correctly.
Most window manufacturers build replacement windows 1/4" to 3/8" smaller than the ordered size to allow for shimming and adjustment. This means your measurements need to reflect the actual opening size — the manufacturer handles the tolerance.
Tools You'll Need
- Steel tape measure (25') — a quality tape measure with a locking blade is essential. Avoid using cloth or retractable fabric tape measures.
- Notepad and pen — record every measurement immediately. Don't rely on memory, especially if you're measuring multiple windows.
- Step stool or ladder — to reach the top of tall windows for accurate height measurements
- Flashlight — to see into the window frame cavity when measuring depth
- Putty knife or flat-blade screwdriver — to gently pry off interior stops if they're blocking your measurement points
- Level (optional) — to check if the opening is plumb and level
Window Anatomy: Know the Parts
Before measuring, you need to identify the key parts of your existing window frame. Understanding these terms ensures you measure at the right points:
- Jambs — the vertical sides of the window frame (left and right). You measure width between the jambs.
- Head jamb — the horizontal top of the window frame. You measure height down from the head jamb.
- Sill — the bottom horizontal piece of the frame. Height is measured up from the sill (not from the interior sill extension or "stool" that sticks into the room).
- Interior stops — thin trim strips on the inside that hold the window sash in place. For replacement windows, you measure to the jamb surface, not to the stops.
- Exterior stops/blind stops — similar strips on the outside that define the outer edge of the window frame
- Parting bead — a vertical strip between the upper and lower sashes in double-hung windows, separating the two tracks
- Sash — the movable part of the window that holds the glass. In a replacement, the old sashes come out and the new window unit goes in.
How to Measure for Replacement (Insert) Windows
Replacement windows — also called "insert" or "pocket" windows — are designed to fit inside the existing window frame. The old sashes are removed, but the frame (jambs, sill, head) stays in place. This is the most common type of window replacement because it doesn't require disturbing the interior or exterior trim, siding, or insulation.
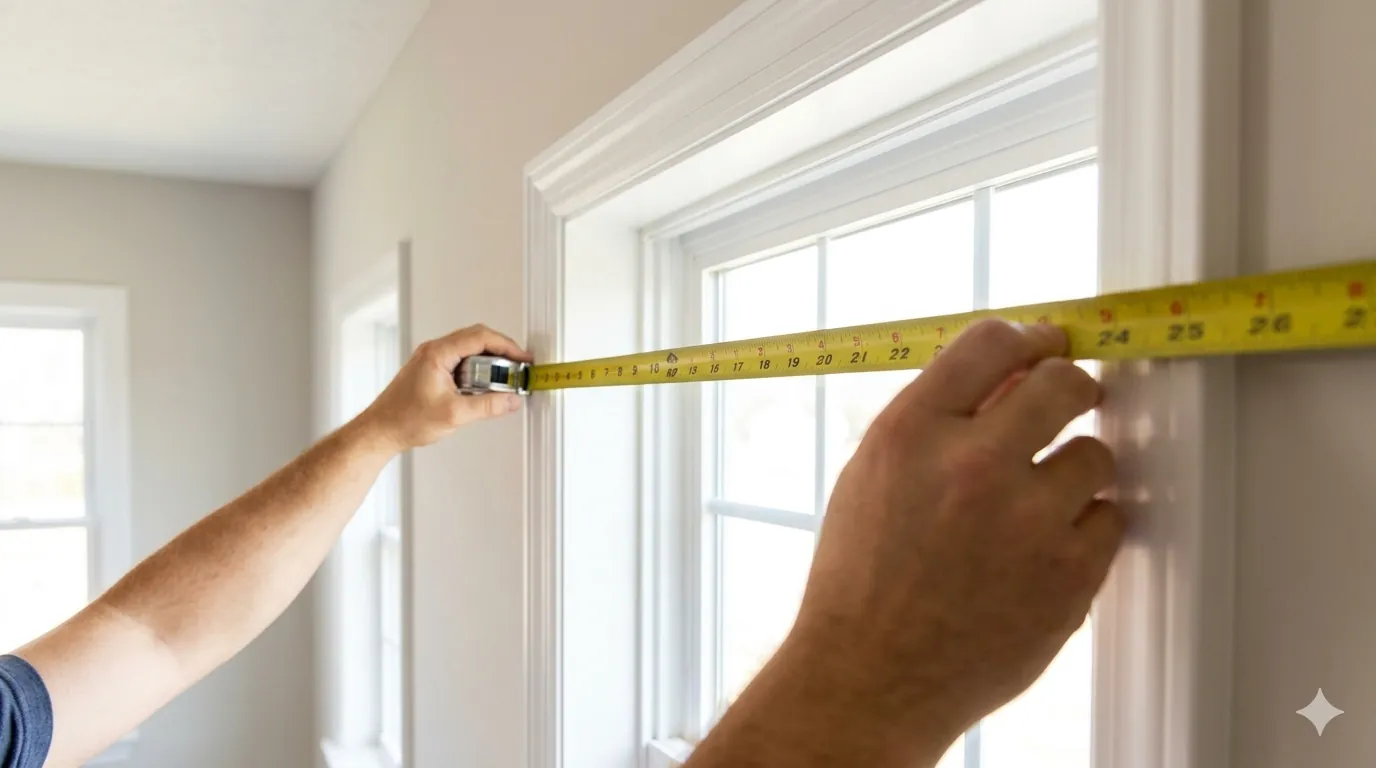
Step 1: Measure the Width (3 measurements)
With the window in its closed position, measure the horizontal distance between the inside faces of the side jambs — not the glass, not the sash, not the stops. You want jamb-to-jamb:
- Top width — measure across the top of the window opening, about 2 inches below the head jamb
- Middle width — measure across the center of the opening
- Bottom width — measure across the bottom, about 2 inches above the sill
Record the smallest of the three width measurements. This ensures the new window fits at the tightest point. If the opening is wider elsewhere, shims will fill the gap (which is normal and expected).
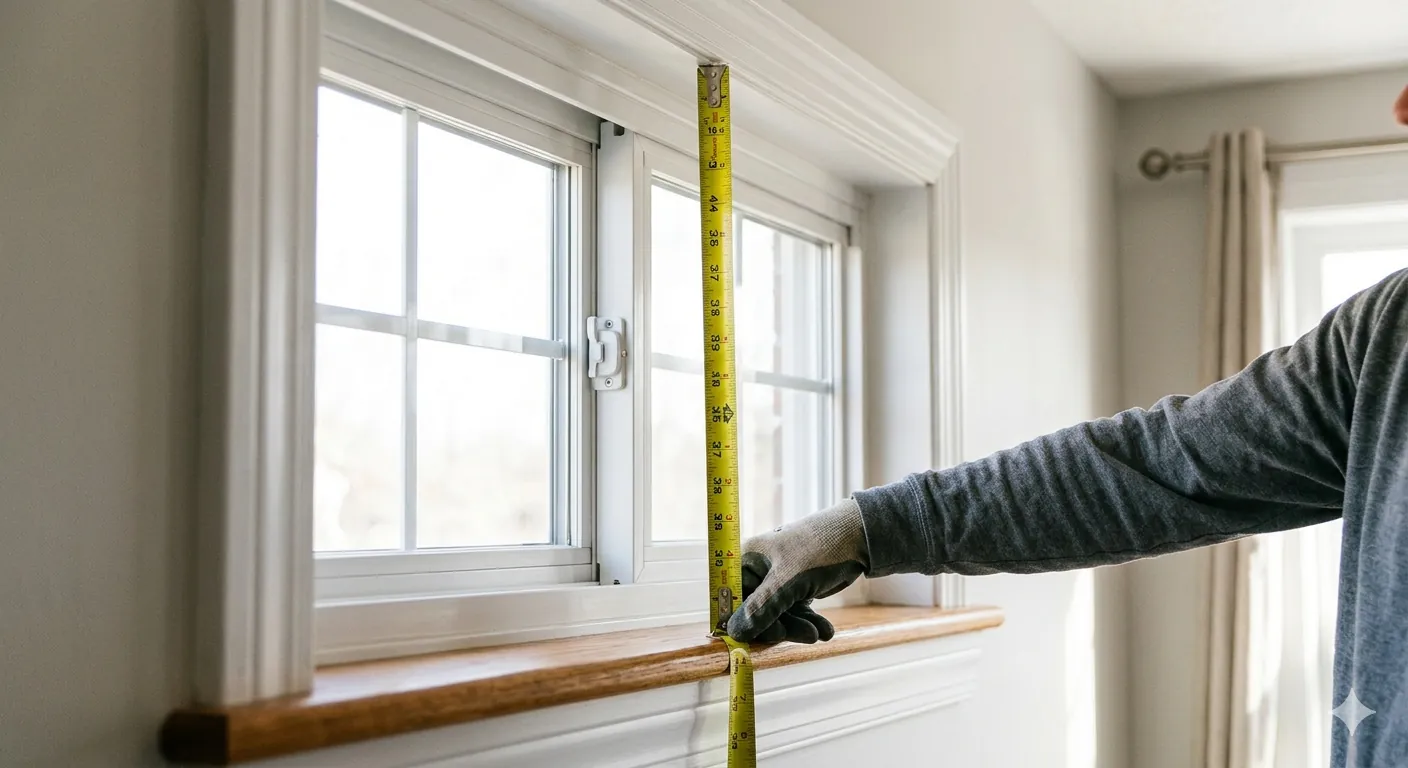
Step 2: Measure the Height (3 measurements)
Measure the vertical distance from the top of the sill (the sloped surface, not the flat interior stool) to the bottom of the head jamb:
- Left height — measure on the left side of the opening, about 2 inches from the left jamb
- Center height — measure at the center of the opening
- Right height — measure on the right side, about 2 inches from the right jamb
Record the smallest of the three height measurements. Same logic — the smallest ensures fit at the tightest point.
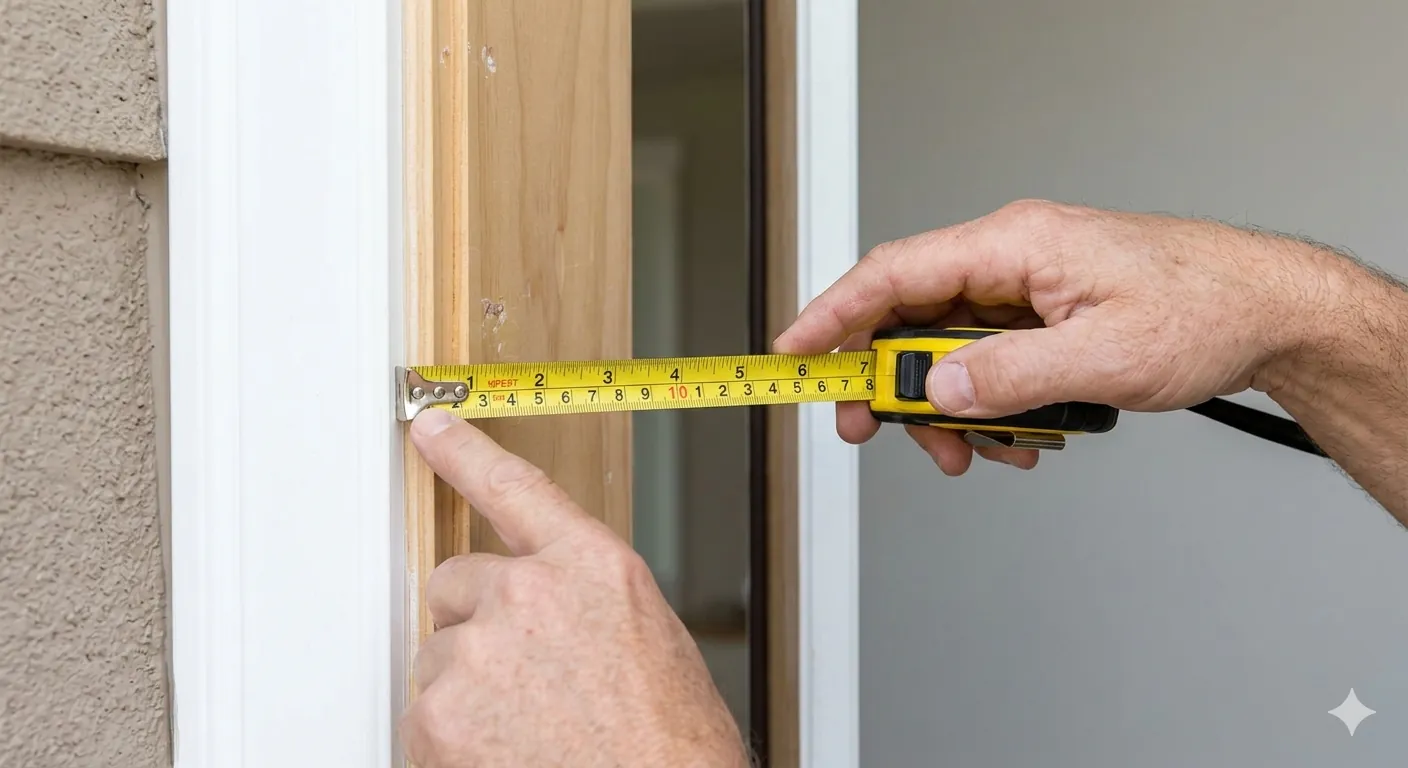
Step 3: Measure the Depth
Open the window sash and measure the depth of the frame from the inside face of the interior trim/stop to the outside face of the exterior blind stop. This is the available space for the new window frame to sit in.
- Minimum depth for most replacement windows: 3-1/4 inches
- Ideal depth: 3-1/2 inches or more, which accommodates most standard replacement window frames and allows for proper insulation around the frame
- If your depth is less than 3-1/4", you may need a specialized narrow-frame replacement window or a different installation approach
Step 4: Check for Square
Measure the diagonals: from the top-left corner to the bottom-right, then from the top-right to the bottom-left. If the two diagonal measurements are within 1/4" of each other, the opening is reasonably square. If the difference is more than 1/4", note it — the window installer needs to know this.
How to Measure for New Construction Windows
New construction windows include a nailing fin (flange) that attaches directly to the wall studs. They're used in new builds or when you're replacing walls/siding and can access the rough framing. For these, you measure the rough opening — the framed hole in the wall studs:
- Measure width between the jack studs (the studs on each side of the opening)
- Measure height from the rough sill plate (bottom framing) to the bottom of the header (top framing)
- New construction windows are typically ordered 1/2" smaller than the rough opening in both dimensions to allow for shimming and leveling
If you're adding a window to a wall that doesn't currently have one, you'll need to frame the rough opening yourself (or hire a carpenter). Standard rough opening sizes follow window manufacturer specifications — check the manufacturer's sizing chart before framing.
Measuring Different Window Types
Double-Hung Windows
The most common residential window type. Both upper and lower sashes slide vertically. Measure as described above — width between jambs, height from sill to head jamb. The parting bead (the strip between the two sashes) stays in place for measurement purposes.
Single-Hung Windows
Only the bottom sash moves; the top sash is fixed. Measure the same way as double-hung — the measurement process is identical.
Casement Windows (Crank-Out)
Casement windows hinge on one side and crank outward. Measure width and height the same way (jamb-to-jamb, sill-to-head), but also note which side the hinge is on (left-hinged or right-hinged) when ordering the replacement.
Sliding Windows
One or both sashes slide horizontally. Measure width and height between the jambs. Note which panel slides (left, right, or both) for ordering.
Picture (Fixed) Windows
Non-operable windows that don't open. Measure the same way — width between jambs, height from sill to head. These are typically the simplest to measure because there are no moving parts to complicate the frame structure.
Bay and Bow Windows
These are multi-panel windows that project outward from the wall. Do not attempt to measure these yourself for replacement. The angles, framing, structural support, and flashing requirements make professional measurement essential. Most window companies offer free in-home measurement for bay and bow windows.
How to Measure Window Depth in Detail
Depth (also called "jamb depth" or "frame depth") is the measurement most homeowners forget or get wrong. It determines whether the replacement window frame fits flush within the wall:
| Frame Depth Available | Compatibility | Notes |
|---|---|---|
| Less than 3-1/4" | Limited options | Need narrow-frame or custom windows; common in mobile homes and some older construction |
| 3-1/4" to 3-1/2" | Most standard replacement windows | The most common range in residential construction |
| 3-1/2" to 4-9/16" | All standard replacement windows | Ideal range; allows for insulation around the frame |
| 4-9/16" or greater | All windows; can accommodate triple-pane | Common in newer construction and 2×6 wall framing |
If you're upgrading from single-pane to double-pane or triple-pane glass, the replacement window frame is thicker. Make sure your frame depth accommodates the thicker unit. Triple-pane windows typically need at least 4" of depth.
Dealing with Out-of-Square Openings
Older homes (pre-1970s) commonly have window openings that have settled, shifted, or were never perfectly square to begin with. Here's how to handle it:
- Minor out-of-square (less than 1/4" difference in diagonals) — normal and expected. Using the smallest width and height measurements naturally accounts for this. The installer uses shims to plumb and level the window.
- Moderate out-of-square (1/4" to 1/2" difference) — still workable, but requires more aggressive shimming. The installer may need to use expanding foam insulation around the frame to fill larger gaps. Note the out-of-square condition on your order.
- Severe out-of-square (more than 1/2" difference) — the frame may need to be reframed or repaired before installing new windows. Trying to force a square window into a severely racked opening causes operational problems (hard to open/close) and seal failures.
You can check for plumb and level using a 2-foot level placed against the jambs (for plumb) and on the sill (for level). Document any significant deviations.
Common Measuring Mistakes
- Measuring the glass instead of the frame opening — the glass size is not the window size. You need to measure the frame opening between the jambs.
- Measuring to the stops instead of the jambs — interior and exterior stops are thin trim pieces that can be removed. The measurement should be between the actual jamb surfaces behind the stops.
- Taking only one measurement — a single width and single height reading assumes the opening is perfectly square. It almost never is. Take three of each.
- Rounding up — if your measurement is 35-3/4", record 35-3/4". Do not round to 36". Window manufacturers account for tolerance; rounding up can result in a window that's too large.
- Measuring from outside — exterior trim and casing can give misleading measurements. Always measure from inside the house at the jamb surfaces.
- Forgetting to measure depth — a window that's the right width and height but doesn't fit the frame depth is just as useless as a wrong-sized window.
- Mixing up width and height — industry standard is width × height (W × H). Double-check that you haven't swapped the numbers, especially for tall, narrow windows.
- Not noting the window type — when measuring multiple windows, label each measurement with its location (e.g., "master bedroom, south wall, left window").
How to Order the Right Size Window
Once you have your measurements, here's how to order:
- Report the smallest width and smallest height — manufacturers deduct their factory tolerance (usually 1/4" to 3/8" per side) from your reported numbers
- Specify "replacement" or "new construction" — this determines whether the window comes with a nailing fin or insert frame
- Note the window style — double-hung, casement (left or right hinge), slider, picture, etc.
- Specify the frame material — vinyl, wood, fiberglass, aluminum, or composite
- Choose the glass package — double-pane or triple-pane, Low-E coating, argon or krypton gas fill
- Grid pattern — if applicable, matching the existing home style (colonial grids, prairie grids, no grids)
- Interior and exterior color — many manufacturers offer different colors for interior and exterior surfaces
For standard sizes, many home improvement stores (Home Depot, Lowe's) carry in-stock replacement windows that ship or are available within 1–2 weeks. Custom sizes take 3–6 weeks to manufacture.
Window Replacement Costs in 2026
| Window Type | Window Cost | Installation | Total Per Window |
|---|---|---|---|
| Vinyl double-hung (standard size) | $200–$400 | $150–$300 | $350–$700 |
| Vinyl casement | $250–$500 | $150–$300 | $400–$800 |
| Wood double-hung | $400–$800 | $200–$400 | $600–$1,200 |
| Fiberglass (any type) | $500–$1,000 | $200–$400 | $700–$1,400 |
| Triple-pane upgrade | +$100–$250 per window | Same | Variable |
Most homeowners replace 8–15 windows during a whole-house project, with total costs ranging from $4,000 to $15,000 depending on window quality and home size. Learn more in our complete windows and doors guide.
Want to learn more about windows and doors?
Read Our Complete Windows & Doors Guide →Frequently Asked Questions
More Windows & Doors Guides
You May Also Like
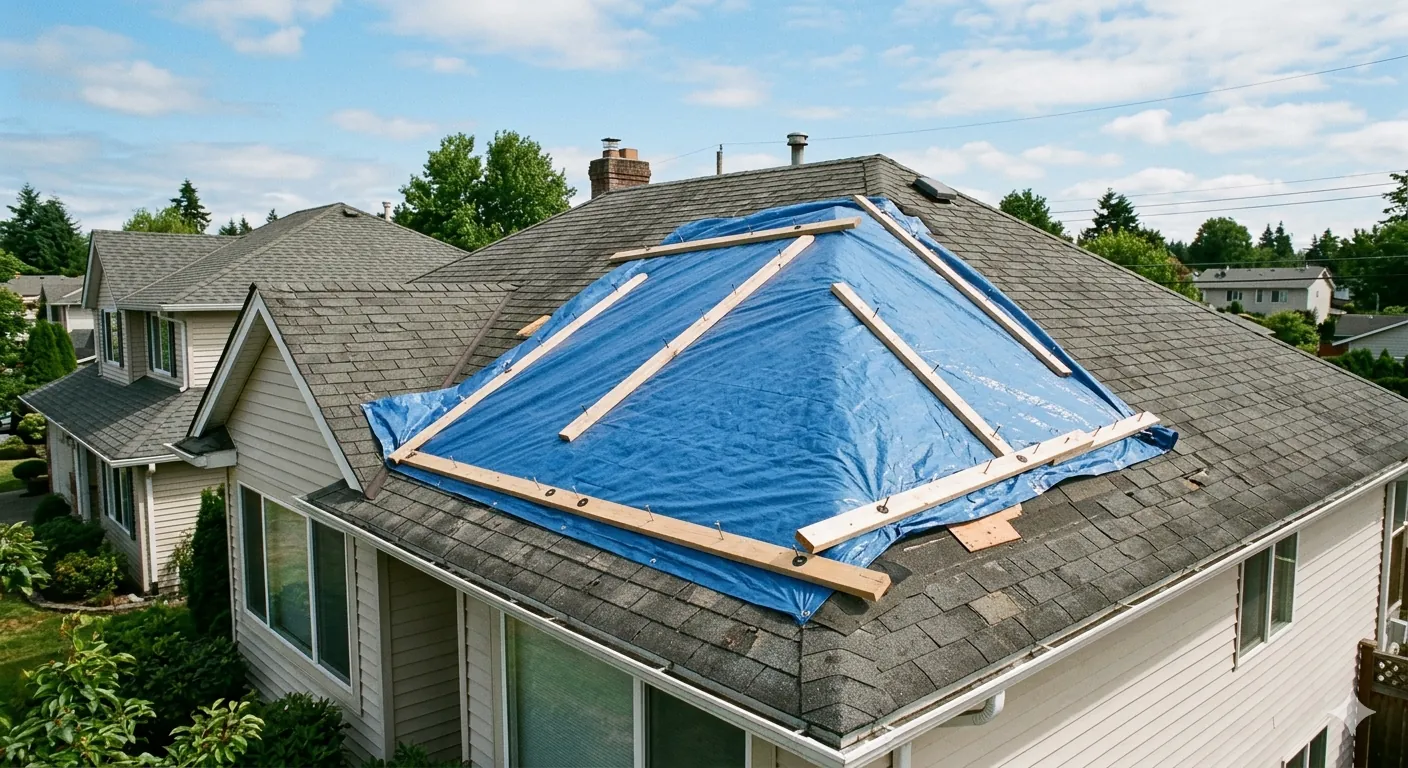
How to Tarp a Roof
Step-by-step guide to emergency roof tarping after storm damage. Protect your home from water damage with proper tarp installation.

How Much Hail Damage to Replace Roof
Learn what level of hail damage qualifies for a full roof replacement through your insurance. Adjuster criteria explained.
How Long Do AC Units Last in Florida
Florida AC lifespan data, climate factors that shorten unit life, and signs your AC needs replacing.
How to Fix Short Cycling Air Conditioner
Diagnose and fix an AC that keeps turning on and off. Common causes from dirty filters to bad capacitors.
Disclaimer: This content is for informational purposes only. Always verify measurements with your window manufacturer or installer before ordering. HouseFixGuide may earn a commission from links on this page.