How to Connect a Water Softener
- Before You Start: Planning and Tools
- Choosing the Right Location
- Step-by-Step Plumbing Connection
- Connecting the Drain Line
- Installing the Bypass Valve
- Initial Startup and First Regeneration
- Well Water vs. City Water Hookup Differences
- Common Installation Mistakes
- Installation Cost Breakdown
- Frequently Asked Questions
Connecting a water softener is one of the most rewarding DIY plumbing projects a homeowner can tackle. The plumbing is straightforward — you're essentially adding a two-port appliance (inlet and outlet) to your main water line, plus a drain hose for the regeneration discharge. If you can connect a washing machine or dishwasher, you can learn how to connect a water softener.
That said, there are critical details that determine whether your installation works flawlessly for the next 15 years or causes problems from day one. Getting the inlet and outlet reversed, skipping the bypass valve, placing the softener after the water heater, or running the drain line improperly are all mistakes that can damage the softener or your plumbing. This guide covers every step with enough detail to get it right the first time.
Before You Start: Planning and Tools
Tools and Materials You'll Need
- Pipe cutter — copper tubing cutter or PEX cutter depending on your plumbing material
- Adjustable wrenches (2) — for tightening compression fittings
- Teflon tape — for all threaded connections
- Push-fit fittings or compression fittings — SharkBite-style push-fit fittings are the easiest for DIY; compression fittings are cheaper and equally reliable
- Flexible stainless steel braided connectors (2) — 3/4" or 1" depending on your plumbing size. These connect the softener to your plumbing and eliminate the need for precise pipe alignment.
- Drill and 1" spade bit — only needed if you're routing the drain line through a wall or floor
- 5/8" or 1/2" drain line hose — usually included with the softener; needs to reach from the unit to your drain point
- Bypass valve — almost always included with the softener. The bypass allows you to shut off water flow to the softener for maintenance without shutting off water to the house.
- Bucket and towels — for catching residual water when you cut into the main line
Before Cutting Any Pipe
- Shut off the main water supply and open a faucet at the lowest point in the house to drain pressure
- Turn off the water heater (gas: pilot mode; electric: breaker off). You don't want the heater running with no water flowing through it.
- Confirm which pipe is inlet (from the well/street) and which is outlet (to the house). Trace the pipe from outside or from the meter. The inlet goes to the softener's "IN" port; the outlet goes from the "OUT" port to your home plumbing.
- Measure the space where the softener will sit. You need at least 10" of clearance on top for valve service access, plus room for the brine tank (usually sits next to the mineral tank).
Choosing the Right Location
Where you install the water softener matters for both performance and convenience. The ideal location meets all of these criteria:
- Near the main water entry point — as close to where the main line enters the house as possible. This ensures all internal plumbing gets softened water.
- Before the water heater — softened water in the water heater prevents scale buildup inside the tank and on heating elements, extending the heater's life by 25–40%. Never place the softener after the water heater.
- Near a floor drain, utility sink, or standpipe — the softener produces 40–60 gallons of wastewater during each regeneration cycle. The drain line must route to a proper drain. Never discharge softener wastewater into a septic leach field or directly outside (it's illegal in most jurisdictions due to salt content).
- Near a 120V electrical outlet — standard single-tank softeners need power for the timer/metered valve. The outlet should be a standard grounded receptacle within 6 feet of the unit (most softeners come with a 6-foot cord).
- Protected from freezing — water inside the softener can freeze and crack the tanks. Never install in an unheated area that drops below 32°F.
- Level, solid surface — the mineral tank is heavy when filled with resin and water (100–200 lbs). Place it on a level concrete floor, not on dirt or elevated platforms.
The most common installation locations are: basement (best for most homes), utility/laundry room, attached garage (if climate-controlled), or a crawlspace (if accessible and protected from freezing).
Step-by-Step Plumbing Connection
Here's the complete process for connecting your water softener to the household plumbing:
Step 1: Position the Softener
Set the mineral tank and brine tank in their final position. The mineral tank (the tall cylinder with the control valve on top) should be within reach of both the inlet and outlet pipes. Leave at least 3 inches between the mineral tank and brine tank for airflow and service access.
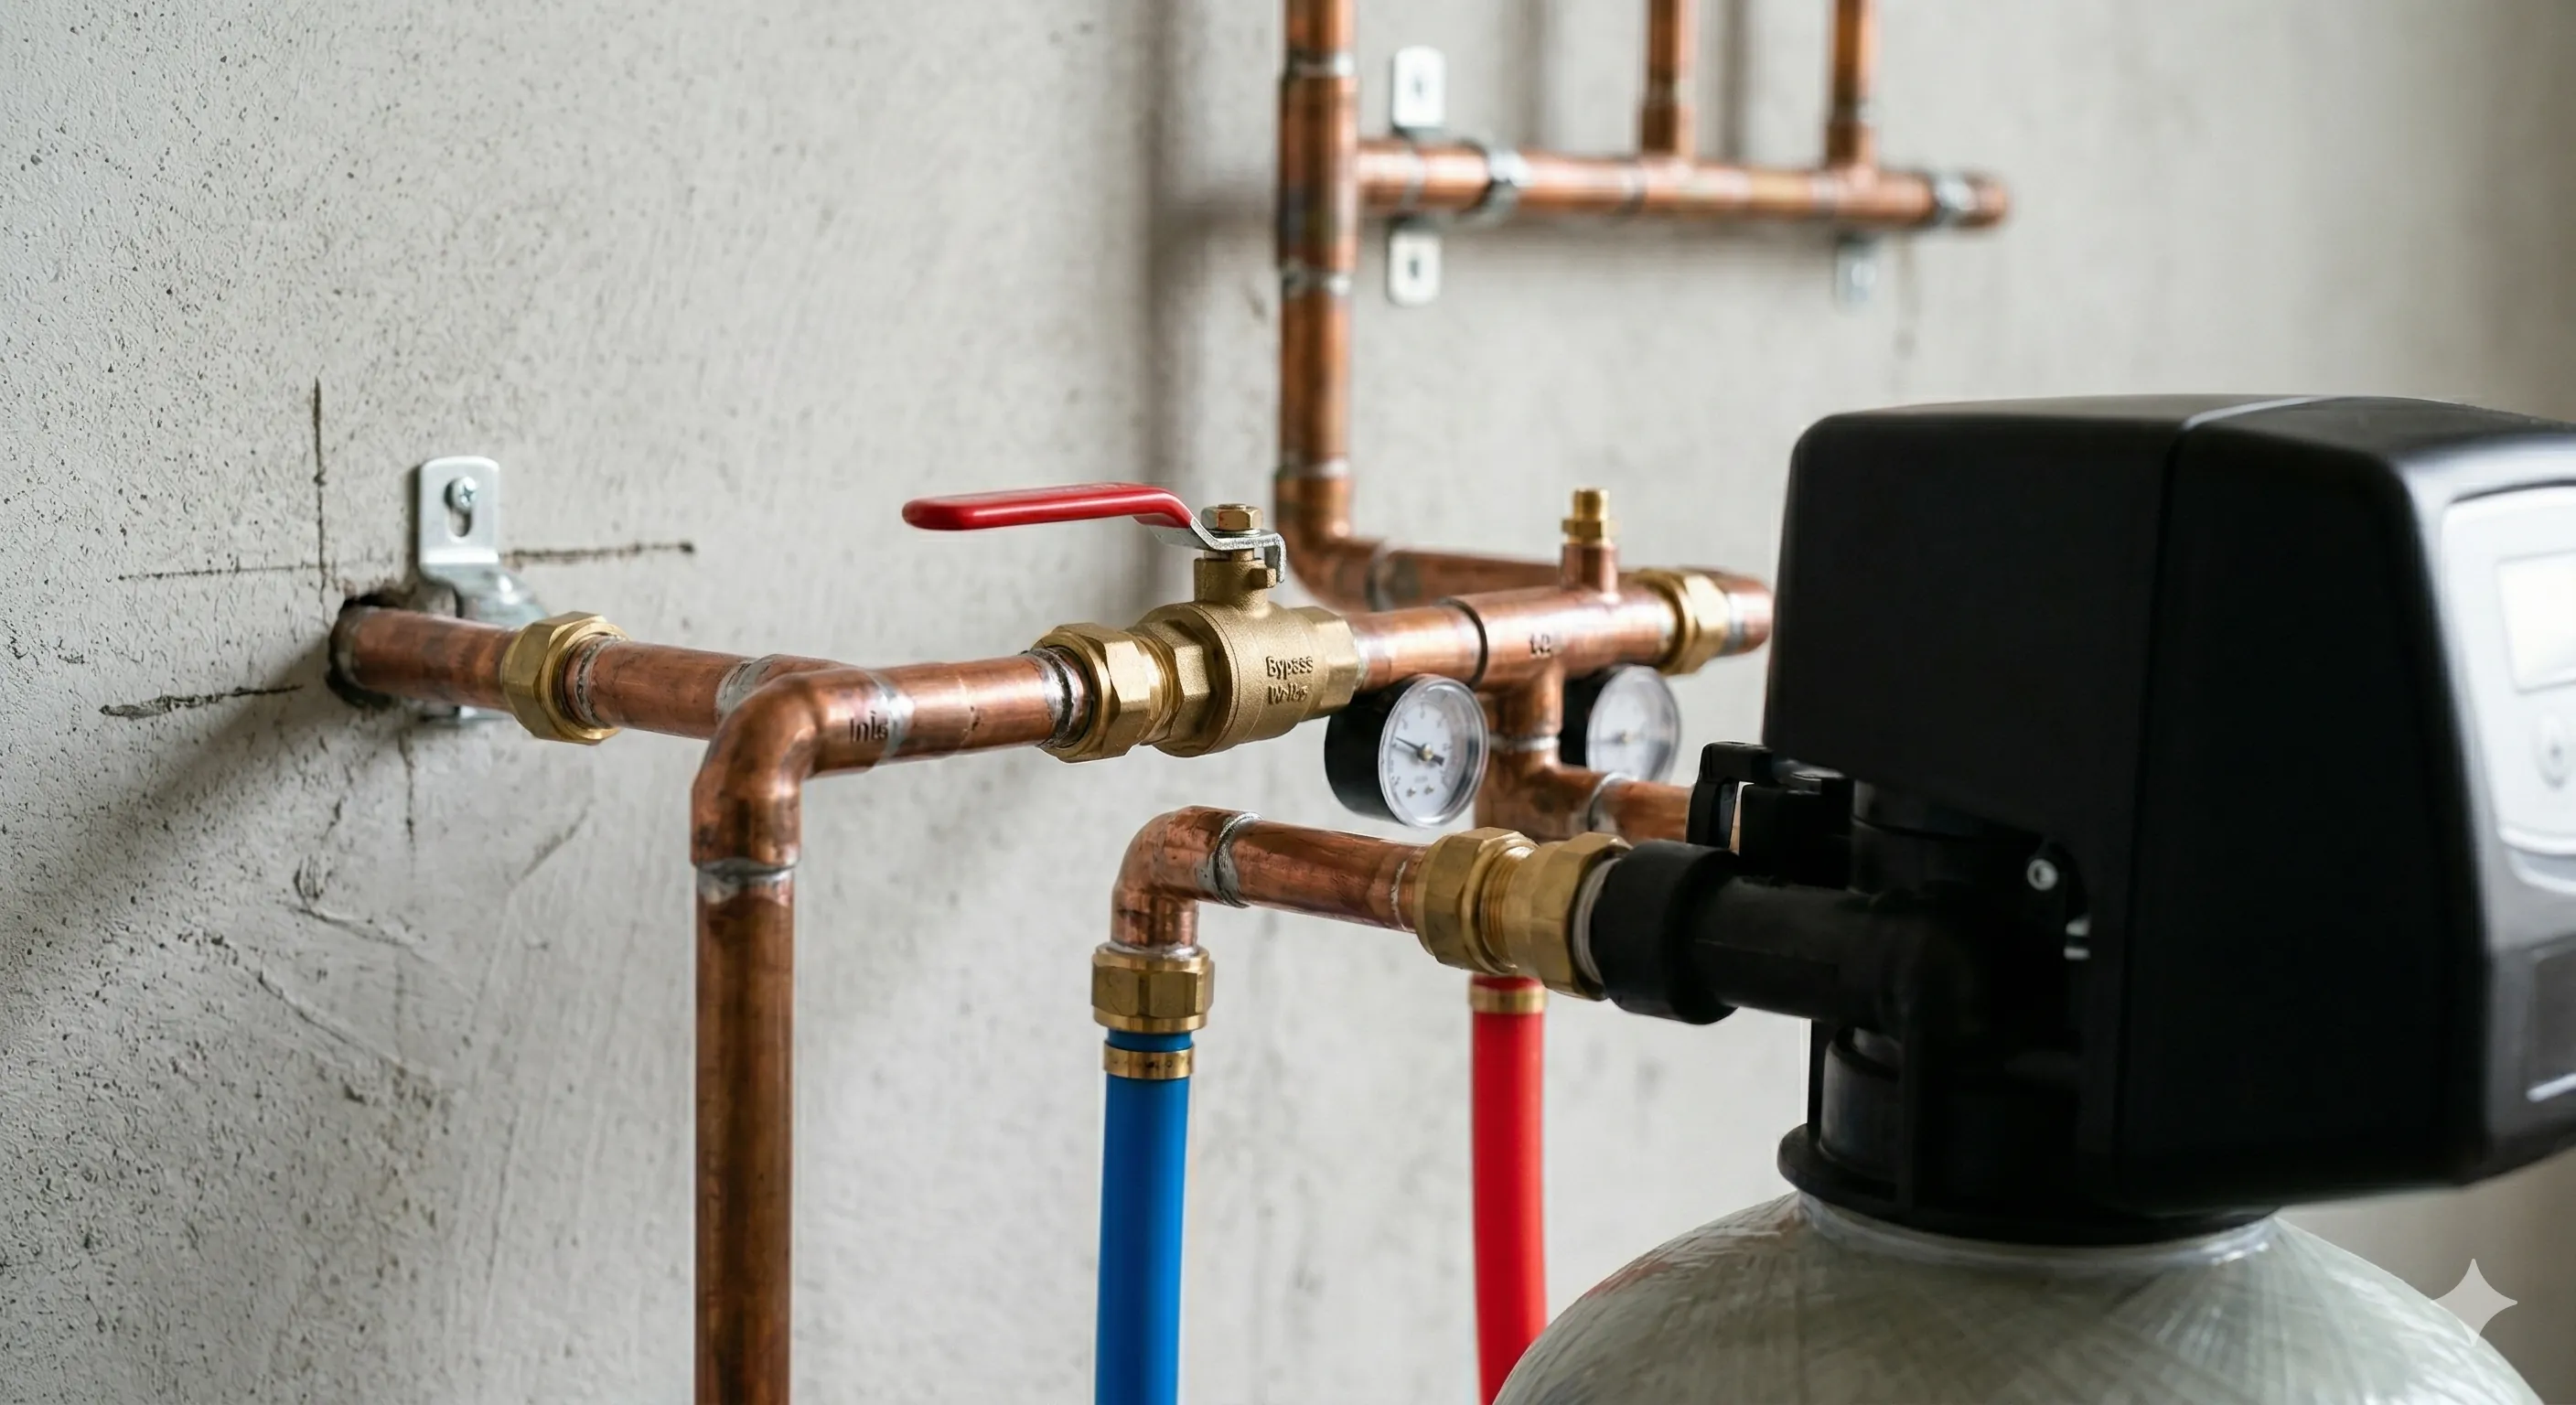
Step 2: Install the Bypass Valve
Attach the bypass valve to the softener's valve head. This is usually a clip-on or threaded assembly that mounts directly to the inlet and outlet ports on top of the control valve. The bypass valve has three positions: service (normal operation), bypass (water flows around the softener), and off (no water flows).
Step 3: Cut Into the Main Water Line
With the water shut off and pressure drained, cut the main water line at your planned connection point. You need a gap of about 4–6 inches for the fittings. Use a pipe cutter for clean cuts. If you're using push-fit (SharkBite) fittings, deburr the cut ends thoroughly — any burrs can prevent a proper seal.
Step 4: Connect the Inlet (Supply) Line
Run a flexible braided connector or rigid pipe from the cut main line (the side coming from the well/street/meter) to the softener's INLET port. Double-check the arrow on the control valve head — water must flow in the correct direction. Getting inlet and outlet reversed is the #1 installation mistake.
Apply Teflon tape (3–4 wraps clockwise) to all male threaded connections before tightening. Hand-tighten first, then snug with a wrench — do not overtighten, which can crack the valve fittings.
Step 5: Connect the Outlet Line
Run a second flexible connector or pipe from the softener's OUTLET port to the house side of the cut main line. This delivers softened water to the rest of the home. Again, Teflon tape on all threads.
Step 6: Consider an Outdoor Spigot Bypass
Many homeowners prefer to keep at least one outdoor hose bib on unsoftened (hard) water. Softened water contains a small amount of sodium and isn't ideal for watering gardens, washing cars, or filling pools. If your outdoor spigots are fed by a line that branches off before the softener location, they'll naturally get hard water. If not, you may want to tee off a hard water line before the softener's inlet.
Connecting the Drain Line
The drain line carries the brine and hardness minerals flushed during regeneration. Proper drain line routing is critical:
- Drain line diameter: use the 5/8" or 1/2" tubing provided with the softener (or check the manual for specifications).
- Maximum drain line length: most softeners specify a maximum of 20–30 feet of drain line. Longer runs may prevent proper flow, especially if the line must rise.
- Maximum elevation above the floor: the drain line can typically rise no more than 8 feet above the floor. Check your softener's manual — exceeding this limit means the unit can't push the wastewater high enough during regeneration.
- Air gap required: the drain line must terminate with an air gap above the drain — meaning the hose should not be submerged in standing water. An air gap prevents siphoning and potential backflow contamination. Many building codes require a minimum 1.5" air gap.
- Acceptable drain destinations: floor drain, laundry drain standpipe, utility sink, or a dedicated dry well (check local codes). Never connect directly to a sewer line without an air gap; never drain into a septic leach field.
Secure the drain line with clamps every 4–5 feet and ensure it runs downhill from the softener to the drain (no uphill dips where water can collect and freeze or stagnate).
Installing the Bypass Valve
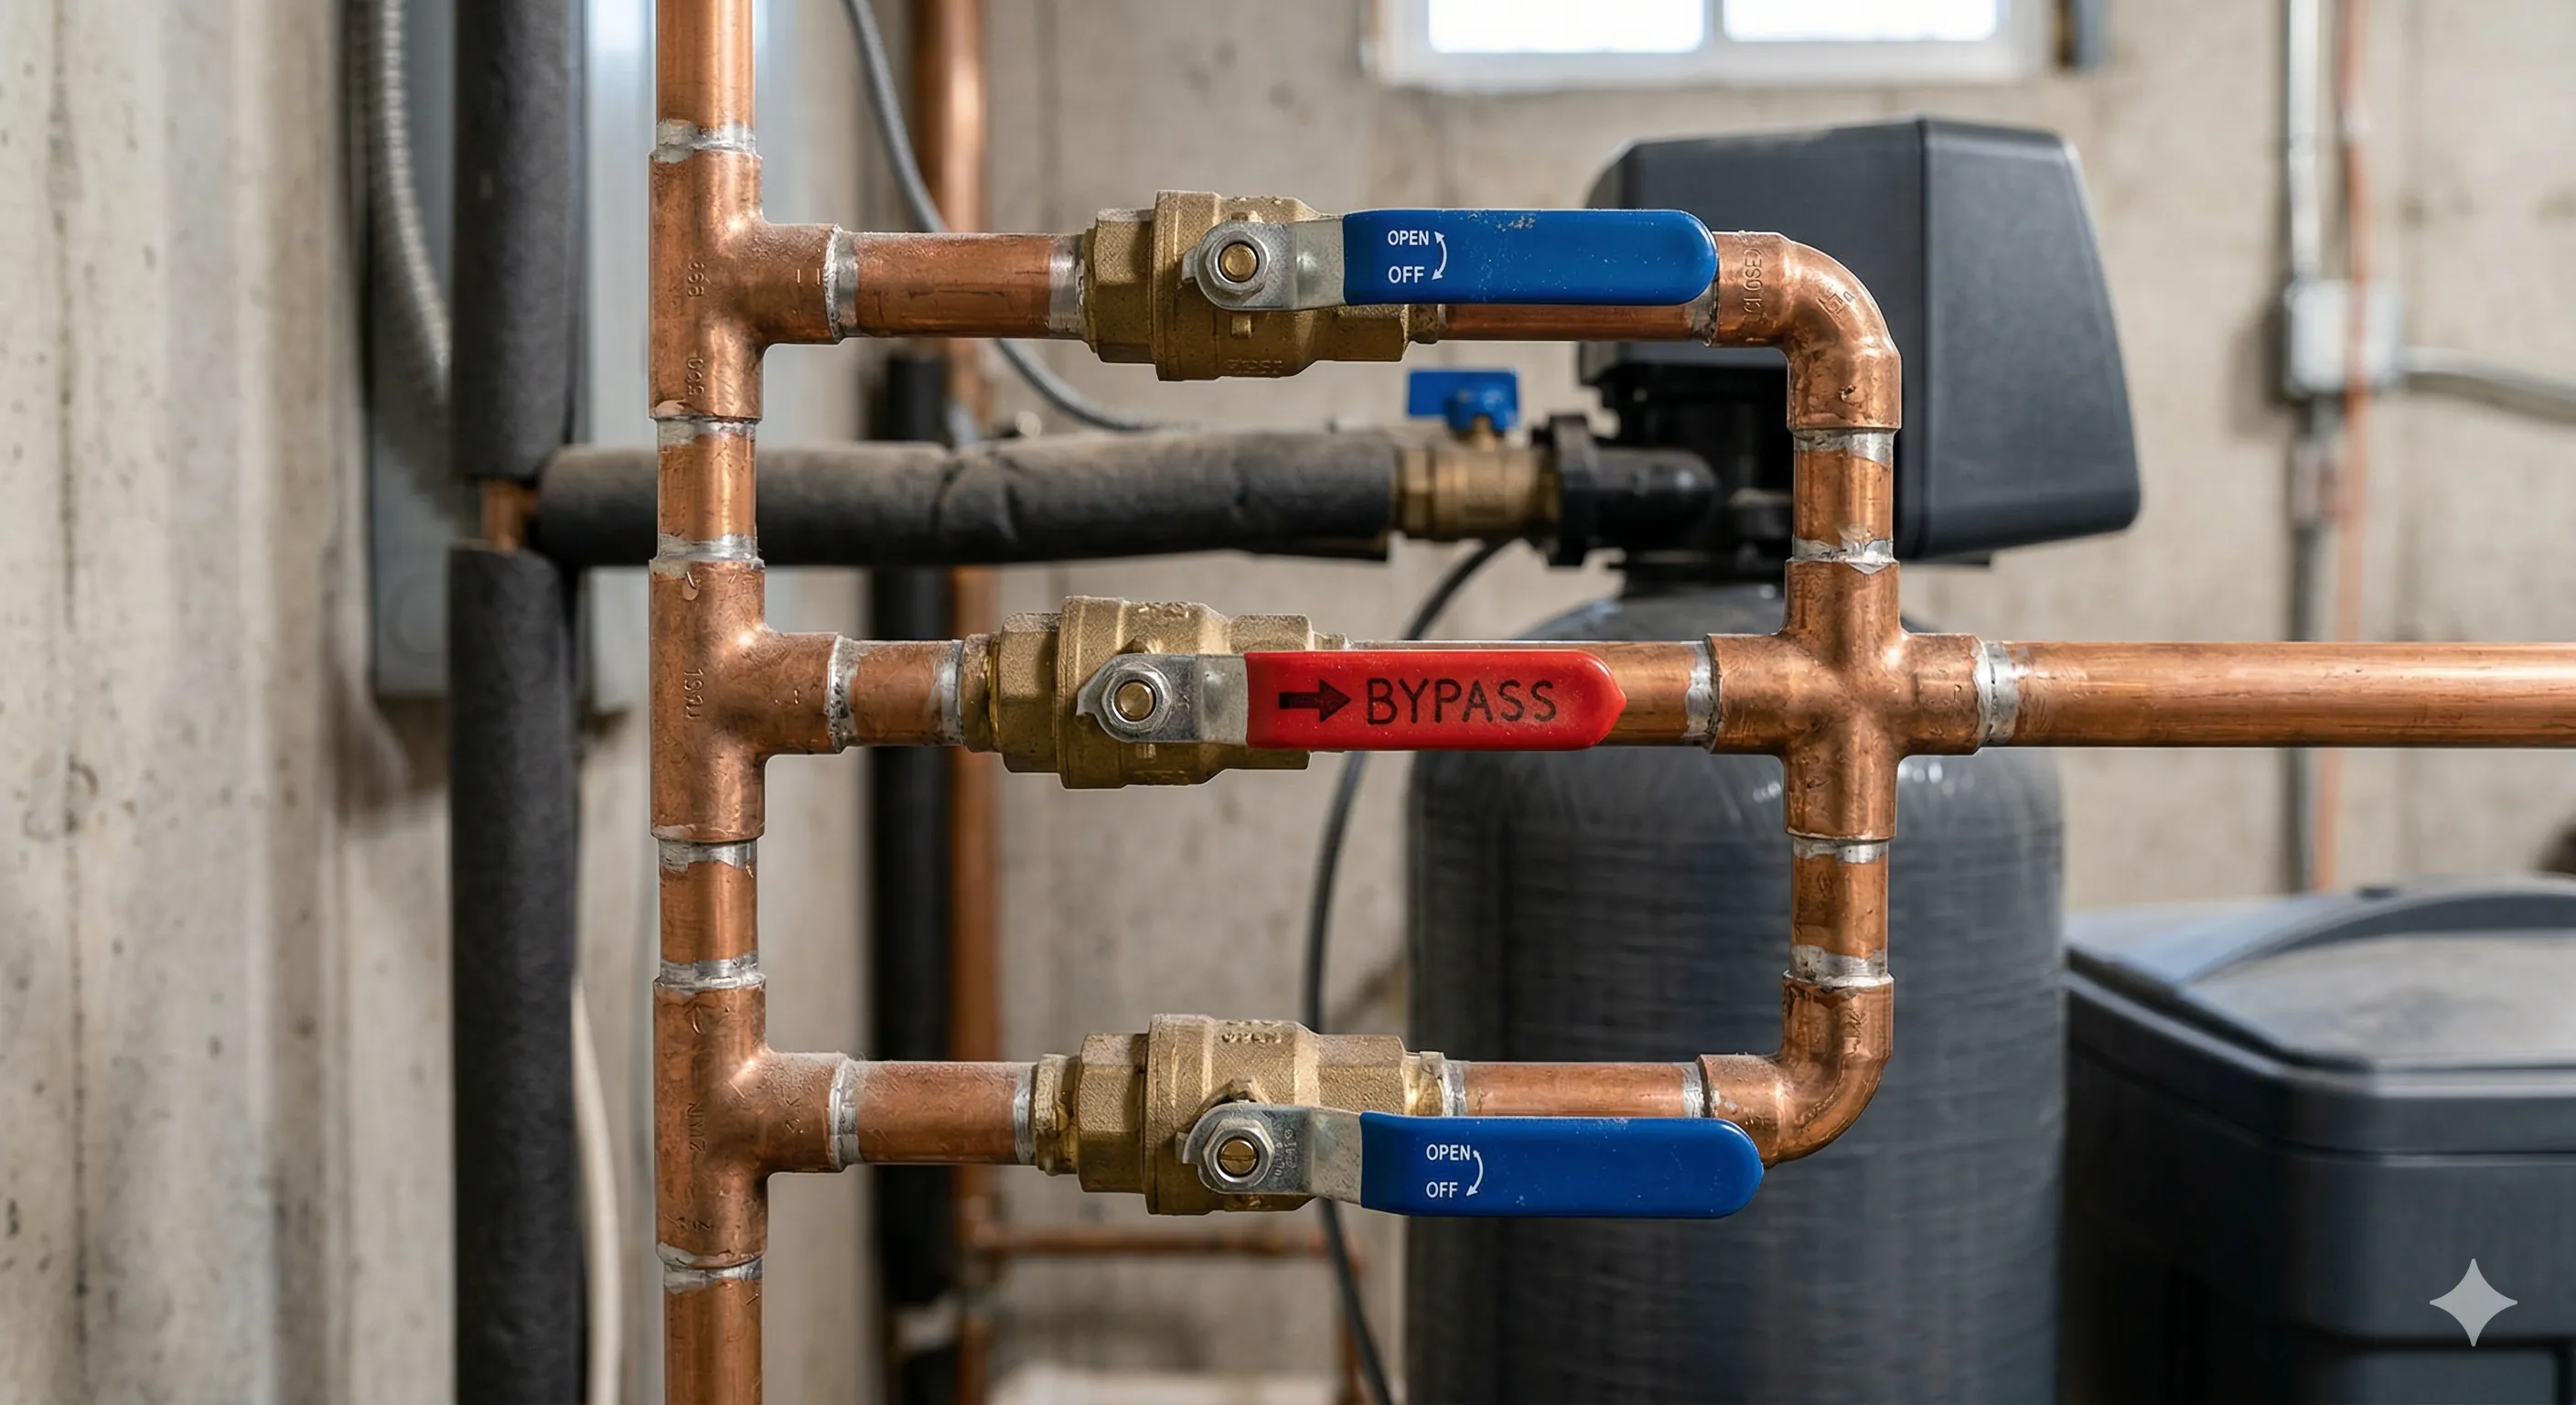
We touched on the bypass valve in Step 2, but it's important enough to cover in detail because it's your lifeline when the softener needs service:
- Normal operation (Service position): water flows through the softener.
- Bypass position: water flows directly from inlet to outlet, skipping the softener. Use this when adding salt, cleaning the brine tank, servicing the valve, or if the softener develops a leak.
- Most bypass valves simply slide or rotate between positions. Test it before you turn the water back on — with the valve in bypass, open the main supply and check for leaks at every connection without flowing water through the softener.
If your softener didn't come with a bypass valve (rare with modern units), you can install a simple 3-valve bypass using two gate/ball valves on the softener connections and one on a crossover pipe between the inlet and outlet lines. This achieves the same function.
Initial Startup and First Regeneration
Adding Salt and Water to the Brine Tank
- Add about 2 gallons of clean water to the brine tank before adding any salt
- Pour in approximately 40 lbs of high-purity evaporated salt pellets (one bag)
- Do not overfill — keep salt about one-third to one-half of the tank height
Opening the Water Supply
- Set the bypass valve to the bypass position
- Slowly open the main water supply
- Check every connection for leaks, tighten as needed
- Once confirmed leak-free, slowly move the bypass valve to the service position, partially at first to allow water to fill the mineral tank gradually
- You'll hear air escaping as the tank fills — this is normal
- Open a nearby faucet to purge air from the line until steady water flows
Running the First Regeneration
After the brine tank has had at least 2–4 hours to dissolve salt and create brine solution, initiate a manual regeneration cycle using the control valve buttons (refer to your specific model's manual). The first regeneration cycle:
- Charges the fresh resin bed with sodium ions
- Flushes any shipping residue or loose resin fines from the tank
- Confirms the drain line is working properly (you should see water flowing from the drain line during the backwash and rinse stages)
- Takes approximately 90–120 minutes to complete
After the first regeneration completes, test your water hardness at a treated faucet. It should read 0 gpg. If it doesn't, run a second regeneration cycle — sometimes the resin needs two cycles to fully charge. If hardness persists after two cycles, recheck that your inlet/outlet aren't reversed.
Well Water vs. City Water Hookup Differences
Well Water Systems
- Install after the pressure tank — the softener must be after the well pump's pressure tank so it receives consistent, pressurized water. Never install between the well and the pressure tank.
- Consider a pre-filter — well water often contains sediment, iron, or manganese that can foul the resin. Install a 5-micron sediment filter before the softener. If iron exceeds 0.5 ppm, add a dedicated iron filter.
- Test your water first — get a comprehensive well water test ($30–$100) to know your hardness level, iron content, pH, and any other contaminants. This information determines the correct softener size and any pre-treatment needed.
- Size for demand — well pumps cycle on and off, so the softener must handle the flow rate of the well pump (typically 5–15 GPM). Ensure the softener's service flow rate equals or exceeds the well pump output.
City Water Systems
- Install after the main shut-off valve and water meter — the softener goes on the house side of the meter, never on the street side.
- Chlorine protection — city water contains chlorine (0.5–2 ppm) that degrades softener resin over time. A whole-house carbon filter before the softener removes chlorine and can extend resin life by several years.
- Check local codes — some municipalities have regulations about water softener discharge. A few areas have restricted or banned sodium-based softeners due to concerns about salt levels in wastewater treatment plants. Check with your local utility before installing.
Common Installation Mistakes to Avoid
- Reversing inlet and outlet — this is the #1 mistake. Water flowing backward through the softener damages the resin and prevents proper softening. Look for arrows on the valve head indicating flow direction.
- Installing after the water heater — the water heater should receive soft water, not the other way around. Hard water deposits inside the heater reduce efficiency and shorten its lifespan.
- Skipping the bypass valve — without a bypass, any softener maintenance or failure means shutting off water to the entire house.
- Drain line too long or too high — exceeding the maximum drain line length or height means the softener can't properly discharge during regeneration, leading to incomplete cycles and hard water breakthrough.
- No air gap on drain — submerging the drain hose in standing water creates a siphon risk and violates plumbing codes.
- Overtightening plastic fittings — softener valve fittings are typically ABS plastic. Overtightening with a wrench can crack them. Hand-tight plus one-quarter turn is usually sufficient.
- Using the wrong salt — rock salt contains insoluble minerals that accumulate as sludge. Always use evaporated salt pellets or solar salt for cleanest operation.
- Not programming the unit correctly — setting the wrong hardness level, incorrect time of day, or wrong regeneration schedule means the softener either wastes salt (regenerating too often) or doesn't soften effectively (regenerating too infrequently).
Installation Cost Breakdown
| Item | DIY Cost | Professional Cost |
|---|---|---|
| Water softener unit | $400–$1,800 | $400–$1,800 |
| Fittings and connectors | $30–$80 | Included in labor |
| Pre-filter (if needed) | $30–$60 | $30–$60 + labor |
| Installation labor | $0 (your time) | $200–$600 |
| Permit (if required locally) | $0–$75 | $0–$75 |
| Total | $460–$2,015 | $630–$2,535 |
The average homeowner saves $300–$500 by installing the water softener themselves. The job is well within reach for anyone who has installed a dishwasher, replaced a faucet, or done basic pipe repairs. Learn more about how long water softeners last to ensure your new installation provides the maximum return on investment.
Want to learn more about your home's water system?
Read Our Complete Water Systems Guide →Frequently Asked Questions
More Water Systems Guides
You May Also Like
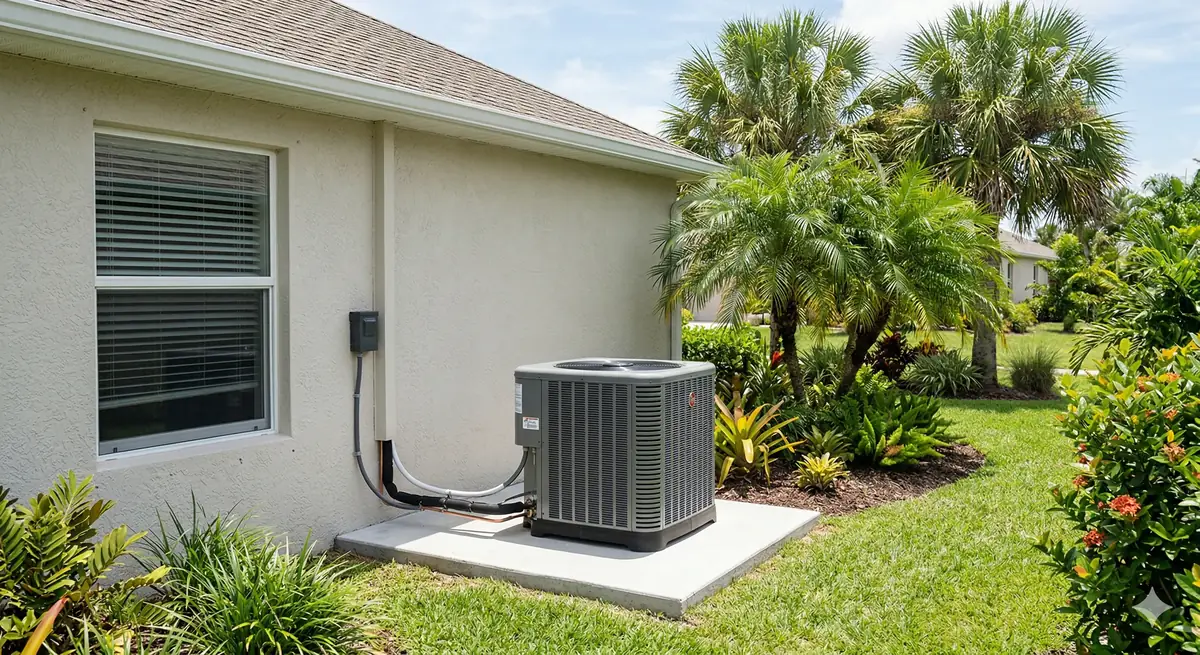
How Long Do AC Units Last in Florida
Florida AC lifespan data, climate factors that shorten unit life, and signs your AC needs replacing.
How to Fix Short Cycling Air Conditioner
Diagnose and fix an AC that keeps turning on and off. Common causes from dirty filters to bad capacitors.
How to Unclog Plumbing Vent
Clear a clogged plumbing vent pipe from the roof. Symptoms, tools needed, and step-by-step process.
How Much Does a Plumber Charge to Unclog a Toilet
Plumber costs for toilet unclogging by method. DIY alternatives and when you actually need a professional.
Disclaimer: This content is for informational purposes only. Always follow local plumbing codes and manufacturer instructions. Consult a licensed plumber for complex installations. HouseFixGuide may earn a commission from links on this page.