How to Unclog a Plumbing Vent
- What Is a Plumbing Vent and Why Does It Clog?
- Signs of a Clogged Plumbing Vent
- Common Causes of Vent Blockages
- Safety First: Roof Access Precautions
- Method 1: Roof Access Clearing
- Method 2: Ground-Level Alternatives
- Method 3: Clearing Ice-Blocked Vents
- Preventing Future Vent Clogs
- Repair Costs
- Frequently Asked Questions
You've noticed something strange: multiple drains in the house are running slowly, the toilet makes a gurgling sound when you flush, and there's an occasional whiff of sewer gas in the bathroom. You've tried plunging, snaking the individual drains, even pouring drain cleaner — but nothing works because the problem isn't in the drains at all. It's in the plumbing vent.
A clogged plumbing vent is one of the most misdiagnosed plumbing problems because the symptoms mimic multiple clogged drains. Understanding how to unclog a plumbing vent can save you from unnecessary drain cleaning calls and the persistent frustration of slow-draining fixtures.
What Is a Plumbing Vent and Why Does It Matter?
Every plumbing drain system has two parallel pipe networks: the drain pipes that carry wastewater out, and the vent pipes that allow air in. The vent system serves three critical functions:
- Equalize air pressure — when water flows down a drain, it creates negative pressure (suction) behind it. Without a vent to supply air, this suction can pull water out of nearby P-traps (the U-shaped bend in drain pipes that holds water to block sewer gas).
- Allow drainage by gravity — drain pipes rely on gravity to move water. Air pressure from the vent allows water to flow freely. Without air, water movement creates a vacuum that slows or stops flow — like holding your finger over a straw full of liquid.
- Exhaust sewer gases — vent pipes carry sewer gases up and out through the roof, safely above the living space. Without functioning vents, these gases (including methane and hydrogen sulfide) can enter the home.
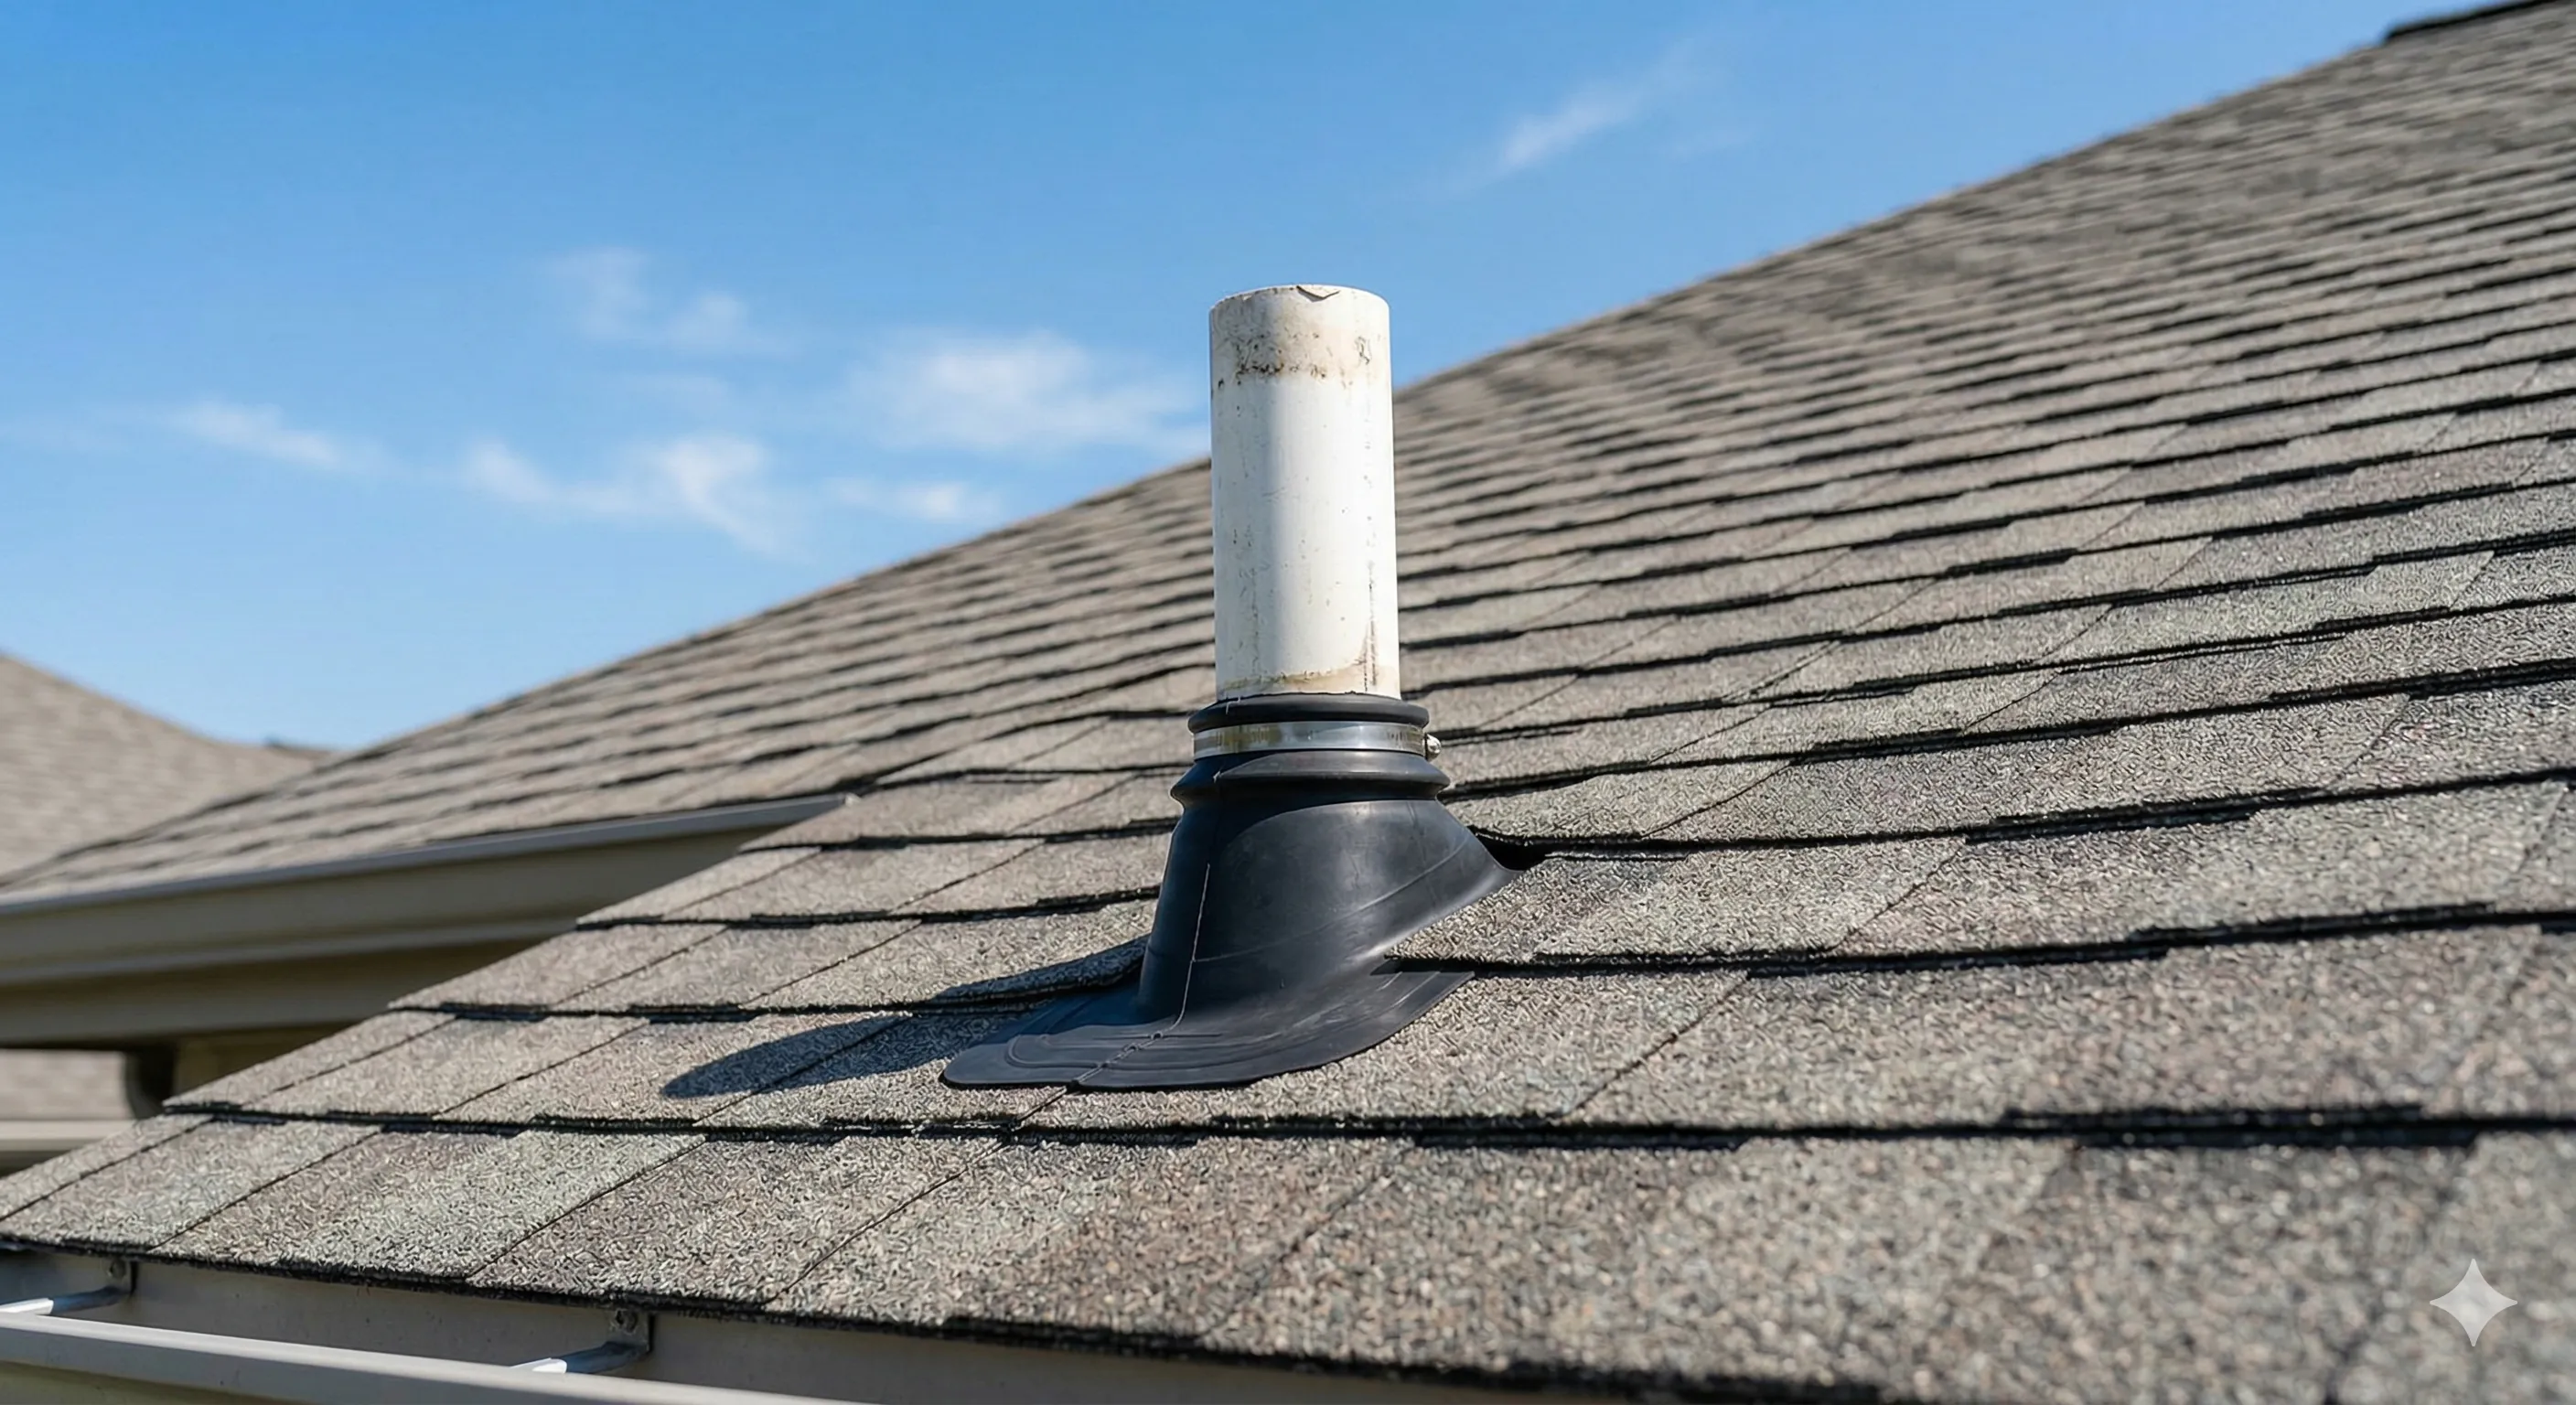
The main vent stack is a vertical pipe that runs from the main drain line straight up through the roof. Individual fixture vents connect into this stack. The top of the stack exits the roof — and that exposed opening is where most blockages occur.
Signs of a Clogged Plumbing Vent
- Multiple slow drains — a single slow drain is usually a local clog. Multiple slow drains (especially on different floors or in different rooms) suggest a vent problem.
- Gurgling sounds — air struggling to enter the drain system creates gurgling or bubbling sounds. Listen for gurgling from a bathroom sink when you flush the toilet, or from a drain when a nearby fixture empties.
- Sewer gas smell — if you smell rotten eggs (hydrogen sulfide) in the bathroom or kitchen, a vent blockage may be forcing sewer gases back through empty P-traps or drain connections.
- Toilet flushes poorly or bubbles — the toilet is often the first fixture to show vent problems because it moves the most water and requires the most air to function properly.
- Drain cleaner doesn't help — if you've tried drain cleaner or snaked the drain and it's still slow, the problem likely isn't in the drain — it's in the vent above.
Common Causes of Vent Blockages
- Leaves and debris — the most common cause. Leaves, twigs, and roofing shingle granules accumulate in the vent opening over time.
- Bird nests — birds and small animals find the vent pipe a convenient protected nesting spot, especially during spring.
- Dead animals — squirrels, birds, or rodents can fall into the vent pipe and become stuck.
- Ice blockage — in cold climates, warm moist air rising through the vent condenses and freezes at the top, eventually blocking the pipe with ice.
- Wasp/bee nests — insects build nests inside the vent pipe, particularly during warm months.
- Tennis balls or toys — yes, this happens more than you'd think, especially in homes with kids.
- Collapsed or damaged pipe — older cast iron vent pipes can corrode and collapse internally. Tree roots can also damage vent pipes that run underground before turning vertical.
Safety First: Roof Access Precautions
Clearing a plumbing vent usually requires going on the roof. This is inherently dangerous and requires proper precautions:
- Use a sturdy extension ladder that extends at least 3 feet above the roofline. Set it at the proper angle (1:4 ratio — base 1 foot from the wall for every 4 feet of ladder height).
- Wear rubber-soled shoes with good grip — never go on a roof in sandals, leather shoes, or worn sneakers.
- Never go on a wet, icy, or steep roof — if the roof pitch is steeper than 6/12 (approximately 26°), hire a professional.
- Use a safety harness if available — tie off to a roof anchor or the far side of the ridge.
- Have someone on the ground — always have a spotter who can call for help if you fall.
- Work during daylight in calm weather — no rain, ice, wind, or darkness.
Method 1: Roof Access Clearing (Primary Method)
Tools Needed
- Extension ladder
- Flashlight
- Work gloves
- Garden hose (long enough to reach the roof)
- Plumber's snake/auger (10–20 foot, hand-crank style)
- Vent cap or screen (for prevention after clearing)
Step-by-Step Process
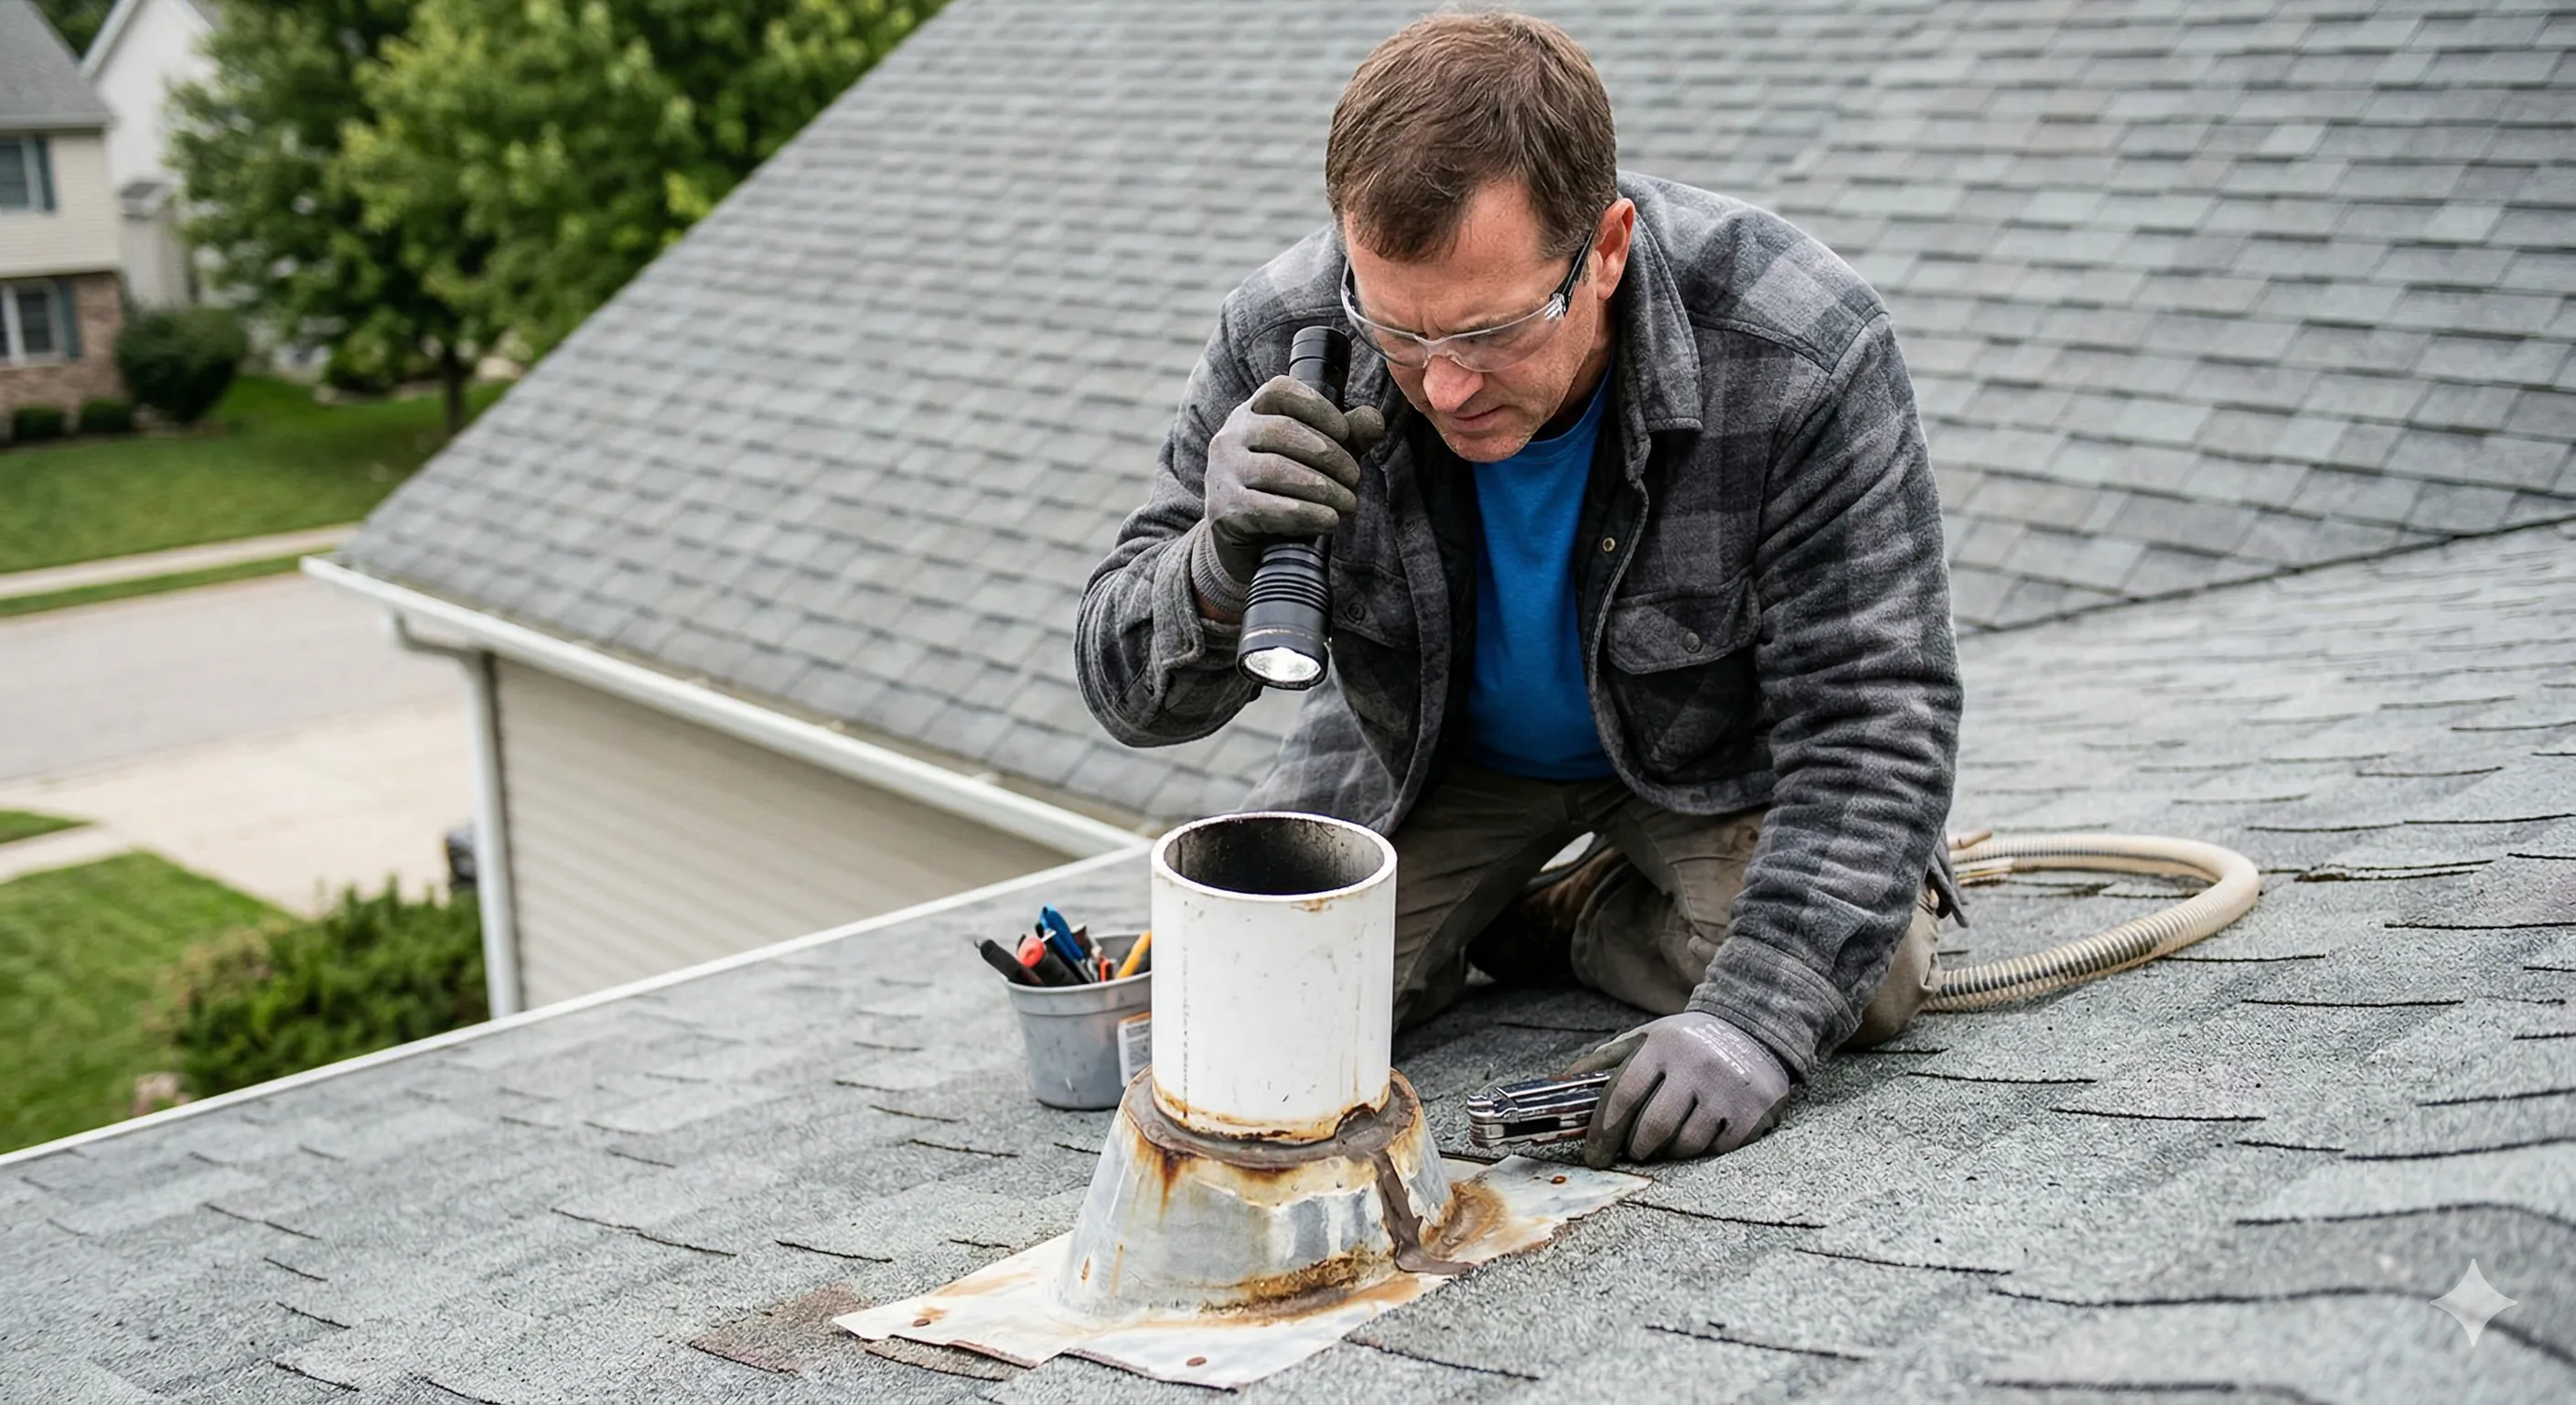
- Locate the vent pipe on the roof — it's a vertical pipe (usually 2–4 inches in diameter, PVC in newer homes, cast iron in older homes) extending 6–12 inches above the roofline. Most homes have 1–3 vent pipes.
- Visually inspect the opening — shine the flashlight down into the pipe. You may see the blockage immediately (nest, debris, animal).
- Remove surface debris — if the blockage is visible at or near the top, remove it by hand (with gloves) or with a long-handled tool.
- Test with water — have someone run water from the garden hose into the vent pipe. If the water flows freely down the pipe, the vent is clear. If water backs up and overflows, there's a deeper blockage.
- Snake the vent — feed a plumber's snake (hand-crank auger) down into the vent pipe. Turn the handle to rotate the snake as you push it down. When you feel resistance, you've reached the blockage. Continue turning to break through it.
- Flush again — after snaking, run the hose into the vent pipe again. Water should now flow freely. If it still backs up, repeat the snaking.
- Test from inside — go inside and test all affected fixtures. Drains should now flow normally without gurgling.
Method 2: Ground-Level Alternatives
If you can't or don't want to access the roof:
Through a Cleanout
Some plumbing systems have a vent cleanout — an accessible point where you can insert a snake into the vent pipe from inside the attic or through a wall-mounted cleanout. Look for a capped pipe fitting in the attic near where the vent stack passes through, or a cleanout plug on the vent stack in the basement.
From Below (Upward Snaking)
- Disconnect the P-trap under a sink that connects to the affected vent
- Insert a plumber's snake upward into the vent pipe (the pipe going up into the wall)
- Feed the snake upward toward the roof, turning to break through blockages
- This is less effective than coming from above because you're working against gravity and don't have the benefit of water flushing
Method 3: Clearing Ice-Blocked Vents (Cold Climates)
In northern climates, vent pipes can freeze shut during extreme cold:
- Hot water method — carefully pour hot (not boiling) water down the vent from the roof. The heat melts the ice. You may need several gallons.
- Vent pipe insulation — wrap the vent pipe in the attic with pipe insulation to keep it warmer where it passes through the cold attic space. This is a prevention measure.
- Vent pipe heater cable — for chronic ice problems, install a self-regulating heat cable ($30–$80) inside the vent pipe. It activates automatically when temperatures drop.
- Increase pipe diameter — replace with a larger diameter vent pipe (3" or 4" instead of 2") so the opening is too large to freeze shut easily.
Preventing Future Vent Clogs
- Install a vent cap or screen — a commercial vent cap ($10–$25) covers the pipe opening with a mesh screen that allows air flow but blocks debris, animals, and insects. This single step prevents 90% of vent blockages.
- Trim overhanging branches — trees near the roof drop leaves, twigs, and seeds directly into vent pipes. Trim branches back at least 5 feet from any vent pipe.
- Annual inspection — visually check your vent pipes when you're on the roof for other maintenance (gutter cleaning, etc.). A quick flashlight check takes 30 seconds.
- Insulate in cold climates — insulate vent pipes in the attic to reduce ice formation
Repair Costs
| Approach | Cost |
|---|---|
| DIY clearing (tools you own) | $0 |
| DIY clearing (buying a snake + vent cap) | $30–$60 |
| Professional vent clearing (straightforward) | $100–$300 |
| Professional with camera inspection | $200–$500 |
| Vent pipe repair/replacement | $500–$1,500 |
| Vent cap installation (professional) | $50–$150 |
For more plumbing guides, visit our complete plumbing resource center.
Want to learn more about plumbing maintenance and repair?
Read Our Complete Plumbing Guide →Frequently Asked Questions
More Plumbing Guides
You May Also Like
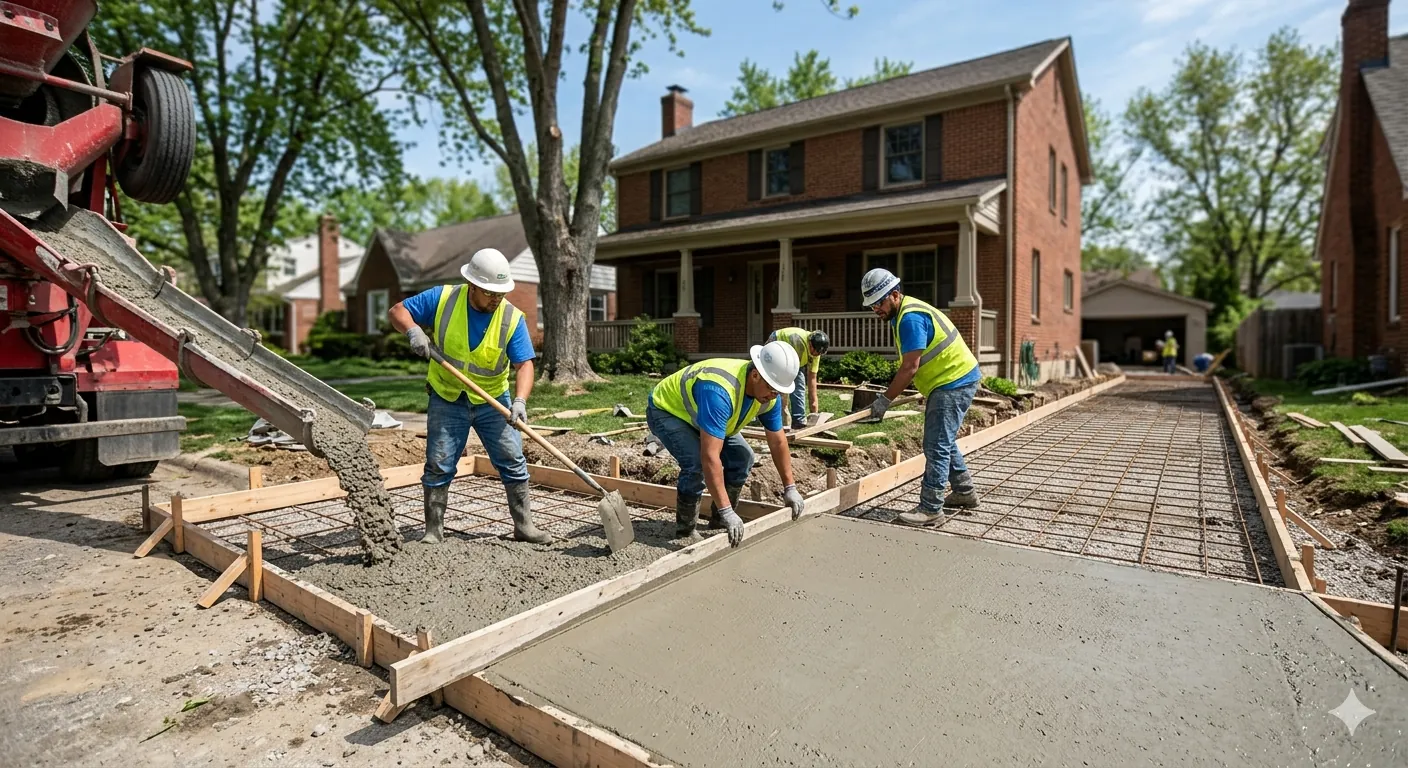
How Thick Should Concrete Be for a Driveway
Proper concrete thickness for driveways by use case. Standard cars, heavy vehicles, and code requirements explained.
How Much Does Concrete Lifting Cost
Mudjacking vs foam jacking costs compared. Average prices, when lifting works, and when replacement is better.
How Long Do Water Softeners Last
Water softener lifespan by type, maintenance tips to extend life, and signs it's time for replacement.
How to Connect a Water Softener
Complete water softener installation guide. Plumbing connections, bypass valve setup, and initial programming.
Disclaimer: This content is for informational purposes only. Roof work is inherently dangerous — use proper safety equipment or hire a professional. HouseFixGuide may earn a commission from links on this page.