How to Get Rid of Carpenter Ants
Carpenter ants are the largest ants in North America — and the most destructive to wood structures after termites. Unlike termites, carpenter ants don't eat wood. They excavate smooth-walled galleries inside wood to build their nests, weakening structural components over time. A mature colony of 10,000–50,000 ants can cause significant structural damage if left untreated for years.
The good news: carpenter ant infestations are highly treatable, especially when caught early. This guide explains exactly how to get rid of carpenter ants — from identifying the problem through complete elimination and prevention.
How to Identify Carpenter Ants
- Size: 1/4 to 1/2 inch long (workers) — significantly larger than common household ants (pavement ants, sugar ants)
- Color: Usually black (Camponotus pennsylvanicus), but some species are dark reddish-brown or bicolored (red and black)
- Body shape: Single node (pinched waist), elbowed antennae, rounded thorax
- Winged reproductives: Swarmers (winged carpenter ants) appear in spring and are 3/4 inch long with two pairs of unequal-length wings
Carpenter Ants vs. Termites
| Feature | Carpenter Ants | Termites |
|---|---|---|
| Size | 1/4–1/2 inch (large) | 1/8–3/8 inch (smaller) |
| Color | Black or dark brown | Pale/white (workers), dark (swarmers) |
| Waist | Narrow, pinched | Thick, no pinch |
| Antennae | Elbowed (bent) | Straight, beaded |
| Wings (swarmers) | Unequal length (front longer) | Equal length |
| Damage evidence | Sawdust piles (frass) | Mud tubes on foundation |
| Do they eat wood? | No — excavate only | Yes — consume cellulose |
| Gallery texture | Smooth, sandpapered | Rough, muddy |
Signs of a Carpenter Ant Infestation
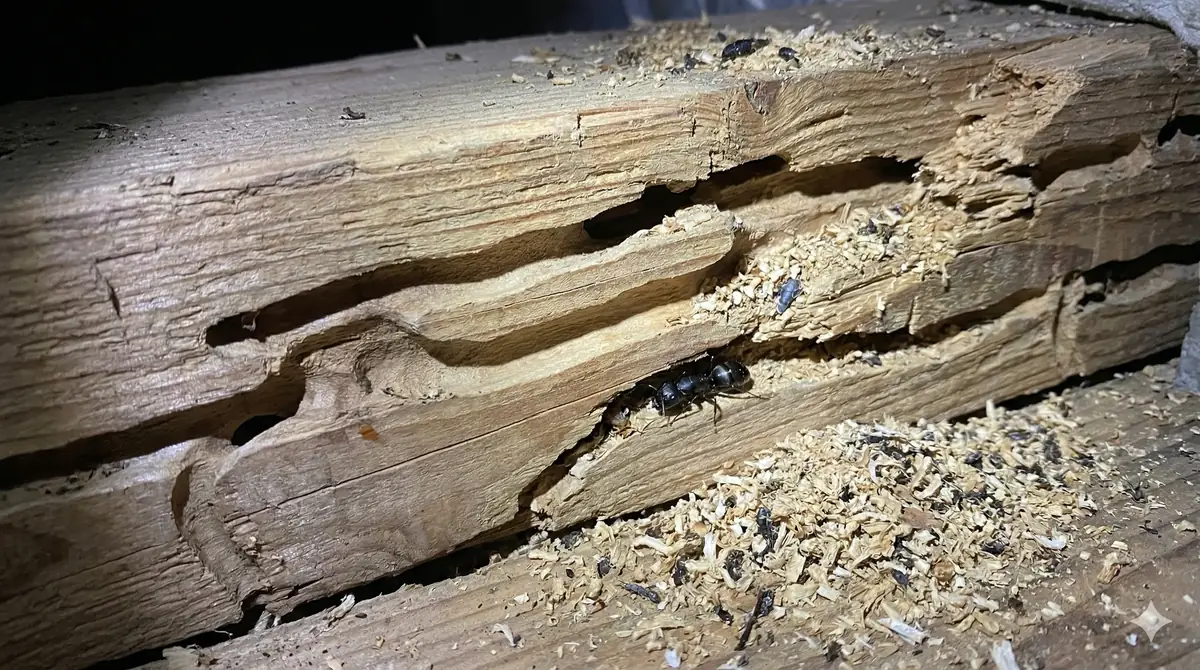
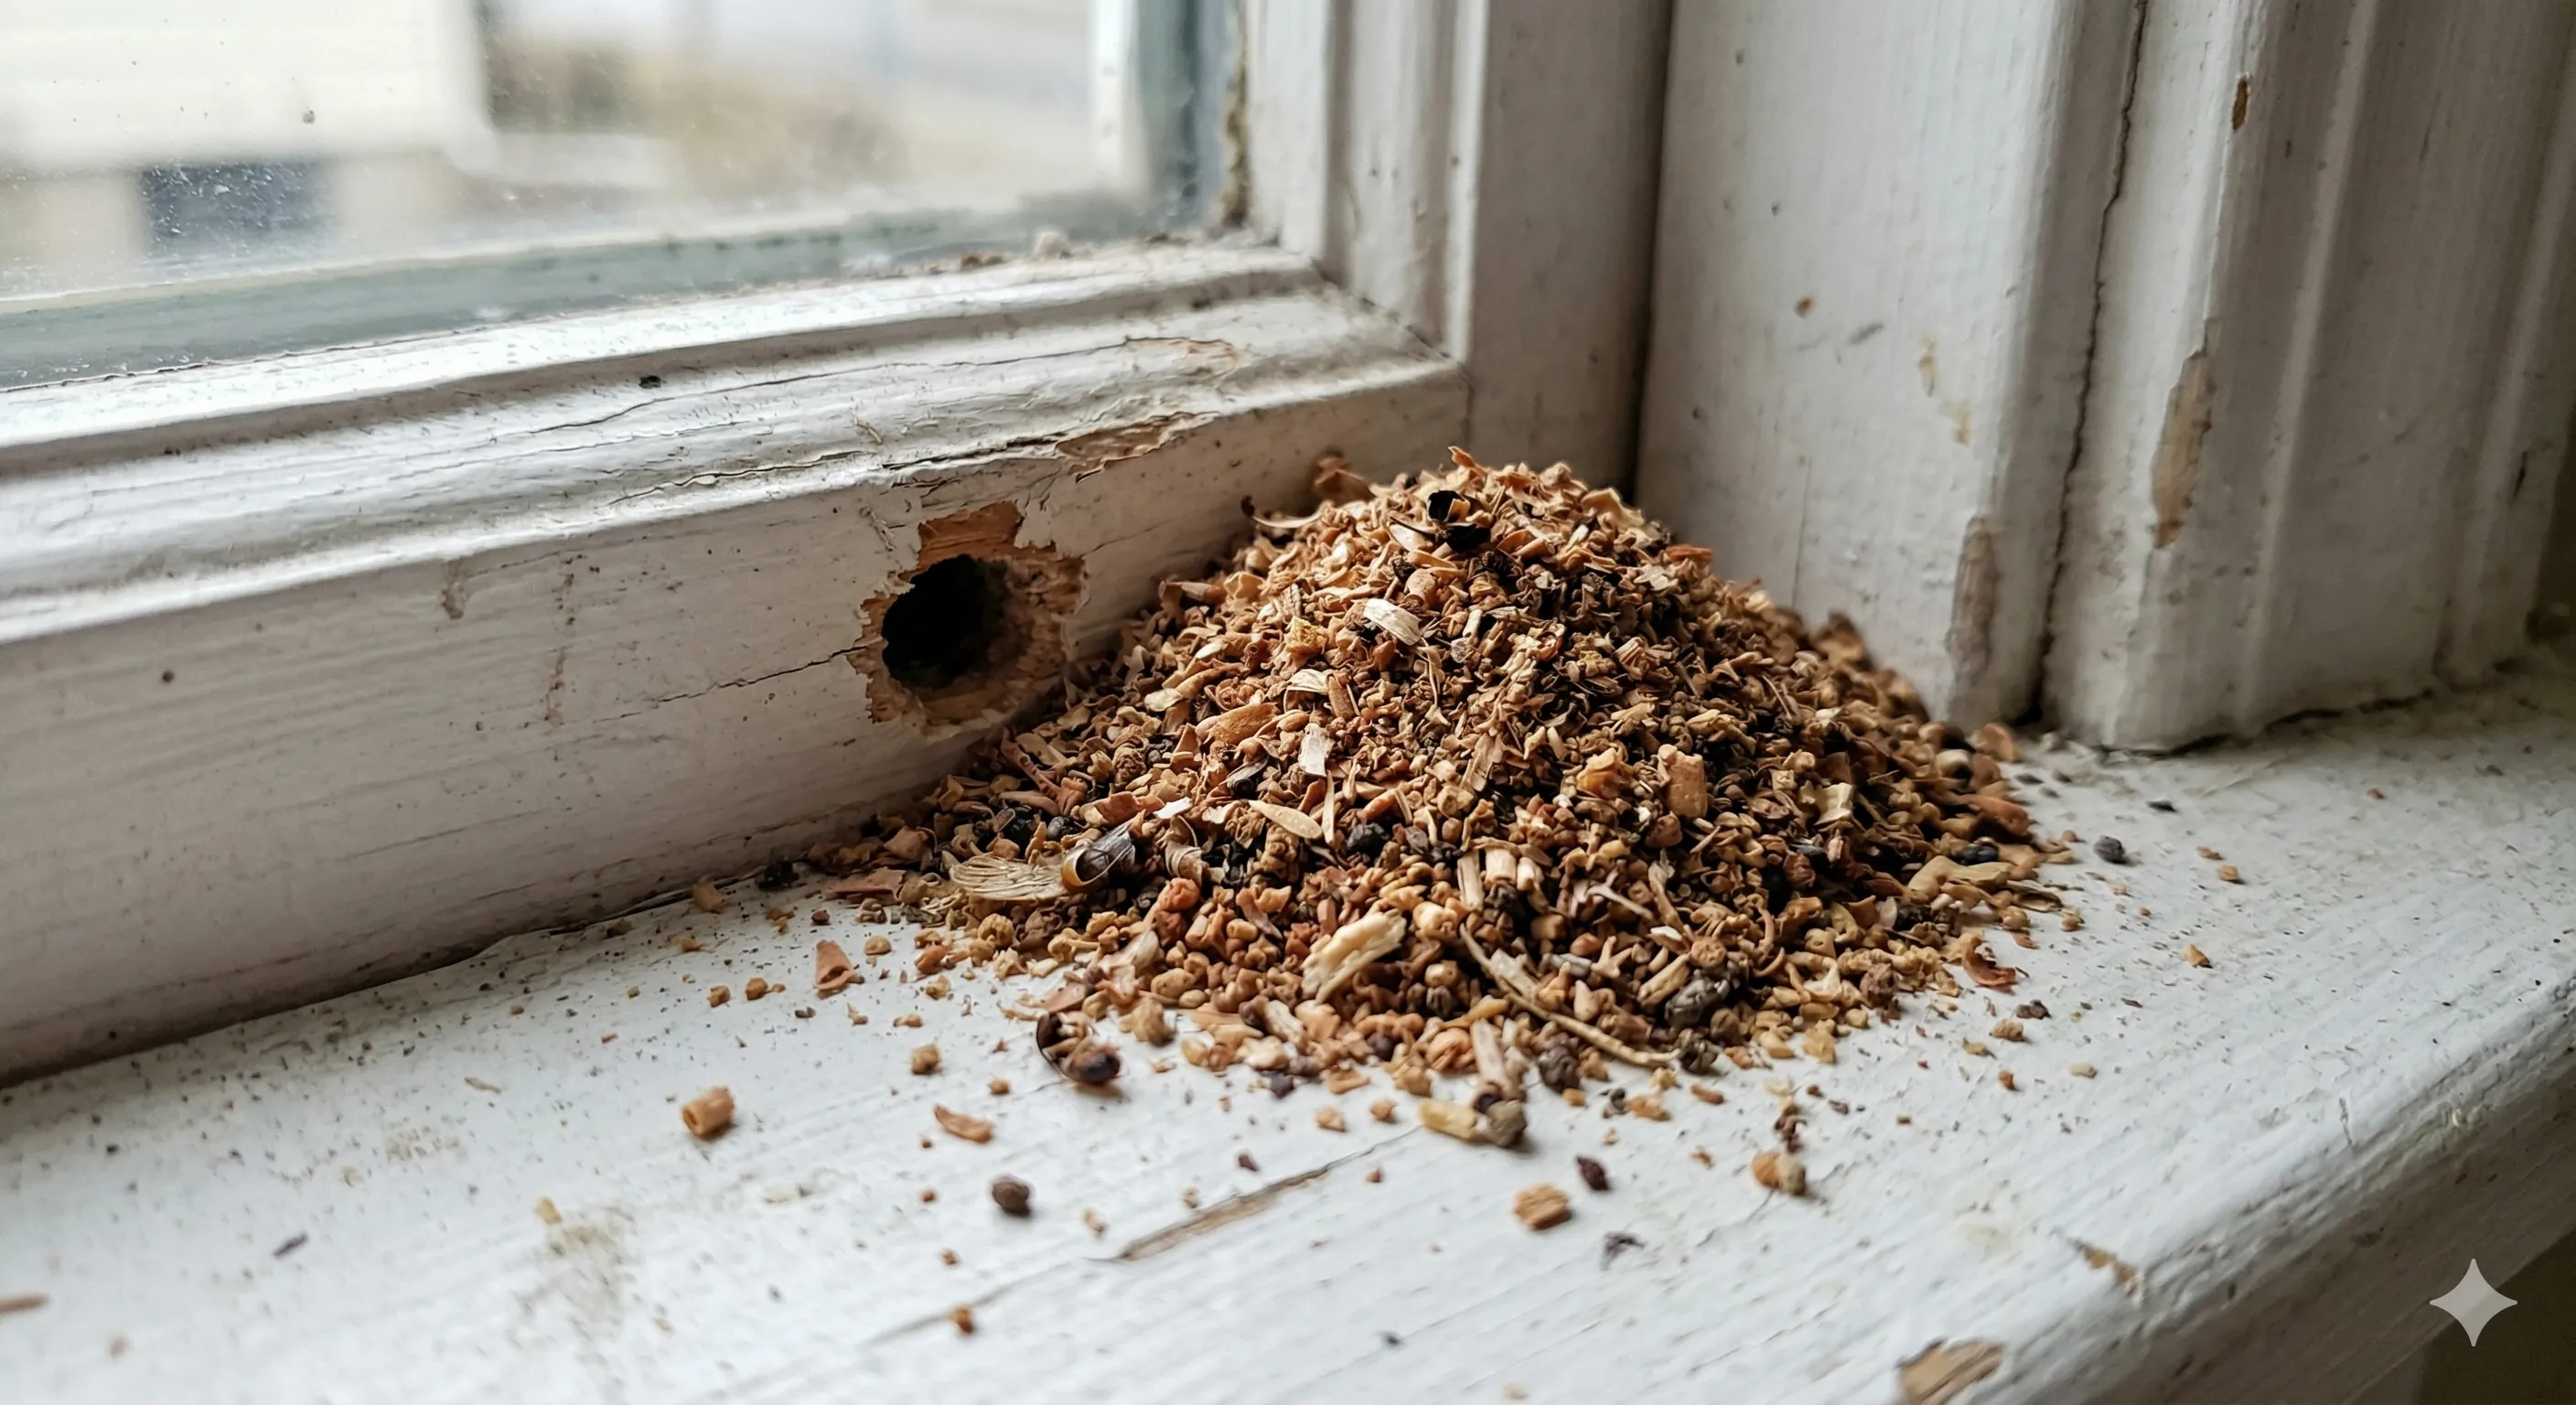
- Sawdust piles (frass) — fine wood shavings below wall openings, baseboards, window frames, or door frames. This is the #1 sign. Carpenter ant frass is clean and sawdust-like, sometimes mixed with insect body parts.
- Large black ants indoors — seeing large ants (especially at night, when they're most active) walking along baseboards, countertops, or windowsills
- Rustling sounds in walls — in quiet rooms at night, you may hear faint rustling or crinkling sounds inside walls as ants excavate wood
- Winged ants indoors — swarmers (winged carpenter ants) appearing inside the house during spring indicate a mature colony inside the structure
- Wood damage — soft, hollow-sounding wood when tapped, especially in areas with moisture (around windows, plumbing, or near the foundation)
How to Find the Nest
Effective treatment requires finding the nest or getting bait back to it:
- Follow the ants at night — carpenter ants are most active after dark. Place a sweet bait (honey or sugar water on a small plate) and watch which direction the ants carry food. Follow the trail to its entry point into the wall.
- Look for frass accumulations — frass piles indicate the nest is directly above or nearby
- Tap wood surfaces — use a screwdriver handle to tap along studs, headers, sills, and wood near the frass. A hollow sound (vs. solid) indicates excavated wood.
- Check moisture areas — carpenter ants prefer damp or water-damaged wood. Focus on: around windows, under leaking roofs, behind dishwashers, near bathtubs, in basements, and around outdoor faucets.
- Inspect outdoors — the main colony is often outside in a dead tree, stump, or woodpile. Indoor ants may be from a satellite colony connected to the main colony by trails.
DIY Treatment Methods
Method 1: Bait Stations (Most Effective DIY)
Baits work because worker ants carry the slow-acting poison back to the colony, where it's shared with the queen and other workers through food exchange. This kills the entire colony, not just the ants you see.
- Product recommendations: Advion Carpenter Ant Bait Gel ($15–$25), Terro Liquid Ant Bait ($8–$12), Maxforce Carpenter Ant Bait Gel ($20–$30)
- Placement: Along ant trails, near frass piles, and near suspected entry points. Don't place bait directly on a nest — you want ants to carry it back.
- Timeline: Bait can take 3–14 days to eliminate the colony. Be patient — the slow-acting formula is intentional.
Method 2: Insecticidal Dust
Dust formulations are injected directly into wall voids, cracks, and nest areas where ants travel:
- Boric acid dust ($10–$15) — low toxicity to humans and pets, highly effective on ants. Ants walk through the dust, ingest it during grooming, and die within 2–3 days.
- Diatomaceous earth (DE) ($10–$15) — non-toxic, food-grade option. Microscopic sharp edges damage the ant's exoskeleton, causing dehydration. Slower acting but safe around children and pets.
- Application: Use a puffer or bulb duster to inject dust into wall voids through small holes, electrical outlets (with power off), or cracks in the foundation.
Method 3: Perimeter Spray
A residual insecticide sprayed around the home's foundation creates a barrier that kills ants as they try to enter:
- Product recommendations: Ortho Home Defense ($15–$25), Termidor SC ($40–$60 — professional-grade, most effective)
- Application: Spray a 12-inch band around the entire home foundation, plus door frames, window frames, and utility entry points.
- Reapply: Every 2–3 months during ant season (spring through fall).
Professional Carpenter Ant Treatment
Call a professional if:
- DIY treatment hasn't resolved the problem within 2–3 weeks
- You see winged swarmers indoors (indicates a mature colony inside the walls)
- You can't locate the nest
- Structural damage is visible
- The infestation is in a hard-to-reach area (attic, crawl space, inside walls)
What professionals do differently: They have access to non-repellent transfer insecticides (like Termidor, which ants can't detect), professional-grade dust applicators that reach deep into wall voids, and experience identifying satellite colony locations that homeowners miss.
Assessing and Repairing Damage
- Minor damage (surface only): Fill excavated areas with wood filler, sand smooth, paint. Cosmetic repair only — structural integrity usually intact.
- Moderate damage (partial section): Sister a new board alongside the damaged one using construction adhesive and lag bolts. Cost: $50–$200 per area.
- Severe damage (structural compromise): Replace the damaged structural member entirely (sill plate, stud, header, joist). This requires a contractor and may need temporary support during replacement. Cost: $500–$2,000+ per affected area.
Important: Always eliminate the ant colony completely before making repairs. Otherwise, ants will re-infest the new wood.
Preventing Carpenter Ant Infestations
- Eliminate moisture — fix leaks, improve drainage, repair water-damaged wood. Carpenter ants strongly prefer damp wood.
- Remove wood-to-ground contact — keep firewood, lumber, and mulch at least 20 feet from the house and 6+ inches off the ground.
- Trim branches — trees and shrubs touching the house create ant highways. Maintain 2+ feet of clearance.
- Seal entry points — caulk cracks, gaps around pipes, cable entries, and gaps where the siding meets the foundation.
- Remove dead trees and stumps — primary nesting sites for carpenter ant colonies.
- Annual perimeter treatment — spray the foundation perimeter each spring
Treatment Costs
| Treatment | Cost |
|---|---|
| DIY bait stations | $10–$30 |
| DIY insecticidal dust | $10–$15 |
| DIY perimeter spray | $15–$60 |
| Total DIY approach | $35–$105 |
| Professional treatment (standard) | $250–$600 |
| Professional treatment (severe) | $500–$1,000+ |
| Annual pest control plan | $200–$500/year |
| Structural repair (if needed) | $200–$2,000+ |
For more pest control guides, visit our complete pest control resource center.
Want to learn more about pest prevention and treatment?
Read Our Complete Pest Control Guide →Frequently Asked Questions
More Pest Control Guides
You May Also Like
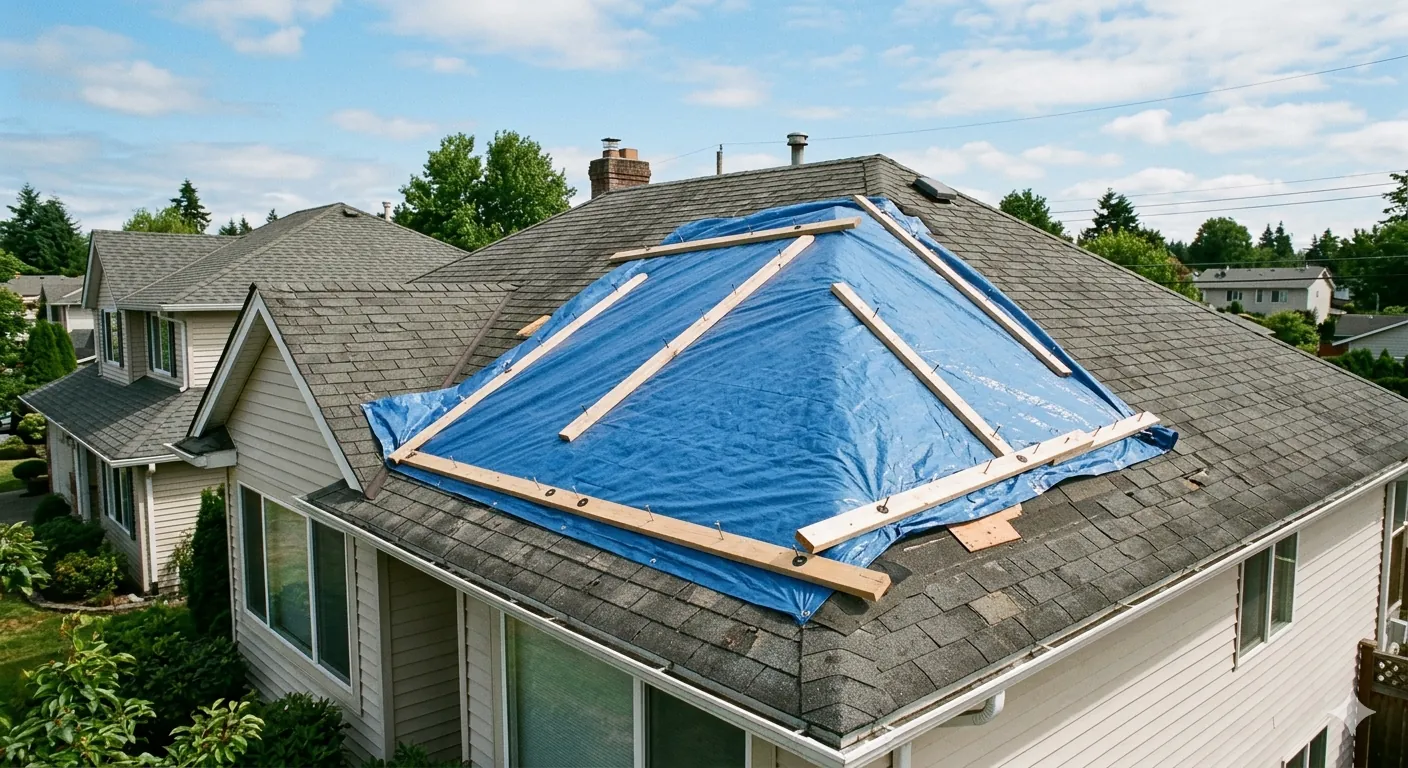
How to Tarp a Roof
Step-by-step guide to emergency roof tarping after storm damage. Protect your home from water damage with proper tarp installation.
How Much Hail Damage to Replace Roof
Learn what level of hail damage qualifies for a full roof replacement through your insurance. Adjuster criteria explained.
How to Unclog Plumbing Vent
Clear a clogged plumbing vent pipe from the roof. Symptoms, tools needed, and step-by-step process.
How Much Does a Plumber Charge to Unclog a Toilet
Plumber costs for toilet unclogging by method. DIY alternatives and when you actually need a professional.
Disclaimer: This content is for informational purposes only. Always read and follow product label instructions. For severe infestations, consult a licensed pest control professional. HouseFixGuide may earn a commission from links on this page.