How Do I Restain Kitchen Cabinets?
- Can You Restain Your Cabinets?
- Tools and Materials List
- Step 1: Remove Doors, Drawers, and Hardware
- Step 2: Strip the Old Finish
- Step 3: Sand the Surface
- Step 4: Apply Wood Conditioner
- Step 5: Apply the Stain
- Step 6: Apply Protective Topcoat
- Step 7: Reassemble
- Pro Tips for a Professional Finish
- Cost Comparison: DIY vs. Professional
- Frequently Asked Questions
Kitchen cabinets are the single biggest visual element in your kitchen. When the stain looks dated, faded, scratched, or just doesn't match your style anymore, the kitchen feels tired and old. But replacing cabinets costs $10,000–$30,000 — a budget-busting renovation that most homeowners want to avoid if the cabinets are structurally sound.
Restaining is the answer. For $200–$500 in materials and a long weekend of work, you can completely transform the look of your kitchen with a new stain color. This guide walks through the complete process of how do I restain kitchen cabinets — from prep through final reassembly — with professional-quality results.
Can You Restain Your Cabinets?
Before starting, verify your cabinets are candidates for restaining:
- ✅ Solid wood cabinets — oak, maple, cherry, birch, hickory. These are ideal for restaining.
- ✅ Wood veneer over plywood — can be restained, but you must be gentle with sanding to avoid sanding through the thin veneer layer (typically 1/32" to 1/8" thick).
- ⚠️ Thermofoil/laminate cabinets — these have a plastic or paper surface, not real wood. They cannot be stained. They can be painted, but not stained.
- ⚠️ MDF cabinets — medium-density fiberboard doesn't absorb stain evenly and produces poor results. MDF can be painted, not stained effectively.
- ❌ Heavily damaged cabinets — water damage, delaminating veneer, broken joints, or structural damage should be repaired or replaced rather than restained.
Tools and Materials You'll Need
| Category | Items | Estimated Cost |
|---|---|---|
| Removal | Drill/driver, ziplock bags, blue painter's tape, pencil for labeling | $0 (owned) or $15–$25 |
| Stripping | Chemical stripper (Citristrip or similar), plastic scraper, steel wool | $15–$30 |
| Sanding | Orbital sander (or sanding block), 120-grit and 220-grit sandpaper, tack cloth | $20–$60 |
| Staining | Wood conditioner, wood stain (oil or gel), staining rags or foam brushes, stir sticks | $30–$60 |
| Sealing | Polyurethane (oil-based or water-based), quality brush or foam applicator | $25–$50 |
| Protection | Drop cloths, painter's tape, disposable gloves, respirator mask, safety glasses | $15–$30 |
| Cleanup | Mineral spirits (for oil-based), rags, trash bags | $10–$15 |
Total materials cost: $115–$270 for an average kitchen with 20–30 cabinet doors and drawer fronts.
Step 1: Remove Doors, Drawers, and Hardware
- Label everything — use painter's tape and a permanent marker to number each door and its corresponding cabinet opening. Take a photo of the layout as backup. Trust us — cabinets that look identical may have subtle sizing differences, and reinstalling unlabeled doors is a frustrating puzzle.
- Remove hinges from doors — unscrew the hinges from the door (not the cabinet). Place each door's screws and hinges in a labeled ziplock bag.
- Remove drawer fronts if they're separate from the drawer boxes. Remove drawer pulls and knobs.
- Remove all hardware — pulls, knobs, catches, and any decorative elements
- Clean everything — wash all surfaces with a TSP (trisodium phosphate) solution ($5–$8) or a degreaser to remove years of kitchen grease, fingerprints, and grime. This step is critical — stain won't adhere properly over grease.
Step 2: Strip the Old Finish
You have two approaches:
Option A: Chemical Stripping (Recommended)
- Apply a thick layer of chemical stripper (Citristrip is popular because it's low-odor and effective)
- Wait the recommended time (30 minutes to 24 hours depending on product and old finish thickness)
- Scrape off the softened finish with a plastic scraper (not metal — metal gouges the wood)
- Use steel wool or a ScotchBrite pad for detailed areas (panel grooves, corners, edges)
- Wipe clean with mineral spirits
Option B: Sanding Only (Faster, More Work)
If the existing finish is thin or you're going darker, aggressive sanding with 80-grit followed by 120-grit can remove the finish without chemicals. This creates more dust and is harder on detailed profiles (raised panel doors), but avoids chemical fumes and cleanup.
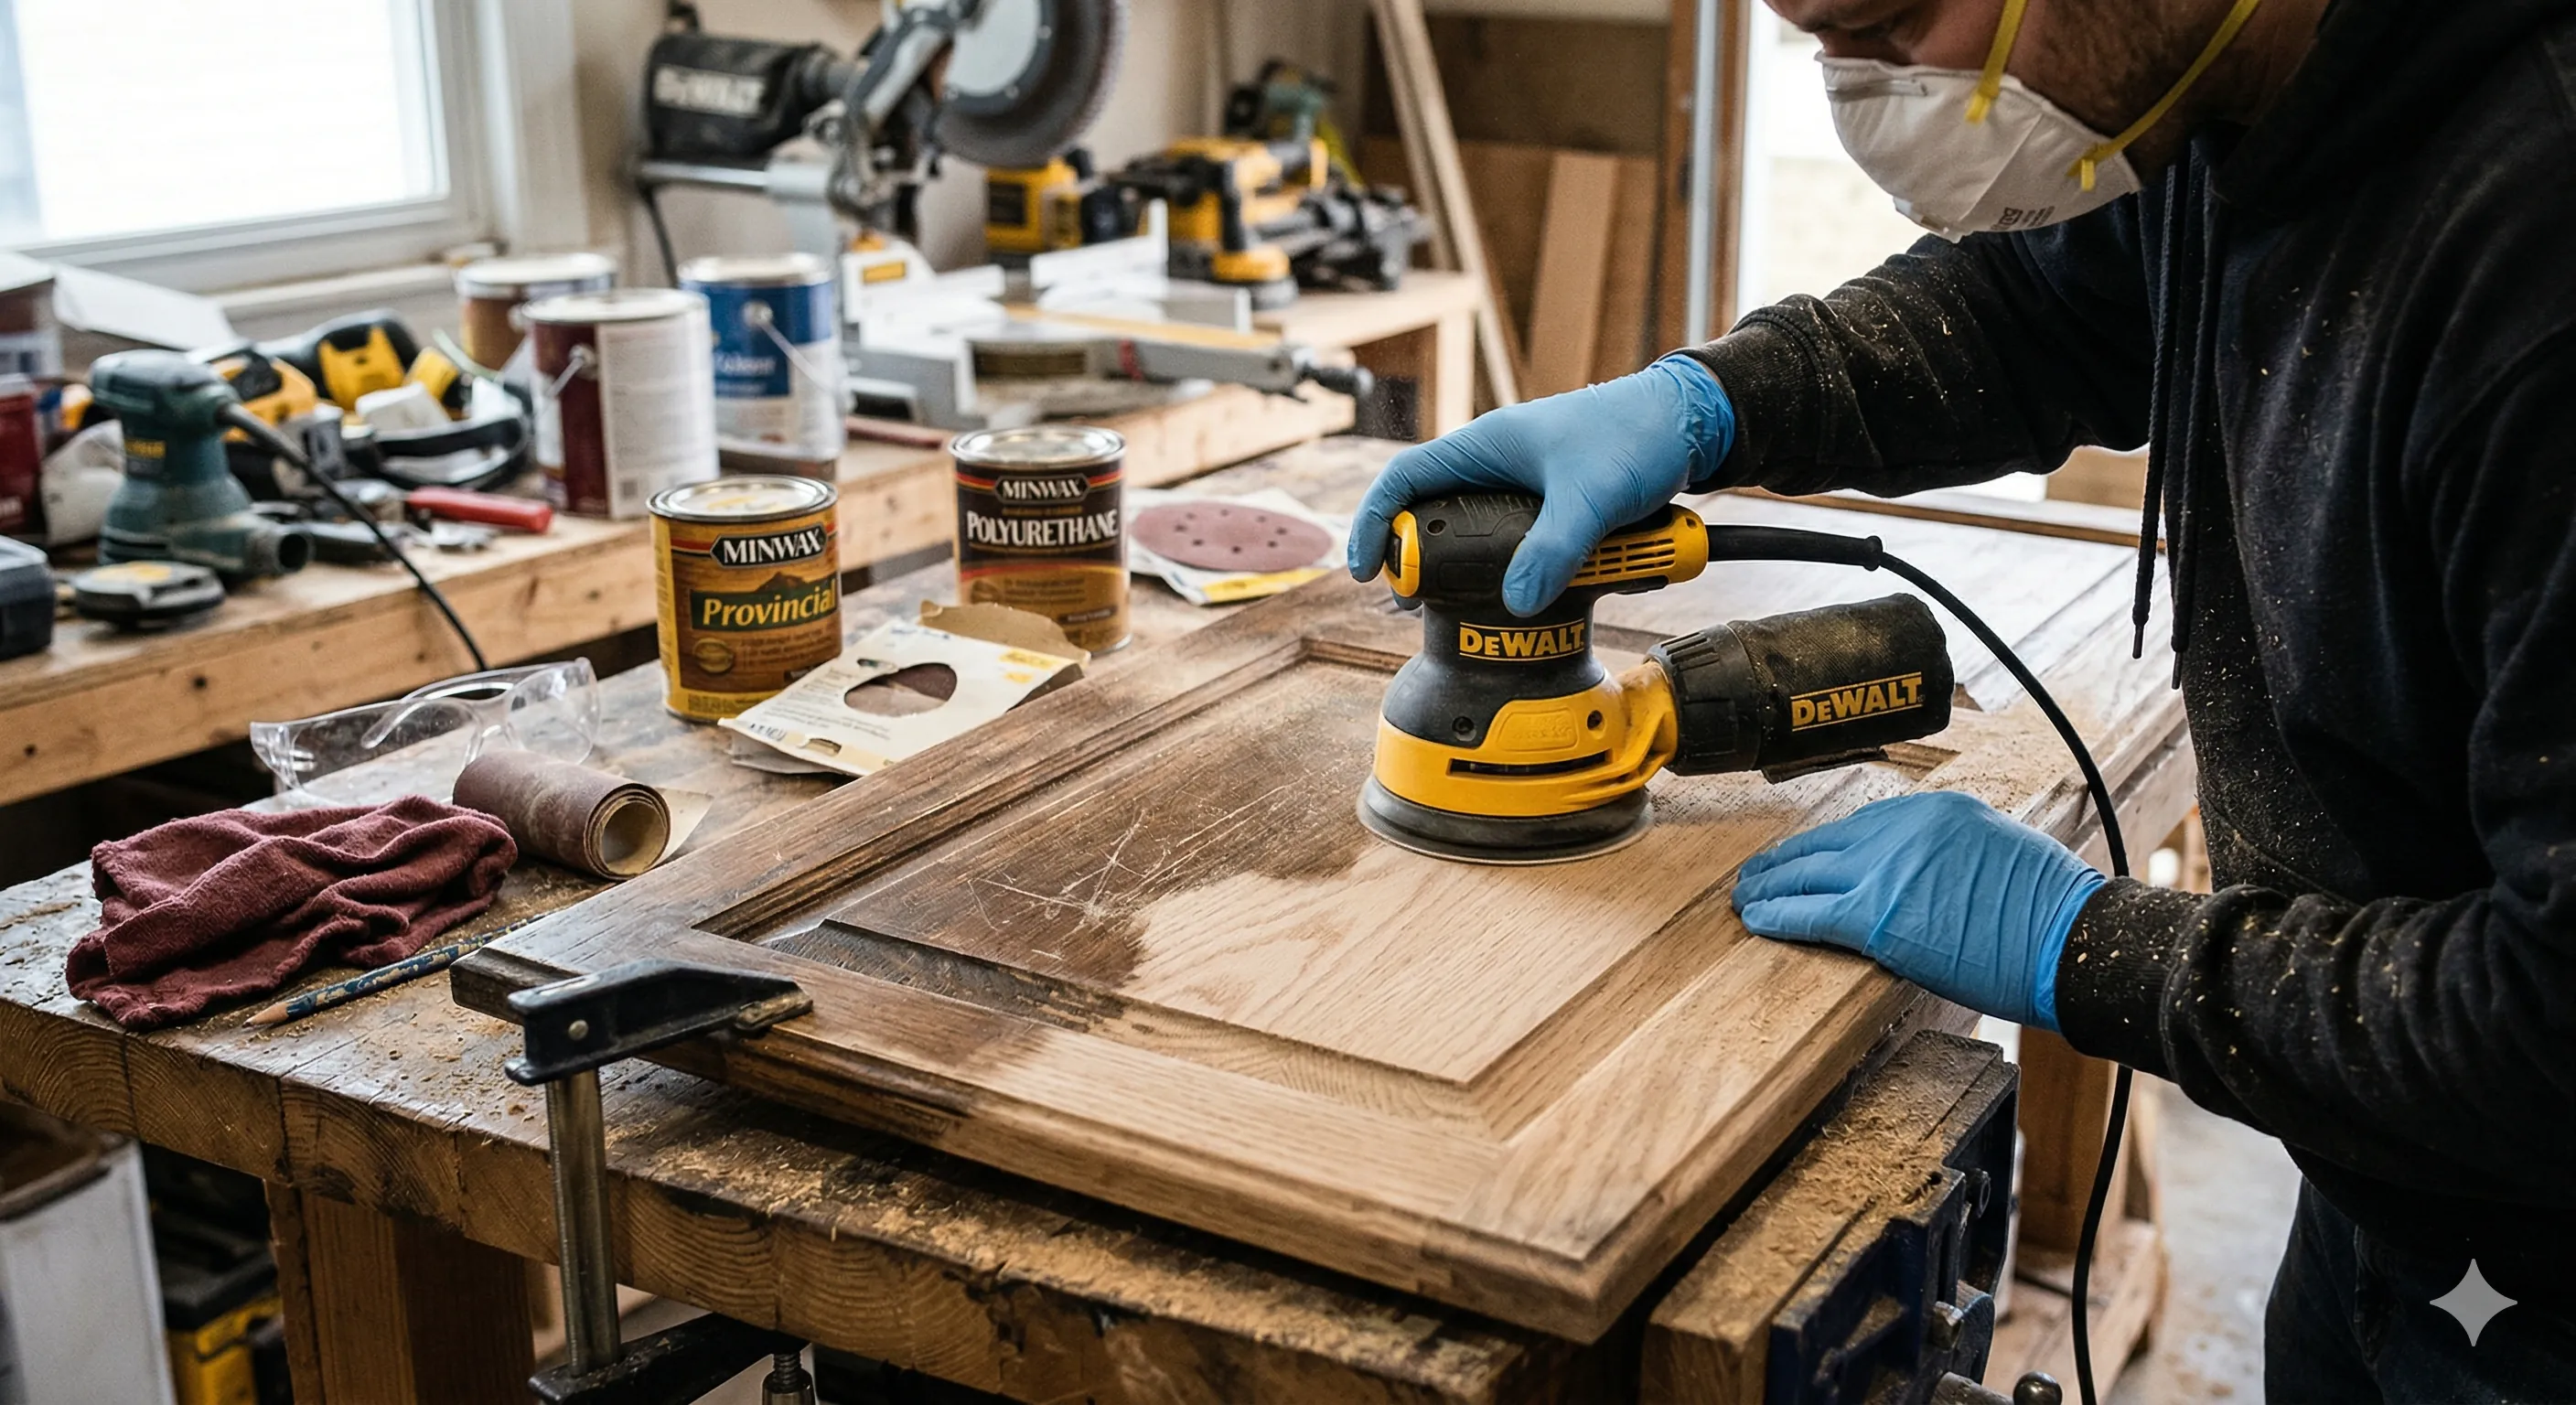
Step 3: Sand the Surface
- First pass: 120-grit — sand all surfaces with 120-grit sandpaper (use an orbital sander for flat surfaces, hand-sand detailed areas). Goal: remove remaining finish residue and create a smooth, even surface.
- Second pass: 220-grit — sand again with 220-grit for a smooth finish. This finer grit creates the surface texture that holds stain evenly.
- Always sand with the grain — never cross-grain. Cross-grain scratches show through stain and are nearly impossible to hide.
- Wipe with a tack cloth after sanding — a tack cloth picks up fine dust that would otherwise create bumps in the stain and finish.
- Vacuum the area thoroughly — dust is the enemy of a good finish
For veneer cabinets: Be extremely careful. Sand very lightly with 220-grit only. Veneer is typically only 1/32"–1/8" thick. Sanding through the veneer exposes the plywood underneath, which has a completely different grain and won't accept stain uniformly.
Step 4: Apply Wood Conditioner
Wood conditioner is a thin sealer that partially fills the wood's pores, evening out stain absorption so you don't get blotchy results. It's essential for:
- Pine, birch, maple, cherry, and poplar (all prone to blotchy stain absorption)
- Any softwood
- Wood with mixed grain patterns
How to apply: Brush or wipe on a generous coat, let it soak in for 5–15 minutes, then wipe off the excess. Apply stain within 2 hours (while the conditioner is still active).
Oak and hickory: These open-grained hardwoods typically don't need conditioner — they absorb stain very evenly on their own. However, if you're using a lighter stain, conditioner can still help even out the color.
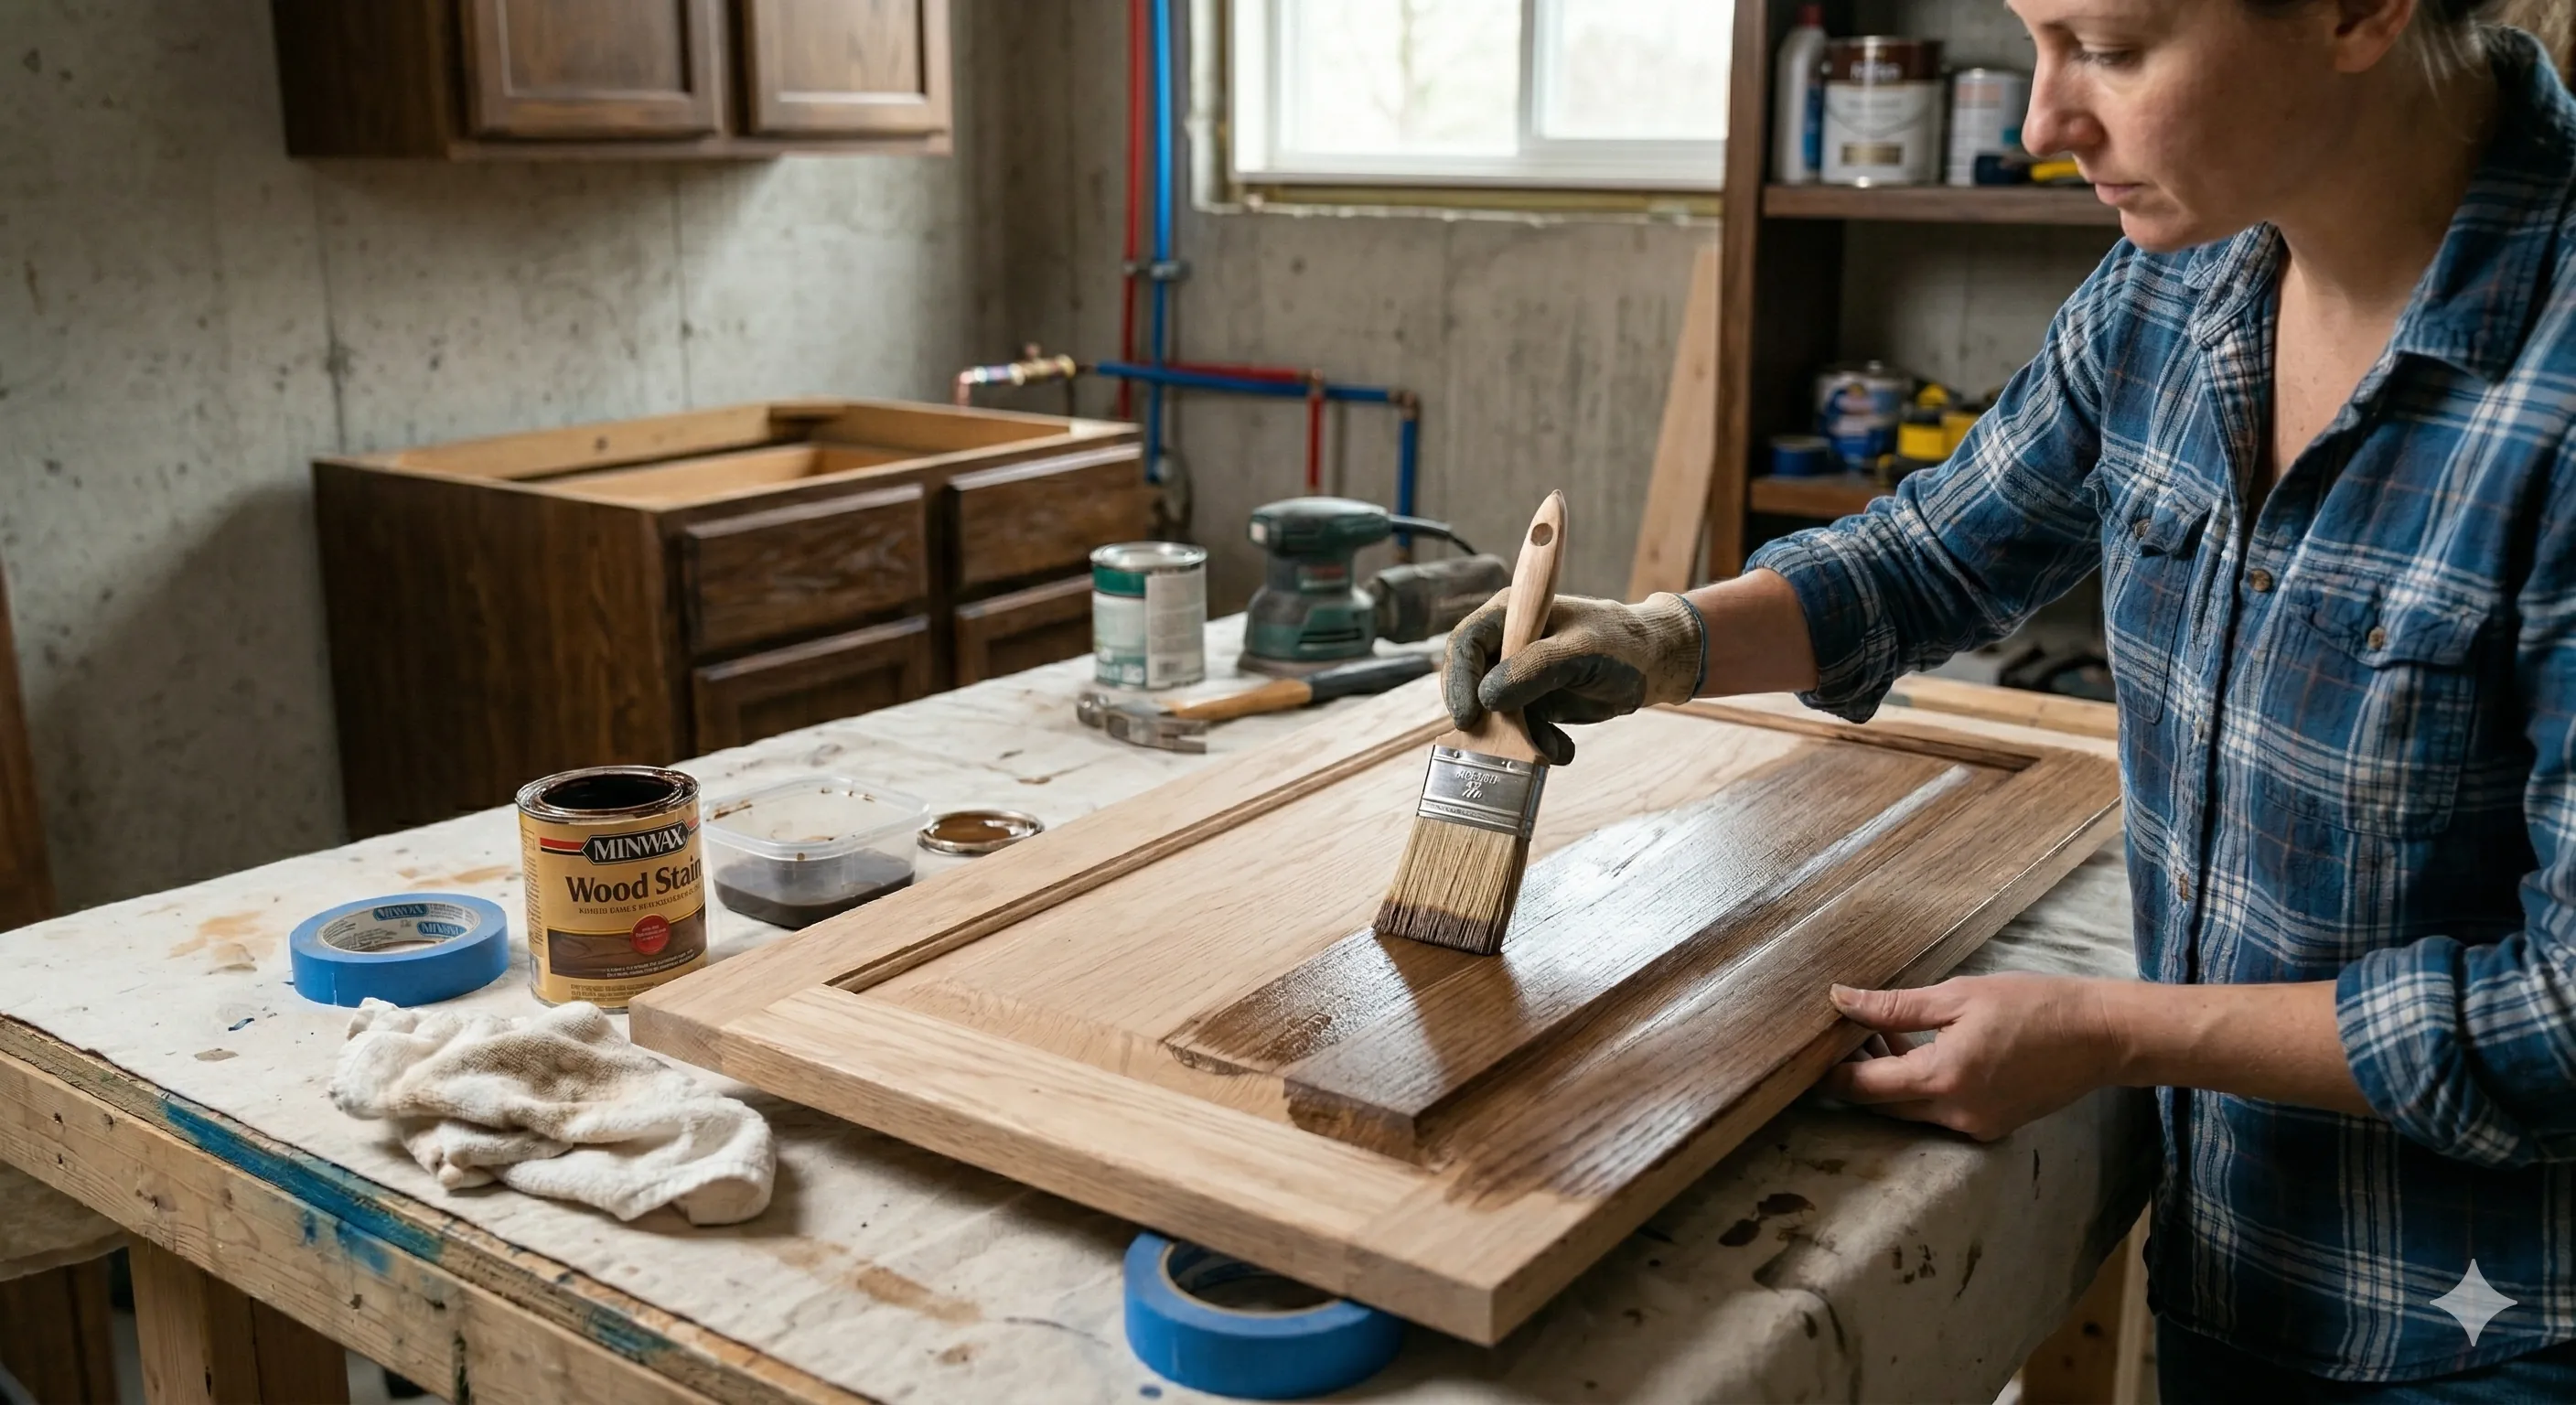
Step 5: Apply the Stain
Choosing Your Stain Type
- Oil-based stain (Minwax, Varathane) — penetrates deeply, long working time (15–20 minutes before wiping), rich color, requires mineral spirits cleanup. Best overall choice for cabinets.
- Gel stain (General Finishes, Minwax Gel) — sits on the surface rather than penetrating, ideal for blotch-prone woods and vertical surfaces (won't drip or run). Excellent for beginner-friendly results.
- Water-based stain — fast drying, easy cleanup, lower VOCs, but can raise the grain (requiring a light sand between coats) and produces less rich color depth.
Application Process
- Stir the stain thoroughly (never shake — shaking creates bubbles)
- Apply with the grain using a brush, foam applicator, or lint-free rag
- Let it sit 5–15 minutes — longer = darker. Test on a hidden area or scrap wood first to determine your ideal sit time.
- Wipe off excess with a clean, lint-free rag, wiping with the grain
- Let dry completely — oil-based stain: 8–24 hours. Water-based: 2–4 hours.
- Apply a second coat if darker color is desired — additional coats deepen the color. Most staining projects need 1–2 coats.
Critical tip: Stain all doors flat (horizontal) to prevent drips and runs. Set up sawhorses in the garage or a well-ventilated area. Cabinet boxes must be stained in place — work carefully to avoid drips on interior surfaces.
Step 6: Apply Protective Topcoat (Polyurethane)
Stain alone has no protective quality — it's just color. You must seal the stain with a clear topcoat to protect against moisture, grease, fingerprints, and daily kitchen wear.
Topcoat Options
- Oil-based polyurethane (Minwax) — the most durable kitchen-grade finish. Adds a slight amber warmth. Longer dry time (24 hours between coats). Apply 2–3 coats.
- Water-based polyurethane (Minwax Polycrylic, General Finishes) — crystal-clear (no amber tint), fast drying (2–4 hours between coats), low odor. Slightly less durable than oil-based but much easier to work with. Apply 3 coats.
- Conversion varnish or catalyzed lacquer — professional-grade finishes that are the most durable but require spray equipment and expertise. What professional refinishers use.
Application
- Apply thin, even coats with a high-quality brush or foam pad applicator
- Don't over-brush — lay it down and leave it
- Lightly sand with 320-grit between coats (after each coat is fully dry) for adhesion
- Wipe with tack cloth before applying the next coat
- Apply 2–3 coats total for kitchen durability
Step 7: Reassemble
- Wait at least 48–72 hours after the final topcoat before handling (longer is better — polyurethane takes 30 days to fully cure)
- Reinstall hinges on doors (this is why you labeled everything)
- Rehang doors on cabinet boxes
- Reinstall drawer fronts and drawer pulls/knobs
- Adjust hinge alignment as needed for even gaps
- Consider new hardware — new pulls and knobs ($2–$10 each) complement a fresh stain and make the transformation feel more complete
Pro Tips for a Professional-Quality Finish
- Test your stain color first — always test on a hidden area (inside of a door, back of a face frame) or on a scrap piece of matching wood. Colors look different on different wood species and under different lighting.
- Work in a dust-free environment — dust landing on wet stain or poly ruins the finish. Work in a clean garage with the door closed, or create a temporary clean area with plastic sheeting.
- Temperature matters — stain and poly need 50–85°F to cure properly. Don't stain in a cold garage or an excessively hot outdoor area.
- Use gel stain for vertical surfaces — when staining the cabinet boxes (which are vertical), gel stain won't drip or run like traditional penetrating stain.
- Consider a spray-on topcoat — spray cans of polyurethane ($8–$12 per can) produce a smoother, more even finish than brushing on flat surfaces like doors and drawer fronts. Lightly mist 3–4 thin coats rather than 2 thick coats.
Cost Comparison: DIY vs. Professional Restaining
| Option | Cost | Time | Results |
|---|---|---|---|
| DIY restaining | $200–$500 | 3–5 days | Good to excellent with patience |
| Professional refinishing (on-site) | $2,000–$5,000 | 3–5 days | Excellent, professional-grade |
| Professional refinishing (off-site spray) | $3,000–$7,000 | 1–2 weeks | Factory-quality finish |
| Cabinet refacing | $5,000–$12,000 | 3–5 days | New door fronts + veneer |
| Full cabinet replacement | $10,000–$30,000+ | 1–3 weeks | Brand new cabinets |
For more kitchen renovation ideas, check our kitchen and bath resource guide.
Want to learn more about kitchen and bathroom renovations?
Read Our Complete Kitchen & Bath Guide →Frequently Asked Questions
More Kitchen & Bath Guides
You May Also Like
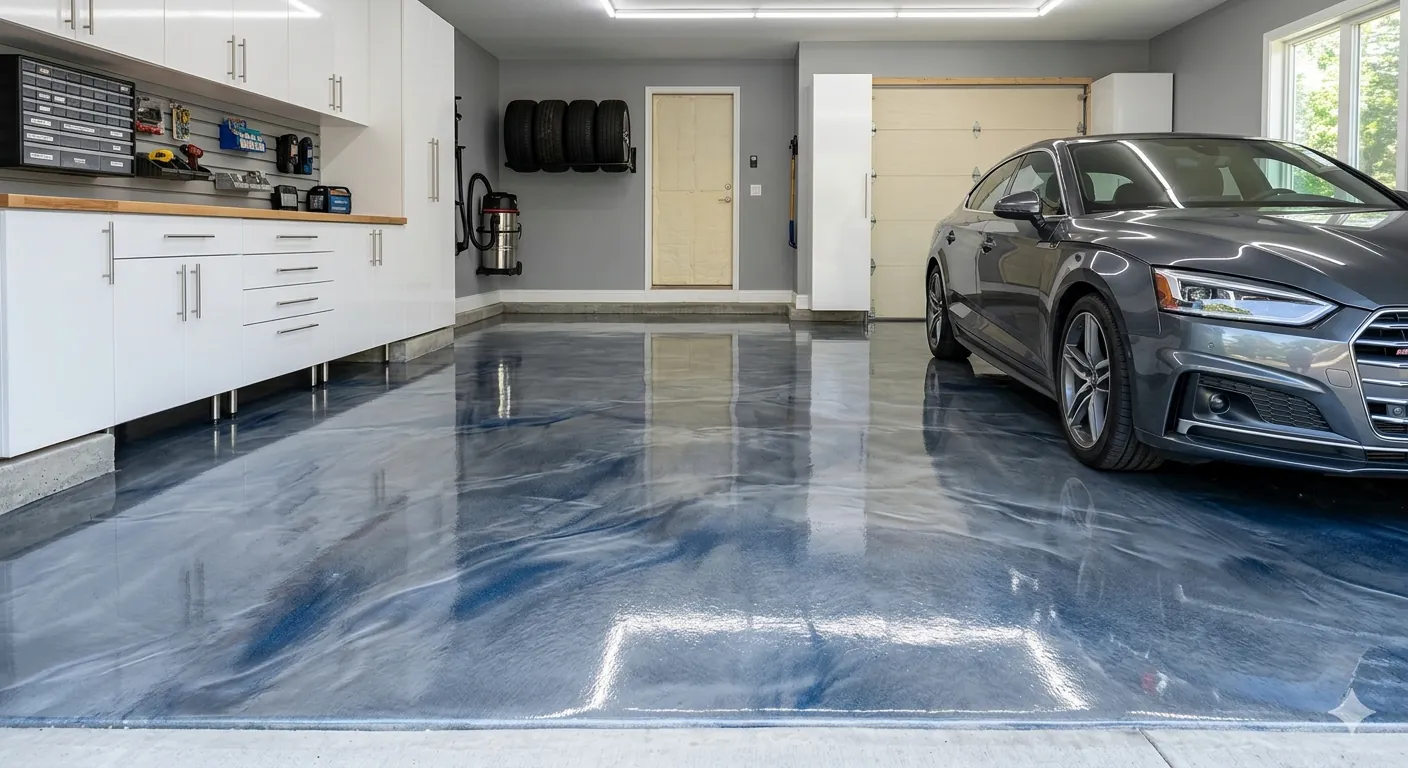
How Much Is Epoxy Flooring Per Square Foot
Complete cost breakdown for epoxy flooring — garage, basement, and commercial. Materials, labor, and DIY vs pro pricing.
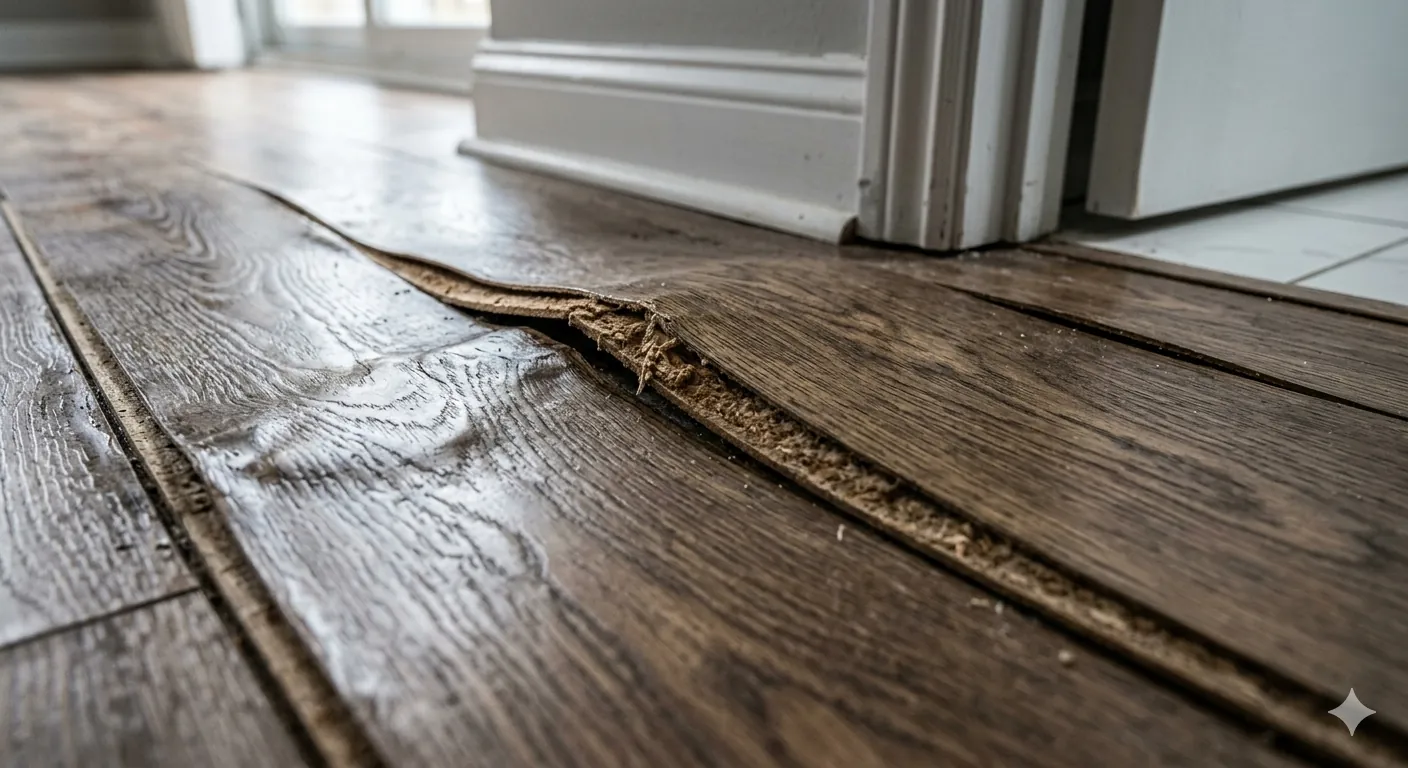
How to Repair Swollen Laminate Flooring Without Replacing
Fix water-damaged laminate floors without tearing everything out. DIY repair methods that actually work.
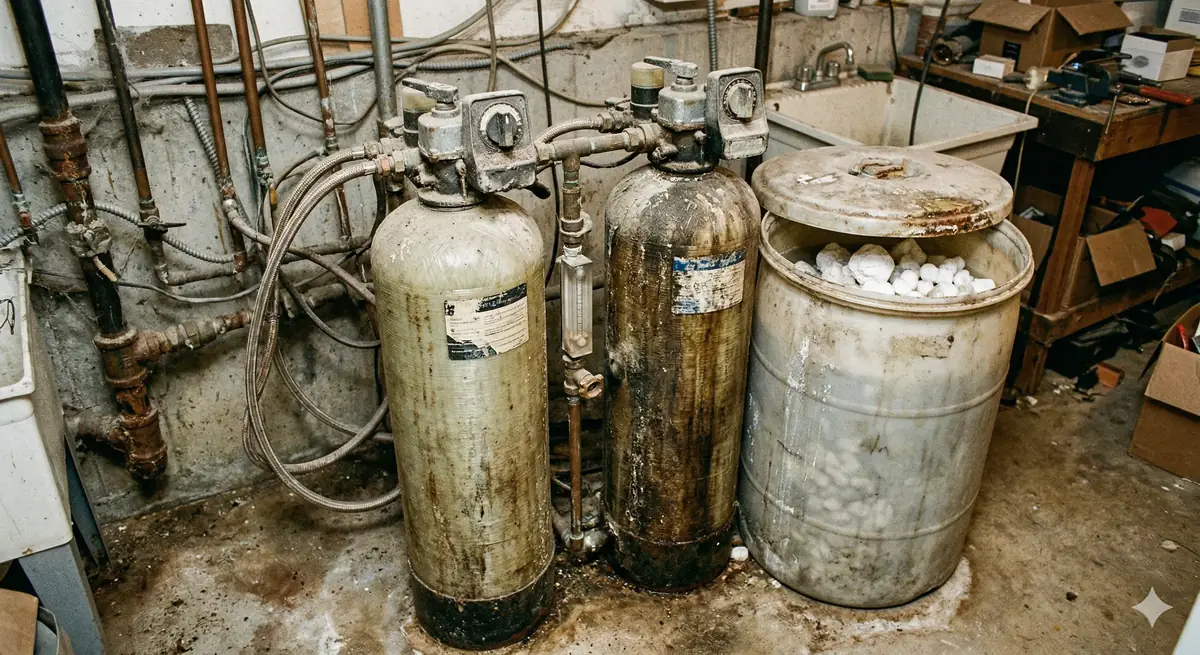
How Long Do Water Softeners Last
Water softener lifespan by type, maintenance tips to extend life, and signs it's time for replacement.
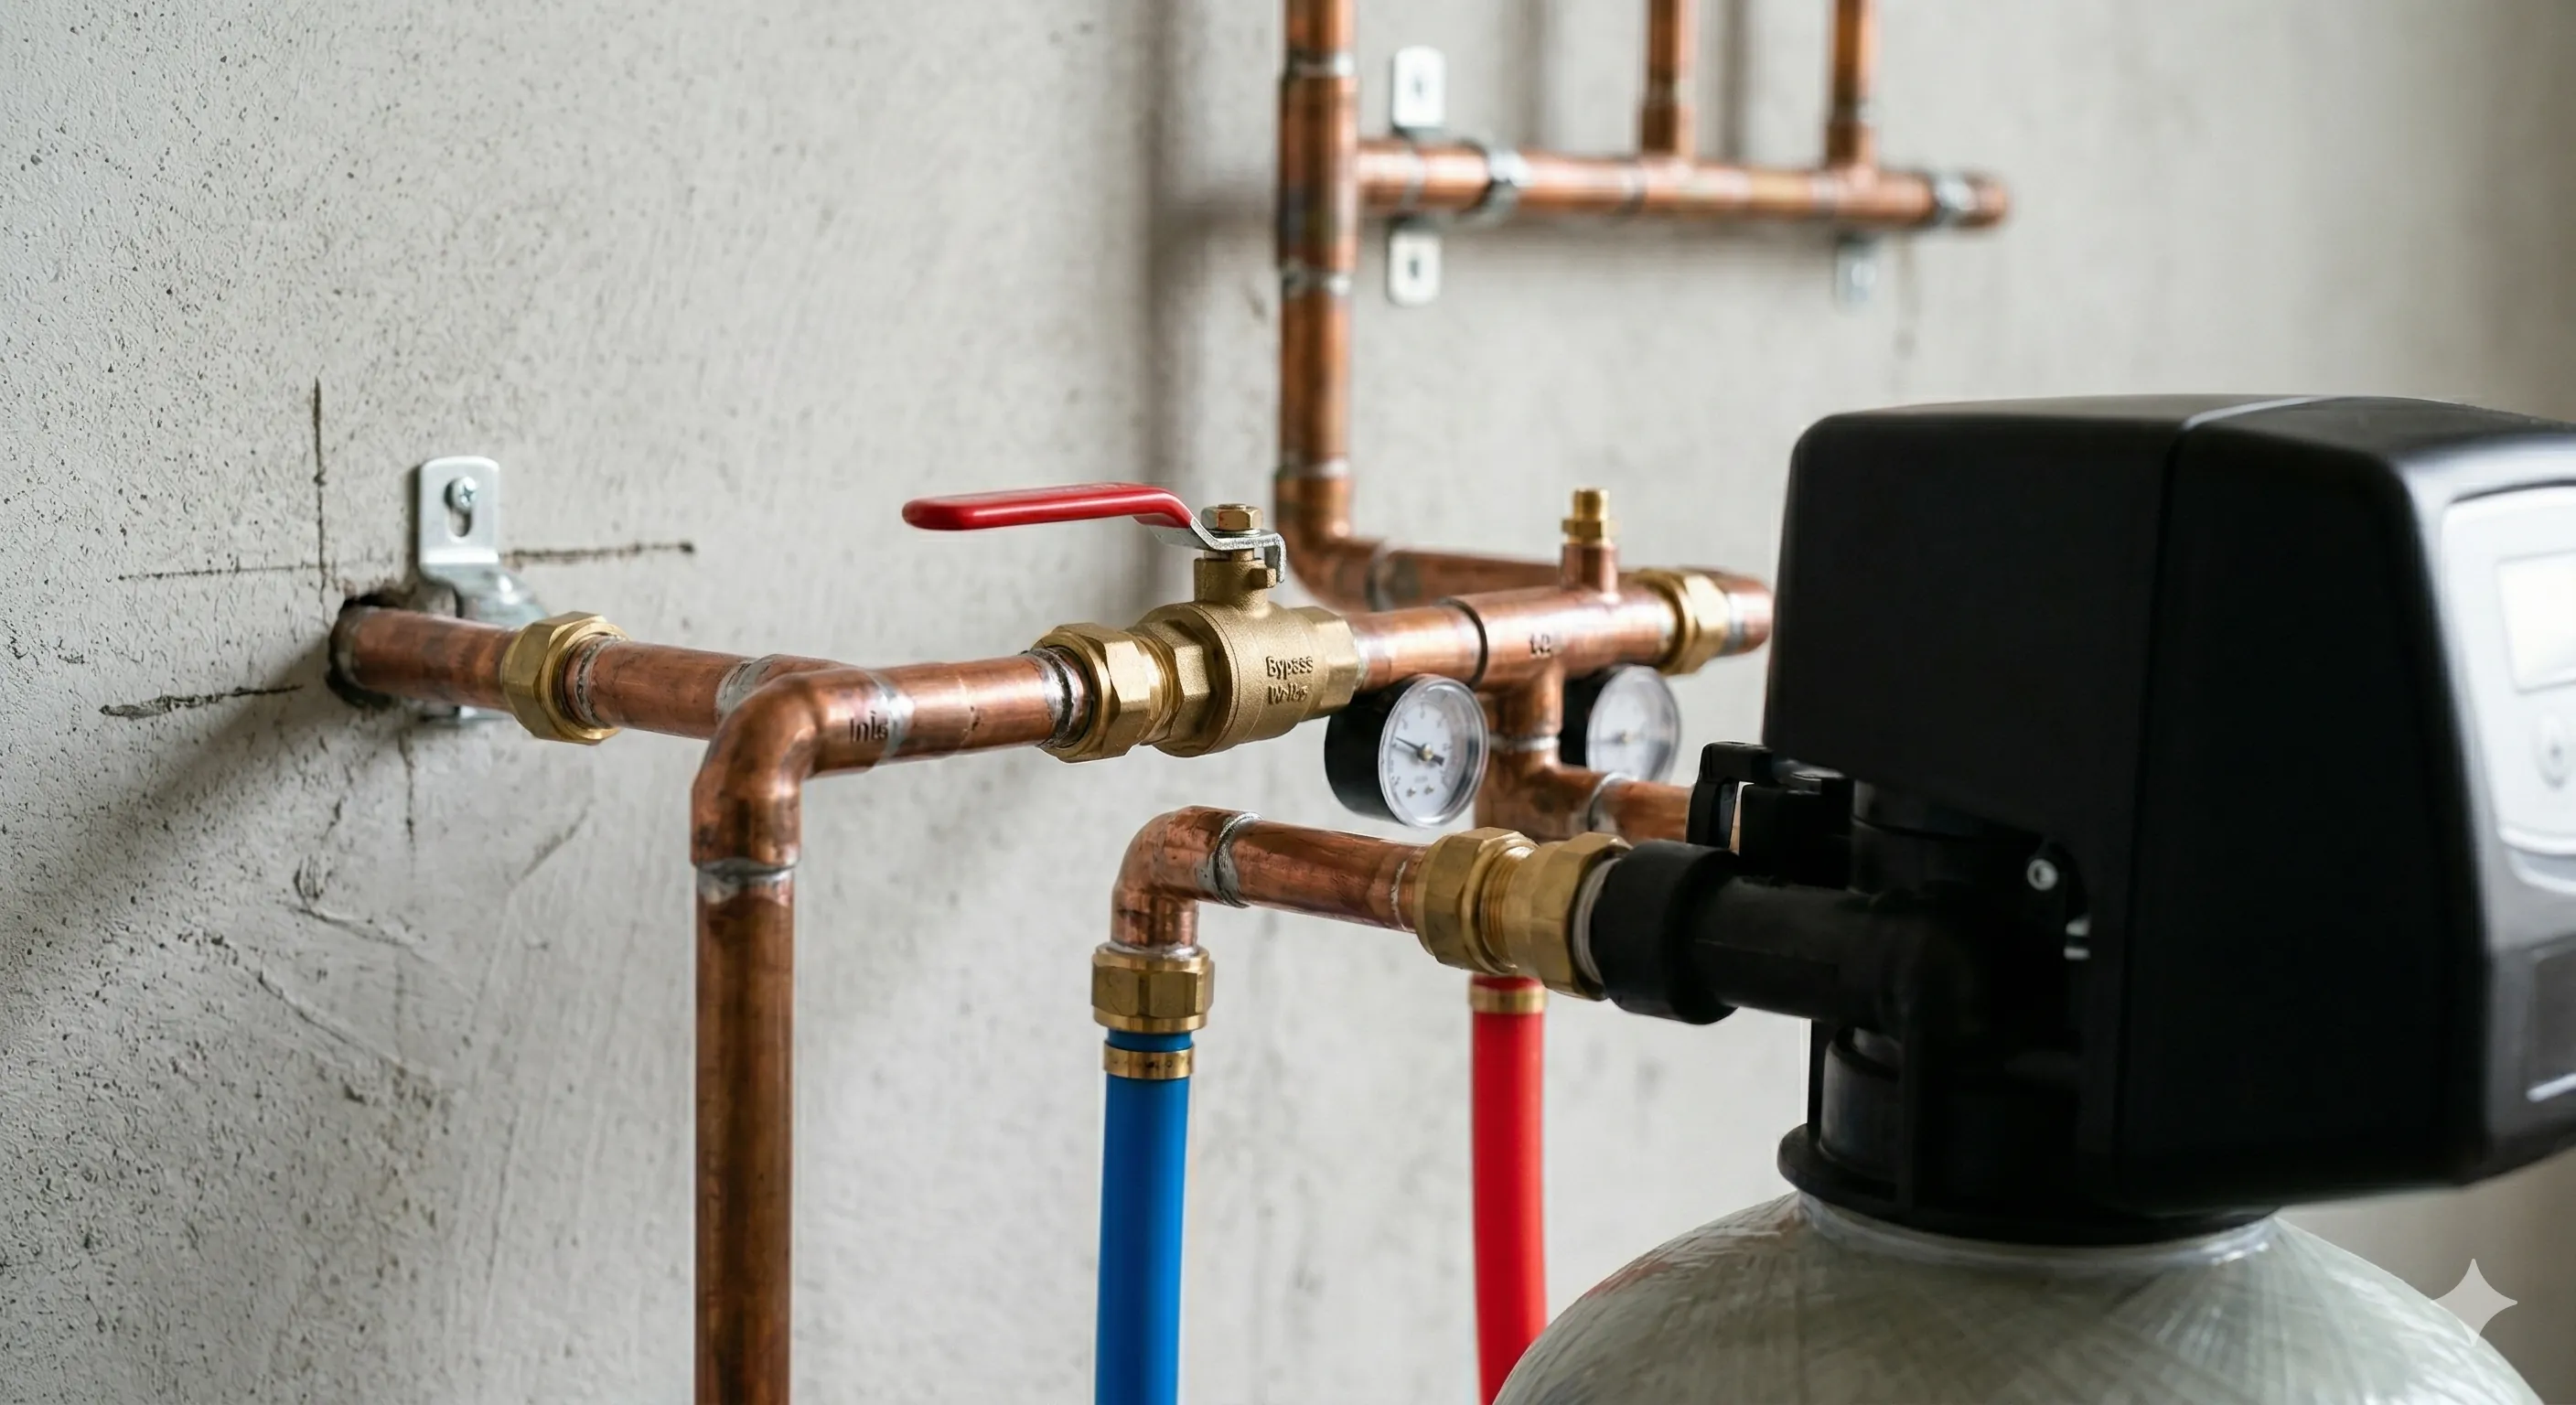
How to Connect a Water Softener
Complete water softener installation guide. Plumbing connections, bypass valve setup, and initial programming.
Disclaimer: This content is for informational purposes only. Always test products on hidden areas first. Use appropriate ventilation and safety equipment when working with chemical strippers and finishes. HouseFixGuide may earn a commission from links on this page.