How to Repair Swollen Laminate Flooring Without Replacing
- Why Laminate Flooring Swells
- Assessing the Damage: Can It Be Repaired?
- Method 1: Drying and Flattening (Minor Swelling)
- Method 2: Edge Sealing and Filler Repair
- Method 3: Individual Plank Replacement
- Method 4: Fixing Buckling from Expansion Gaps
- How to Prevent Laminate Floor Swelling
- Insurance Coverage for Water-Damaged Laminate
- Repair vs. Replacement Costs
- Frequently Asked Questions
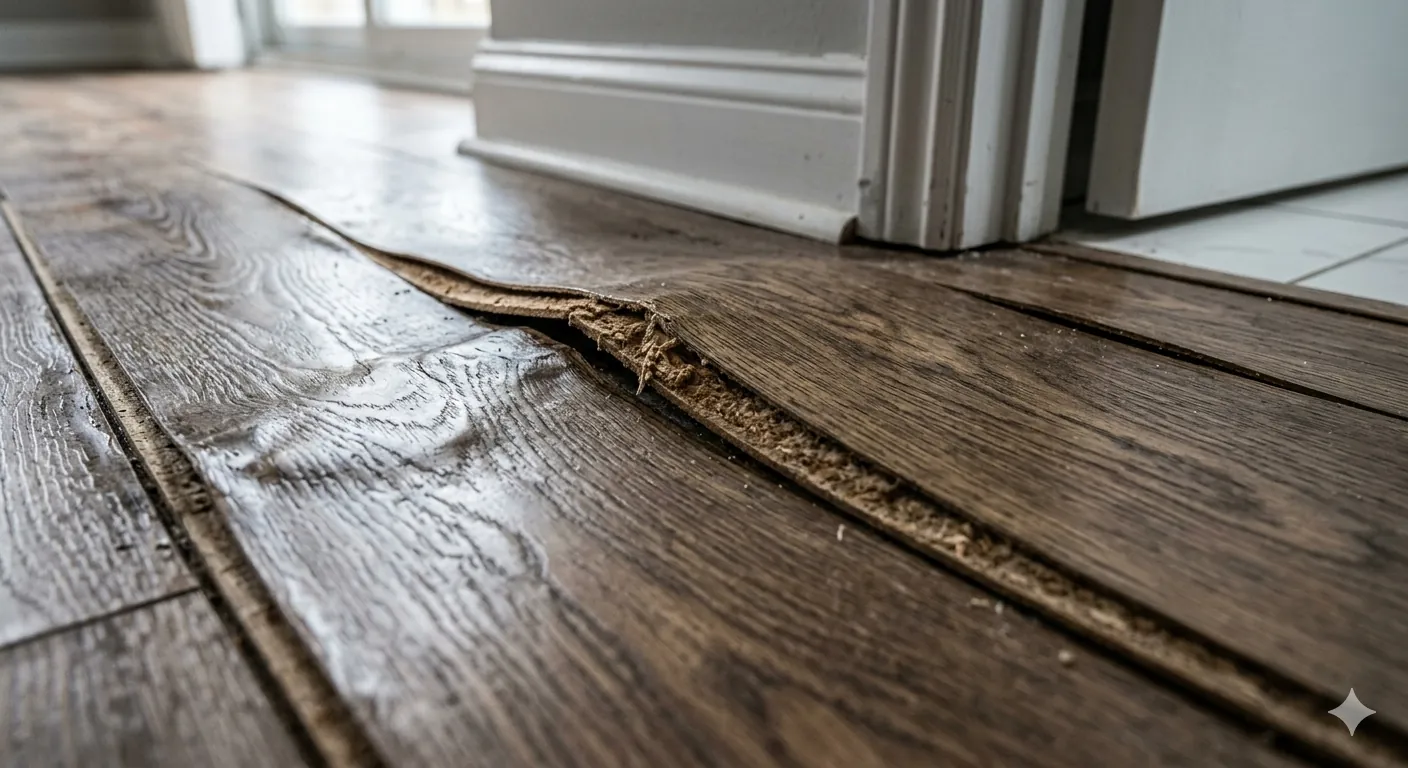
You walk into the kitchen or bathroom and notice the laminate flooring is bubbling up at the seams, edges are raised and rough, or an entire section is buckled and wavy. Water damage on laminate flooring is one of the most common and frustrating flooring problems homeowners face — and the first question is always: can I fix this without ripping up the entire floor?
The answer depends entirely on the severity and duration of the water exposure. This guide walks you through how to assess the damage, which repair methods actually work, and when replacement is the only realistic option. We'll be honest: not all swollen laminate can be saved. But for many cases — especially caught early — you have real options.
Why Laminate Flooring Swells
Understanding why swelling happens helps you choose the right repair approach:
The Construction of Laminate
Laminate flooring is a layered product:
- Wear layer — a clear melamine resin that resists scratches and stains
- Design layer — a high-resolution photograph of wood, stone, or tile (this is the "look" of the floor)
- Core — a thick layer of HDF (High-Density Fiberboard) made from compressed wood fibers and adhesive. This is the structural backbone of the plank.
- Backing layer — a moisture-resistant layer on the bottom that provides dimensional stability
The problem is the HDF core. Despite being compressed, HDF is essentially wood fiber — and wood fibers absorb water. When water reaches the HDF core (through seams, edges, or the backing), the fibers expand. This expansion is what causes swelling, and once the fibers expand beyond their compression point, the expansion is permanent even after the floor dries.
Common Causes of Swelling
- Standing water — spills from pets, appliance leaks (dishwasher, refrigerator, washing machine), overflowing sinks or toilets
- Mopping with too much water — laminate should only be damp-mopped, never wet-mopped. Excess water wicks into the seams.
- High humidity — sustained humidity above 60% can cause gradual moisture absorption and expansion across the entire floor
- Subfloor moisture — concrete slabs without a proper vapor barrier can transfer moisture upward through the subfloor
- Insufficient expansion gaps — laminate needs 1/4" to 1/2" expansion gaps around all walls and fixed objects. Without them, the floor can't expand with humidity changes and buckles upward.
- Broken seals at transition strips — where laminate meets tile, carpet, or other flooring, poor transitions allow water to reach exposed HDF edges
Assessing the Damage: Can It Be Repaired Without Replacing?
Before attempting any repair, evaluate the damage level:
| Damage Level | Symptoms | Repairable? | Method |
|---|---|---|---|
| Level 1: Minor edge swelling | Edges slightly raised at seams, visible but not catching on socks/shoes | ✅ Yes | Dry, weight, seal |
| Level 2: Surface bubbling | Small bubbles on the surface, minor waviness | ⚠️ Possible | Dry, iron method, filler |
| Level 3: Full plank swelling | Entire plank visibly raised, soft/spongy when stepped on | ❌ Replace plank | Individual plank replacement |
| Level 4: Multi-plank buckling | Multiple planks buckled upward, floor feels unstable | ❌ Replace section | Section replacement |
| Level 5: Widespread damage | Large area affected, mold visible, subfloor damage | ❌ Full replacement | Complete floor replacement |
The 12-hour rule: If water exposure lasted less than 12 hours and the laminate is AC4 or higher rated, drying and flattening has a reasonable chance of success. Beyond 12 hours, the HDF core has likely absorbed enough water for permanent expansion.
Method 1: Drying and Flattening (Minor Swelling)
This method works best for Level 1 and some Level 2 damage caught within the first 12–24 hours:
Step 1: Remove All Standing Water
Use towels, a wet/dry vacuum, or a mop to remove every trace of standing water. Get into the seams — press a dry towel into every seam line to wick out trapped moisture.
Step 2: Remove Baseboards (If Possible)
Baseboards trap moisture against the wall edge of the laminate. Carefully remove baseboards in the affected area with a pry bar and putty knife to expose the expansion gap. This allows airflow under the flooring edge and dramatically speeds drying.
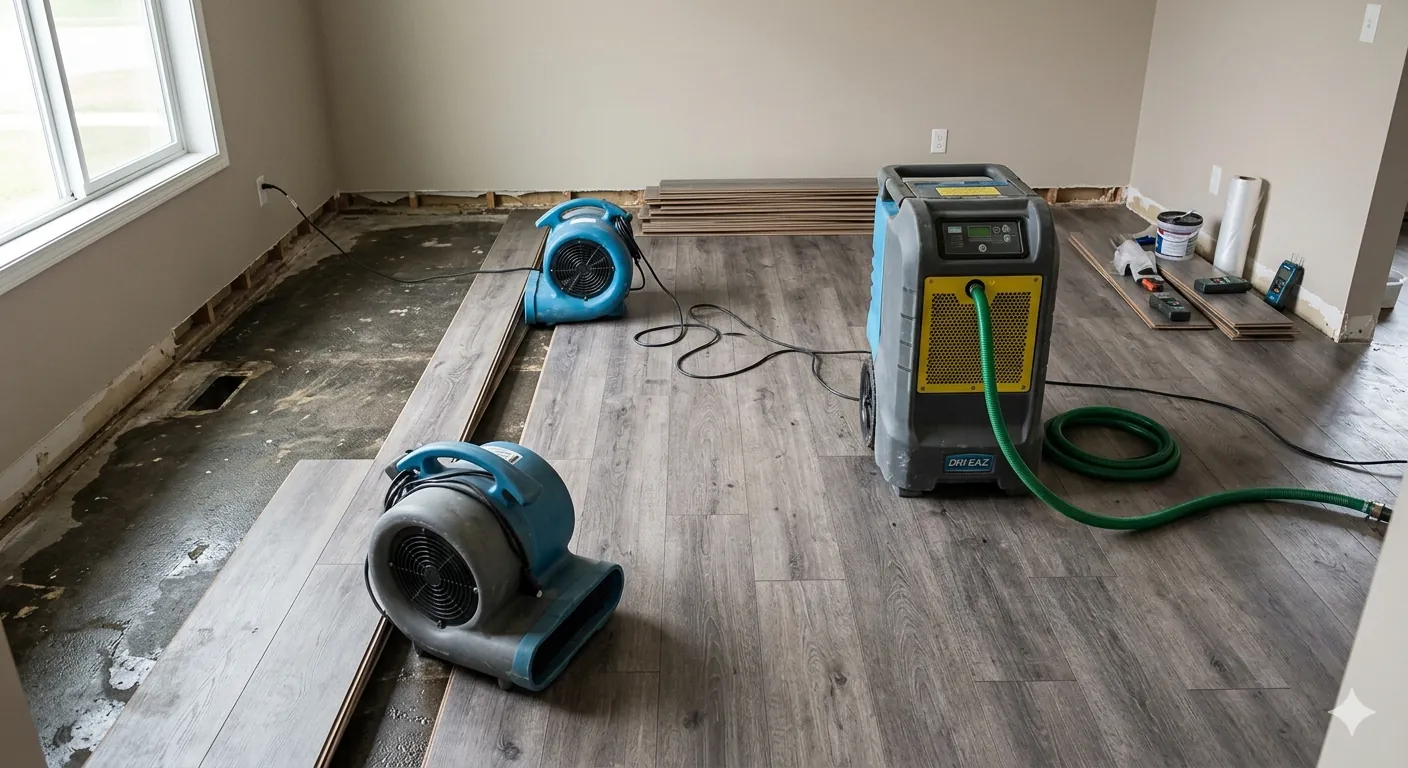
Step 3: Dry the Area Aggressively
- Set up 1–2 box fans or floor fans blowing directly across the swollen area
- Run a dehumidifier in the room — set it to maximum extraction
- If weather permits, open windows for cross-ventilation
- Keep fans and dehumidifier running continuously for 24–72 hours
- Check moisture levels with a moisture meter if available — the flooring should read below 12% moisture content before proceeding
Step 4: Apply Weight to Flatten
Once the area is completely dry:
- Lay a sheet of wax paper or parchment paper over the swollen area (this prevents the weight from sticking to the laminate surface)
- Stack heavy, flat objects on top — concrete blocks, heavy books, cast iron, bags of sand
- Distribute weight evenly across the raised area
- Leave the weight in place for 24–48 hours
- Remove and inspect — if the edges have flattened noticeably, the repair is working. If not, the core expansion is permanent and you'll need to consider replacement.
Step 5: Seal the Edges
After flattening, seal the seams with a laminate-specific edge sealant (products like Cal-Flor ClickSeal or similar). Apply a thin bead of sealant into the seam using the applicator tip, then wipe excess immediately. This creates a moisture barrier that prevents future water intrusion at the seams.
Method 2: Edge Sealing and Filler Repair
For Level 1–2 damage where edges are raised but the plank is still structurally sound:
The Iron Method (For Surface Bubbles)
- Place a damp (not wet) cloth over the bubbled area
- Set an iron to medium heat (no steam)
- Press the iron onto the cloth over the bubble for 10–15 seconds at a time
- The heat softens the adhesive in the laminate layers, and the weight of the iron presses the bubble flat
- Important: move the iron constantly — staying in one spot too long will burn through the wear layer and ruin the decorative surface
- This technique works for small surface bubbles where the lamination between layers has separated, not for HDF core swelling
Wood Filler for Edge Repair
If the edges are slightly rough or chipped from swelling but the plank has mostly flattened:
- Color-match a wood filler putty to your laminate shade
- Apply a thin layer to the raised or rough edge with a putty knife
- Allow to dry completely (2–4 hours)
- Sand gently with 220-grit sandpaper until smooth and flush
- Apply a thin coat of polyurethane or laminate touch-up pen over the filled area for moisture protection
Method 3: Individual Plank Replacement
When the swelling is too severe to reverse (Level 3), you can replace individual planks without removing the entire floor. This is the most practical repair for 1–5 damaged planks:
What You Need
- Replacement planks (ideally from the same batch — check if you saved extras during installation)
- Circular saw or oscillating multi-tool
- Chisel and hammer
- Wood glue or construction adhesive
- Painter's tape
- Pull bar and tapping block
The Process
- Mark the plank to be removed with painter's tape on the surrounding planks to protect them
- Cut the damaged plank — use a circular saw set to the exact depth of the laminate (about 8mm) to cut a rectangle inside the plank, about 1.5 inches from each edge
- Remove the center section with a chisel, then carefully pry out the remaining edge pieces
- Clean the subfloor area and check for moisture. If the subfloor is wet, dry it completely before installing the new plank.
- Prepare the new plank — cut off the bottom lip of the tongue on the long side and the short end that will be slid under existing planks. This allows the new plank to lay flat into the opening without needing to click into adjacent planks from above.
- Apply adhesive — put a thin bead of wood glue or construction adhesive on the subfloor and on the top edges of the adjacent planks' tongues
- Set the new plank — angle the tongued long edge into the grooved edge of the adjacent plank, then press flat. The glued side sits on top of the trimmed tongue below.
- Weight the plank for 24 hours while the adhesive cures
Important: This method is for click-lock floating laminate floors. If your laminate is glued down, the removal process is different (and messier — you'll likely need a heat gun to soften the adhesive).
Method 4: Fixing Buckling from Expansion Gap Issues
Sometimes laminate "swells" or buckles because it doesn't have adequate expansion gaps — not because of water damage. This looks like large sections of floor rising up like waves or a single long buckle running parallel to the wall.
How to Fix
- Remove baseboards along the affected walls
- Check the expansion gap — you need at least 1/4" (ideally 3/8") between the laminate edge and the wall. If the laminate is touching the wall, that's your problem.
- Trim the laminate edges — use an oscillating multi-tool or a circular saw with a flush-cut attachment to trim 1/4"–3/8" from the laminate edge along the wall
- Check around door frames, cabinets, and fixed objects — anywhere laminate meets an immovable surface needs the same expansion gap
- Reinstall baseboards — the baseboards cover the expansion gap
- Wait 48 hours — the floor should settle back to flat once the pressure is relieved
How to Prevent Laminate Floor Swelling
- Never wet-mop laminate — use a damp (wrung-out) mop or a spray mop. Excess water is the #1 cause of laminate damage.
- Wipe up spills immediately — within minutes, not hours. Set a household rule: any spill on laminate gets wiped up immediately.
- Use appliance drip trays — place trays under the refrigerator, dishwasher, and washing machine to catch slow leaks before they reach the laminate
- Seal the seams on installation — apply a laminate seam sealant during or immediately after installation, especially in kitchens, bathrooms, and laundry rooms
- Maintain proper humidity — keep indoor humidity between 35%–55% year-round. Use a humidifier in winter (when heating dries the air) and a dehumidifier in summer (when humidity spikes).
- Use a proper underlayment — install a moisture barrier underlayment (6-mil poly film or vapor-barrier foam) when laying laminate over concrete subfloors
- Check expansion gaps — verify 1/4"–3/8" gaps around all walls and fixed objects during installation. These gaps are essential for the floor's ability to expand and contract with humidity changes.
Insurance Coverage for Water-Damaged Laminate
Whether your homeowner's insurance covers laminate floor water damage depends on the source of the water:
- Covered: sudden and accidental events — burst pipes, appliance malfunctions (water heater rupture, washing machine hose failure), ice dam leaks
- Not covered: gradual damage — slow leaks you knew about, poor maintenance, high humidity, repeated mopping damage
- Not covered (usually): flood damage — rising water from outside (rivers, storm surge) requires separate flood insurance
If the damage is from a covered event, document everything (photos, receipts for the flooring, repair costs) and file a claim. Laminate floor replacement is typically covered under "dwelling coverage" minus your deductible.
Repair vs. Replacement Costs
| Approach | Cost | When to Choose |
|---|---|---|
| DIY dry and flatten | $0–$30 | Minor edge swelling caught within 12 hours |
| Edge sealant repair | $10–$30 | Sealed edges after successful drying |
| Replace 1–5 planks (DIY) | $20–$100 | Isolated plank damage, matching planks available |
| Replace 1–5 planks (professional) | $100–$400 | Hard-to-match planks or complex patterns |
| Replace full room (DIY) | $1–$4/sq ft materials | Widespread damage beyond repair |
| Replace full room (professional) | $3–$8/sq ft installed | Major water damage, subfloor issues |
For more flooring maintenance and repair guides, check our comprehensive flooring resource center.
Want to learn more about flooring repair and maintenance?
Read Our Complete Flooring Guide →Frequently Asked Questions
More Flooring Guides
You May Also Like
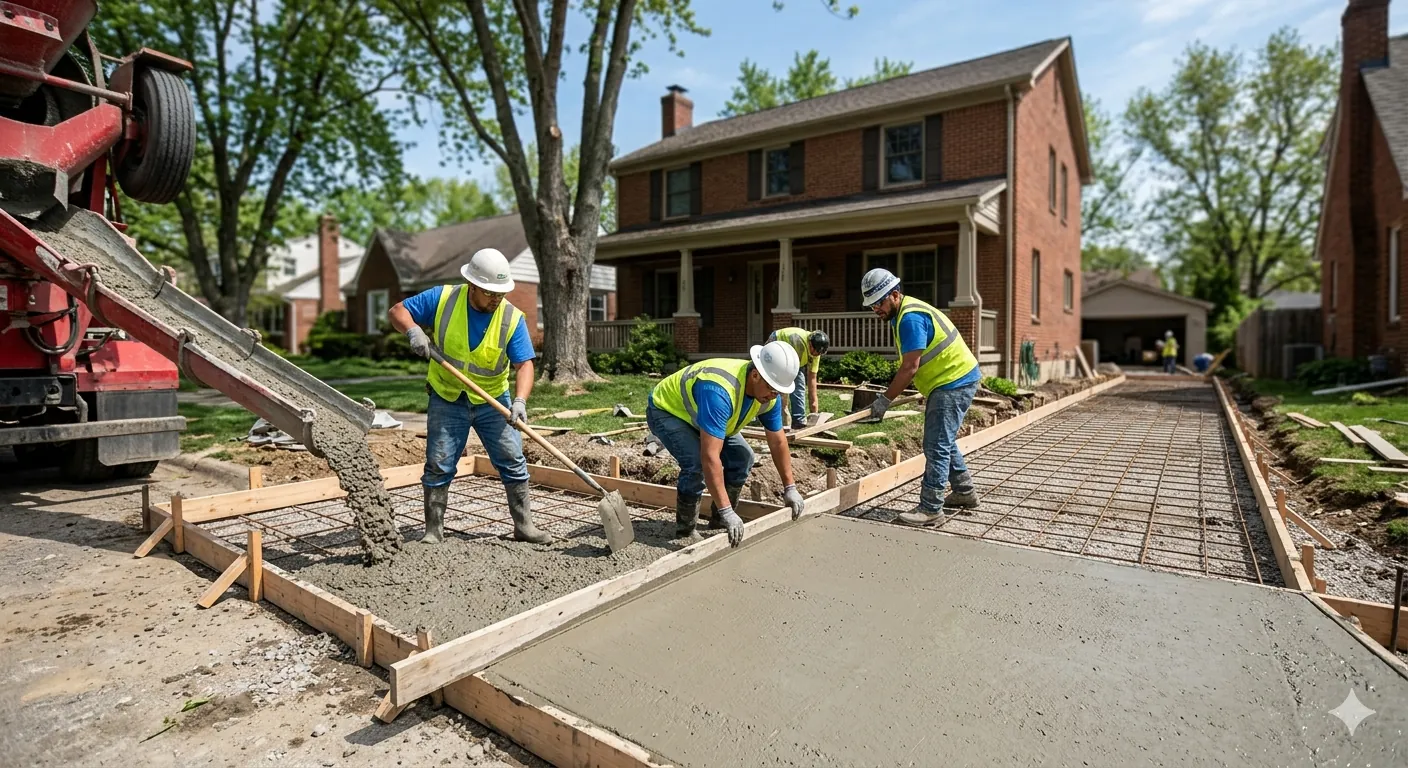
How Thick Should Concrete Be for a Driveway
Proper concrete thickness for driveways by use case. Standard cars, heavy vehicles, and code requirements explained.
How Much Does Concrete Lifting Cost
Mudjacking vs foam jacking costs compared. Average prices, when lifting works, and when replacement is better.
How Long Do Water Softeners Last
Water softener lifespan by type, maintenance tips to extend life, and signs it's time for replacement.
How to Connect a Water Softener
Complete water softener installation guide. Plumbing connections, bypass valve setup, and initial programming.
Disclaimer: This content is for informational purposes only. Results vary depending on damage severity, laminate quality, and environmental conditions. HouseFixGuide may earn a commission from links on this page.