Concrete & Driveways: The Complete Guide to Pouring, Repair & Maintenance
Browse Articles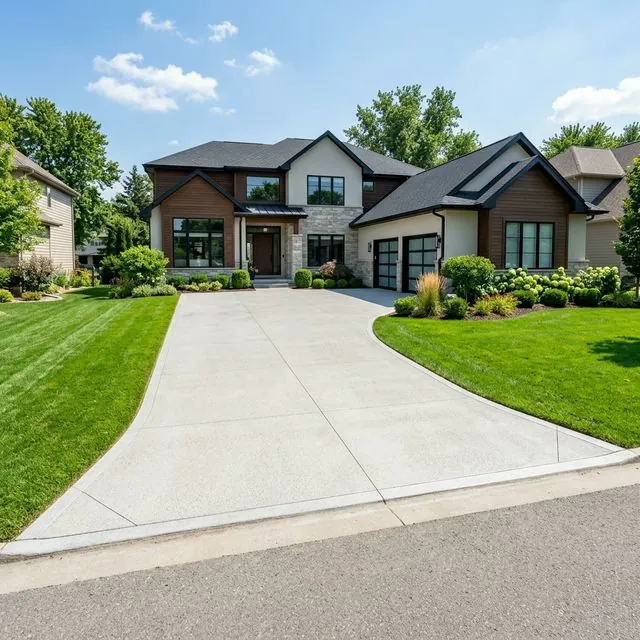
Concrete is the backbone of residential construction — it forms your driveway, sidewalks, patio, garage floor, foundation, and steps. It's incredibly durable when installed correctly, but concrete is not maintenance-free. Freeze-thaw cycles, tree root pressure, heavy vehicles, and poor drainage all take their toll over the decades, leading to cracks, spalling, sinking, and eventual failure if problems aren't addressed.
💡 Cost Calculator: Use our concrete driveway cost calculator to estimate materials and labor for your project. Wondering about alternatives? Compare asphalt vs concrete driveway costs to choose the best option.
This comprehensive concrete and driveway guide covers everything from understanding how thick should a concrete driveway be to fixing cracked slabs, lifting sunken sections, choosing decorative finishes like stamped concrete, and knowing when it's time for a full replacement. Whether you're planning a new concrete pour or maintaining an existing driveway, this guide gives you the knowledge to make informed decisions.
- Concrete Basics Every Homeowner Should Know
- How Thick Should a Concrete Driveway Be?
- Pouring a New Concrete Slab
- Stamped & Decorative Concrete
- Fixing Concrete Cracks
- Lifting Sunken Concrete
- Sealing & Protecting Concrete
- Concrete vs. Asphalt Driveways
- Concrete Costs in 2026
- Driveway Maintenance Checklist
- Frequently Asked Questions
Concrete Basics Every Homeowner Should Know
Before diving into specific projects, understanding a few fundamentals about concrete helps you communicate with contractors, evaluate quotes, and avoid common mistakes.
Concrete vs. cement: Cement is an ingredient in concrete, not the same thing. Concrete is a mixture of Portland cement, water, sand (fine aggregate), and gravel or crushed stone (coarse aggregate). Cement makes up only 10–15% of the total concrete mix by volume.
Understanding Concrete Mix Strength
Concrete strength is measured in PSI (pounds per square inch) — the compressive force it can withstand after 28 days of curing:
- 2,500 PSI — minimum for residential sidewalks and patios; adequate for foot traffic only
- 3,000 PSI — standard for residential driveways; handles passenger cars and light trucks
- 3,500 PSI — recommended for driveways in freeze-thaw climates; added durability
- 4,000 PSI — garage floors, heavy vehicle traffic, and areas subject to deicing chemicals
- 4,500+ PSI — commercial applications, heavy equipment, and structural elements
Most ready-mix concrete companies deliver 3,000 or 3,500 PSI as their standard residential mix. Always specify the PSI you want — don't assume the contractor's "standard" mix meets your needs.
How Thick Should a Concrete Driveway Be?
How thick should a concrete driveway be depends directly on what weight it needs to support:
| Application | Minimum Thickness | Recommended | Traffic Type |
|---|---|---|---|
| Sidewalks & paths | 3.5 inches | 4 inches | Foot traffic only |
| Residential driveway | 4 inches | 4–5 inches | Cars, SUVs, pickups |
| Heavy vehicle driveway | 5 inches | 5–6 inches | RVs, delivery trucks |
| Garage floor | 4 inches | 4–6 inches | Vehicles + storage |
| Patio | 3.5 inches | 4 inches | Furniture, foot traffic |
The critical detail most homeowners miss: a concrete driveway is only as strong as the base beneath it. A 4-inch slab poured on properly compacted gravel (4–6 inches of crushed stone) will vastly outperform a 6-inch slab poured directly on uncompacted soil. The gravel base provides drainage, prevents frost heave, and distributes load evenly.
For a standard residential driveway serving passenger cars and light trucks, 4 inches of 3,500 PSI concrete over 4–6 inches of compacted gravel base is the proven specification. If you expect RVs, delivery trucks, or heavy equipment, go to 5–6 inches with reinforcement (wire mesh or rebar on 18-inch centers).
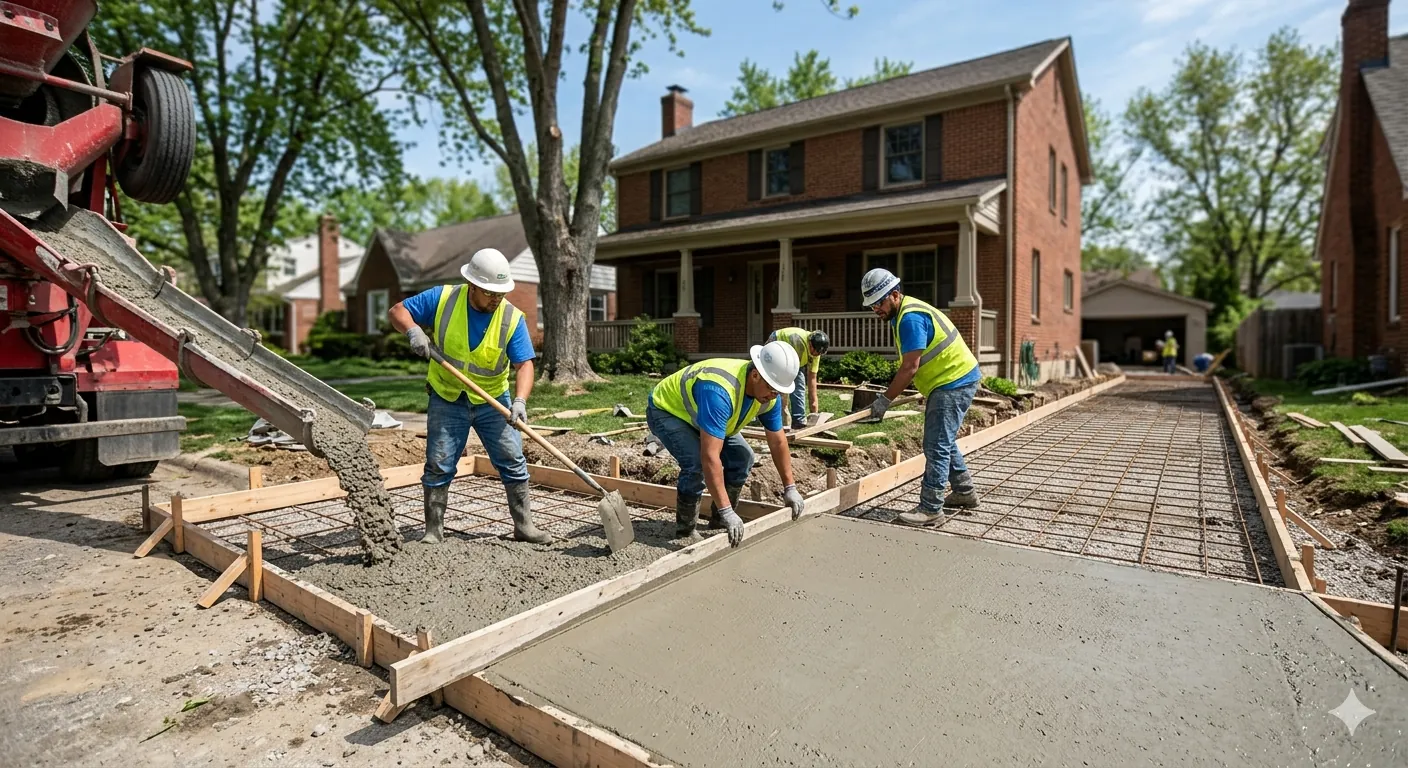
Pouring a New Concrete Slab
Whether you're pouring a concrete driveway, a patio slab, or a garage floor, the process follows the same fundamental steps. Getting these steps right determines whether your concrete lasts 10 years or 50.
Step-by-Step: Pouring Concrete
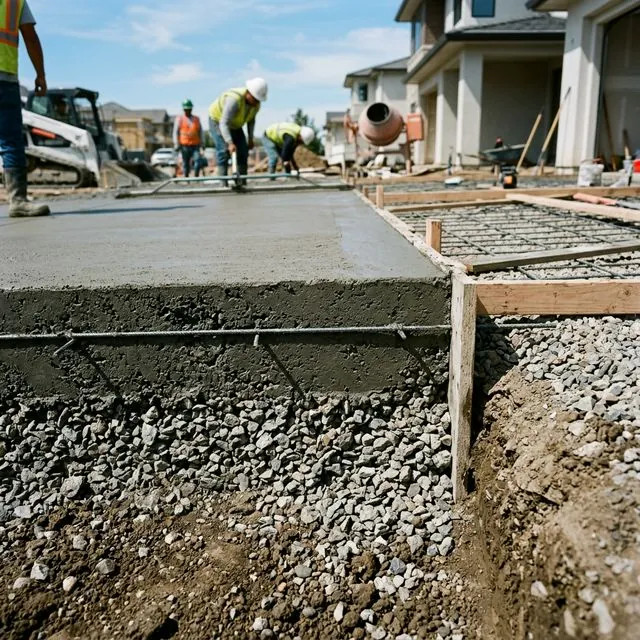
- Excavation & grading — remove topsoil and dig to the required depth (slab thickness + gravel base). Slope away from structures at 1/8 inch per foot minimum for drainage.
- Gravel base — install 4–6 inches of compacted crushed stone. Compact in 2-inch lifts using a plate compactor.
- Forms — set sturdy 2x4 or 2x6 lumber forms along the perimeter, staked every 3–4 feet. Forms define the slab's edges and thickness.
- Reinforcement — lay wire mesh (6x6 W1.4/W1.4) or rebar (#3 or #4 bars on 18-inch centers) supported on chairs to sit at mid-slab depth.
- Control joints — plan joint locations every 8–12 feet in each direction. Joints control where cracks form (because concrete WILL crack — the question is whether you control where).
- Concrete placement — pour and spread concrete to a uniform thickness. Work quickly — you typically have 90 minutes before the mix begins to set.
- Screeding — drag a straight board across the forms to level the surface. Make multiple passes.
- Floating & finishing — use a bull float for initial smoothing, then a magnesium float or power trowel for the final finish. Broom-finish provides essential traction for driveways.
- Curing — apply curing compound or keep the surface continuously moist for at least 7 days. Proper curing increases strength by 50% compared to air-dried concrete.
How long does concrete take to dry? Concrete doesn't actually "dry" — it cures through a chemical reaction (hydration) that requires water. Initial set occurs in 24–48 hours (you can walk on it). Light vehicle traffic is safe at 7 days. Full design strength is reached at 28 days. Heavy loads should wait the full 28 days.
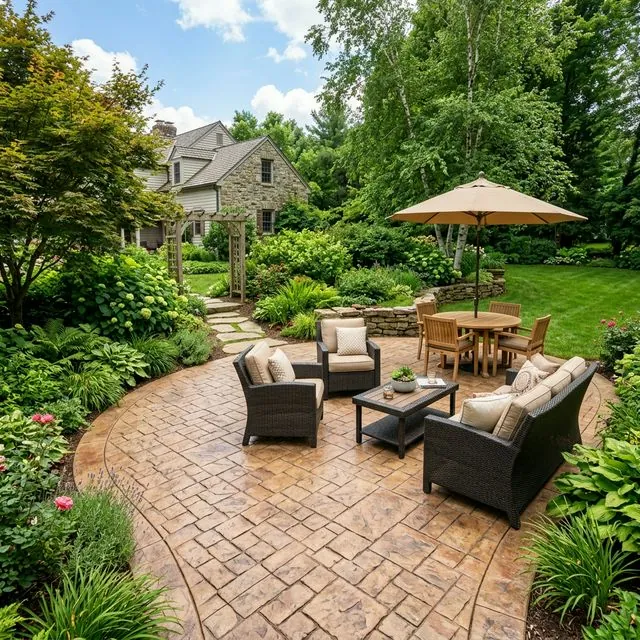
Stamped & Decorative Concrete
Stamped concrete transforms a plain gray slab into a surface that mimics natural stone, brick, slate, or wood planks at a fraction of the cost. Stamped concrete costs $12–$20 per square foot installed, compared to $15–$30+ for natural stone pavers.
Popular stamped concrete patterns for driveways and patios:
- Ashlar slate — the most popular; mimics cut natural stone with clean geometric patterns
- Cobblestone — classic European look; excellent for driveways and walkways
- Herringbone brick — traditional brick pattern without the maintenance issues of actual brick
- Wood plank — realistic wood grain texture; popular for patios and pool decks
- Random stone — natural flagstone appearance with irregular shapes
The key to long-lasting stamped concrete: seal it every 2–3 years with a high-quality acrylic or polyurethane sealer. Without resealing, the color fades, the texture wears down, and the surface becomes susceptible to salt damage and staining.
Fixing Concrete Cracks
Every concrete slab will crack eventually — it's not a question of if, but where and how badly. Understanding crack types helps you determine whether a crack is cosmetic, structural, or a sign of a bigger problem:
- Hairline cracks (less than 1/8 inch) — cosmetic only; caused by normal shrinkage during curing. Fill with concrete crack filler or leave alone.
- Control joint cracks — cracks that form at your planned control joints. This is expected and desired — they're doing their job.
- Settlement cracks (1/8 to 1/2 inch) — indicate the slab is settling unevenly due to poor base preparation or soil erosion. May need mudjacking in addition to crack repair.
- Structural cracks (over 1/2 inch, with displacement) — one side of the crack is higher than the other, indicating active soil movement, tree root pressure, or foundation issues. Requires professional evaluation.
- Spalling/flaking surface — the top layer peels away in thin flakes. Caused by freeze-thaw cycles, deicing chemicals, or improper finishing during the pour.
How to Repair Concrete Cracks (DIY)
- Clean the crack with a wire brush, removing all loose debris, dirt, and vegetation
- For cracks wider than 1/4 inch, fill with foam backer rod first to prevent wasting filler material
- Apply flexible concrete crack filler (polyurethane-based sealants work best because they flex with temperature movement)
- For spalled surfaces, apply a concrete resurfacer — a thin overlay that gives the slab a fresh, uniform surface
- Seal the repaired area and surrounding concrete to prevent future moisture infiltration
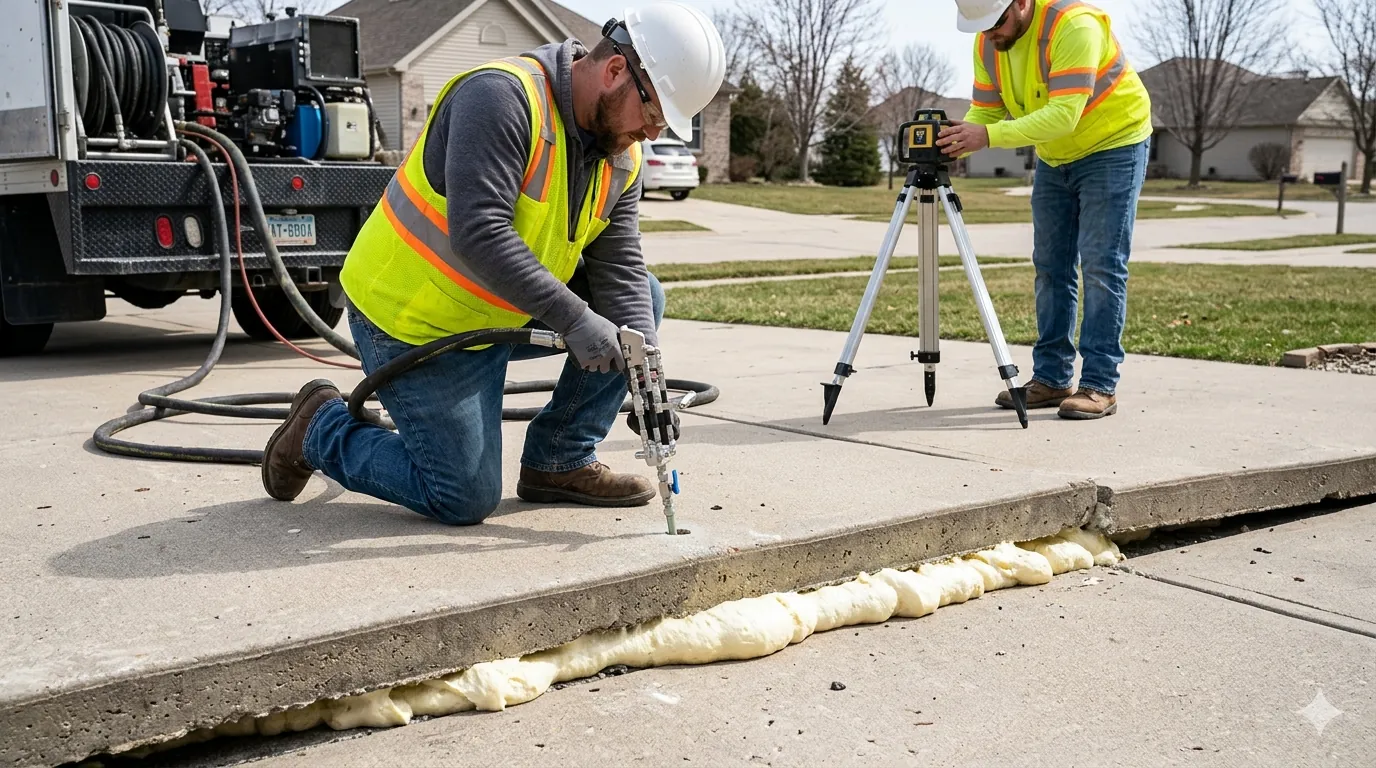
Lifting Sunken Concrete Slabs
Sunken or uneven concrete slabs are a tripping hazard and an eyesore. Fortunately, you don't always need to tear out and replace sunken concrete. Two proven methods can lift existing slabs back to level — and how to lift a concrete slab depends on your budget and situation:
Mudjacking (Slab Jacking)
Mudjacking pumps a cement-based slurry through small holes drilled in the slab. The slurry fills the void underneath and lifts the concrete back to grade. Costs $3–$6 per square foot — roughly 50–75% less than replacement. Best for driveways, sidewalks, and garage floors where cosmetic appearance of the drill holes (1.5–2 inches) isn't a major concern.
Polyurethane Foam Injection (PolyLifting)
Foam injection uses expanding polyurethane foam instead of cement slurry. The foam is injected through smaller holes (5/8 inch), expands to fill voids, and cures in 15 minutes. Costs $5–$10 per square foot. It's lighter than mudjacking slurry (won't add load to weak soil), waterproof, and won't wash away. The preferred method for pool decks, interior slabs, and areas with poor drainage.
Sealing & Protecting Concrete
Sealing is the single most effective maintenance step for any concrete surface. An unsealed driveway absorbs water, road salt, oil, and other contaminants that accelerate deterioration. Sealing your concrete driveway every 2–3 years can double its effective lifespan.
Types of Concrete Sealers
- Penetrating sealers (silane/siloxane) — absorb into the concrete and create a waterproof barrier from within. Don't change the appearance. Best for driveways and freeze-thaw climates. $15–$25 per gallon.
- Acrylic sealers — form a thin film on the surface, adding a slight sheen or wet-look. Enhance color on stamped concrete. Need reapplication every 1–3 years. $20–$40 per gallon.
- Polyurethane sealers — tougher than acrylics, better chemical resistance. Ideal for garage floors. $40–$70 per gallon.
- Epoxy sealers — the strongest film-forming option. Excellent for garage floors and interior concrete. See our flooring guide for epoxy garage floor details.
How to Seal a Concrete Driveway
- Clean the surface thoroughly — pressure wash at 2,500–3,000 PSI to remove dirt, oil stains, and mildew
- Repair any cracks before sealing (sealer won't bridge cracks)
- Let the concrete dry completely — at least 24–48 hours after washing
- Apply sealer with a pump sprayer or roller in thin, even coats. Two thin coats are better than one thick coat.
- Allow 24 hours before foot traffic, 72 hours before vehicle traffic
Concrete vs. Asphalt Driveways
The concrete vs. asphalt driveway debate comes down to cost, climate, and aesthetic preference:
| Factor | Concrete | Asphalt |
|---|---|---|
| Installed cost | $6–$12/sq ft | $3–$7/sq ft |
| Lifespan | 25–50 years | 15–25 years |
| Maintenance | Seal every 2–3 years | Seal every 2–5 years |
| Appearance | Light gray; can be stamped/stained | Black; limited color options |
| Climate | Better for hot climates | Better for cold climates (flexes) |
| Oil stains | Visible, difficult to remove | Less visible on dark surface |
| Repairs | More expensive, harder to match | Easy to patch and resurface |
| Curb appeal | Higher perceived value | Standard/utilitarian |
In cold climates with significant freeze-thaw cycles, asphalt has an advantage because it flexes slightly. Concrete is more rigid and requires proper air-entrained mix and control joints to handle frost. In hot climates, concrete stays cool underfoot while asphalt softens and can track inside on shoes.
Concrete Costs in 2026
| Project | Cost Range | Key Variables |
|---|---|---|
| Concrete driveway (2-car, ~600 sq ft) | $3,600–$7,200 | Thickness, base prep, region |
| Stamped concrete driveway | $7,200–$12,000 | Pattern complexity, coloring |
| Patio slab (200–400 sq ft) | $1,200–$4,800 | Finish, shape, access |
| Sidewalk (100 linear ft) | $1,500–$3,000 | Width, thickness |
| Concrete crack repair (DIY) | $20–$50 | Crack filler, caulk, tools |
| Mudjacking (per slab) | $300–$800 | Size of slab, severity |
| Driveway sealing (DIY) | $50–$150 | Sealer type, driveway size |
| Full driveway replacement | $4,000–$10,000 | Demo, haul-away, new pour |
Driveway Maintenance Checklist
Every Season
- Sweep debris — leaves and organic matter trap moisture and stain concrete
- Remove oil and fluid stains promptly with kitty litter, then degreaser
- Inspect for new cracks — mark them with chalk so you can track whether they're growing
Every 2–3 Years
- Pressure wash the entire driveway surface
- Apply a penetrating or acrylic concrete sealer
- Fill any cracks that have developed since the last sealing
Winter Specific (Cold Climates)
- Avoid deicing salt on concrete less than 1 year old — new concrete is especially vulnerable to salt damage
- Use sand or calcium magnesium acetate (CMA) instead of rock salt — rock salt causes spalling and surface deterioration
- Shovel snow promptly — the freeze-thaw cycle of melting and refreezing snow is more damaging than the cold itself
Frequently Asked Questions About Concrete & Driveways
Concrete & Driveways Articles
How Thick Should Concrete Be for a Driveway
Proper concrete thickness for driveways by use case. Standard cars, heavy vehicles, and code requirements explained.
How Much Does Concrete Lifting Cost
Mudjacking vs foam jacking costs compared. Average prices, when lifting works, and when replacement is better.
Related Tools & Guides
Calculate costs and compare options with these helpful resources:
Related Topics

Disclaimer: This content is for informational purposes only and does not constitute professional construction advice. Always consult licensed contractors for structural concrete work. HouseFixGuide may earn a commission from links on this page.